Drawing Tools in TAP
Q: How can I add lines or other graphics on a TAP coverage map?
A: You can add lines, circles, rectangles, etc., using the Drawing Tools button.
Other related functions will also be useful to add information to the drawing:
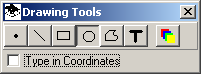
When you have the coverage map displayed, click the Drawing Tools button (with the square, circle and triangle shape on the icon:
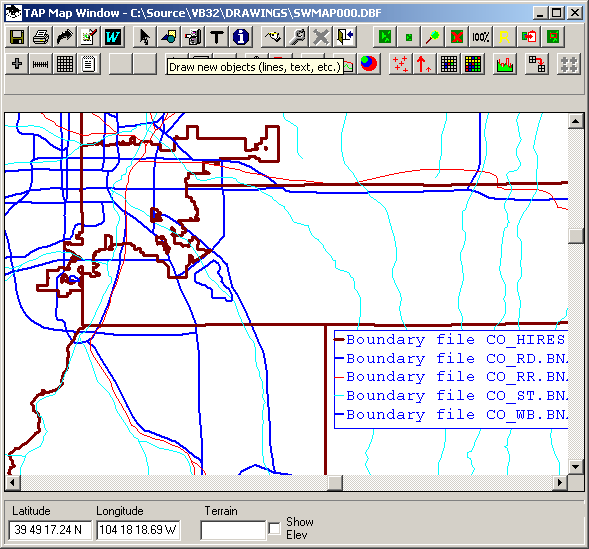
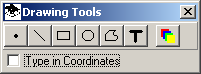
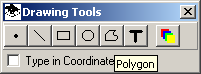
The Drawing Tools form will be displayed:
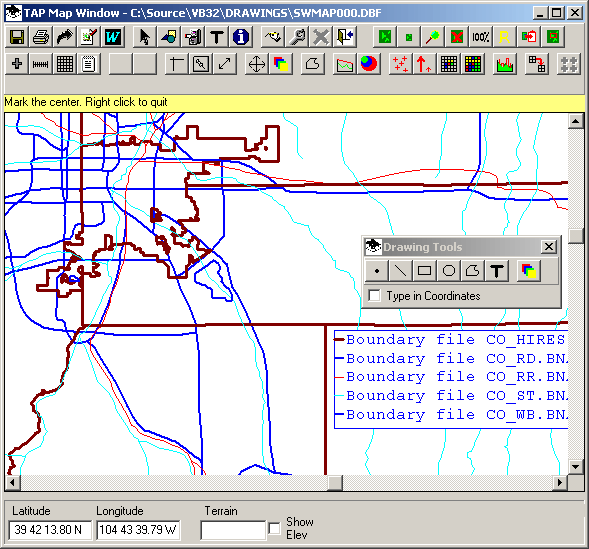
For example, you can click the circle button:
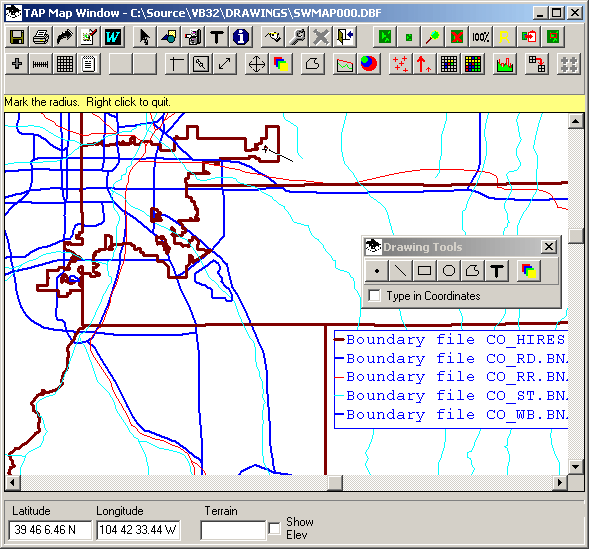
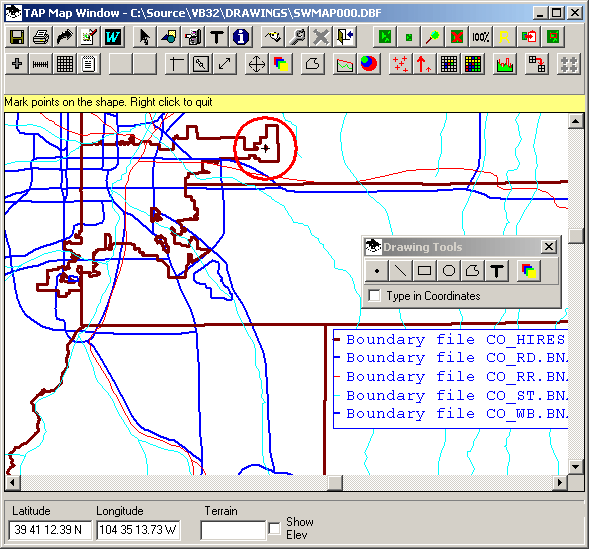
You will be prompted to click the center location of the circle:
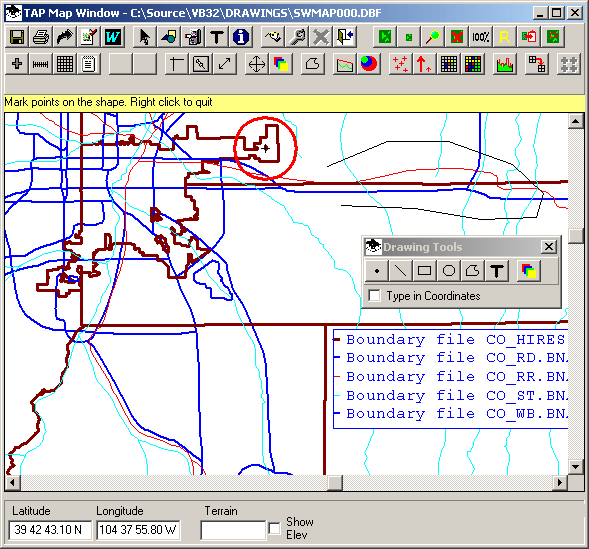
Then you will be prompted to click a point to define the radius:
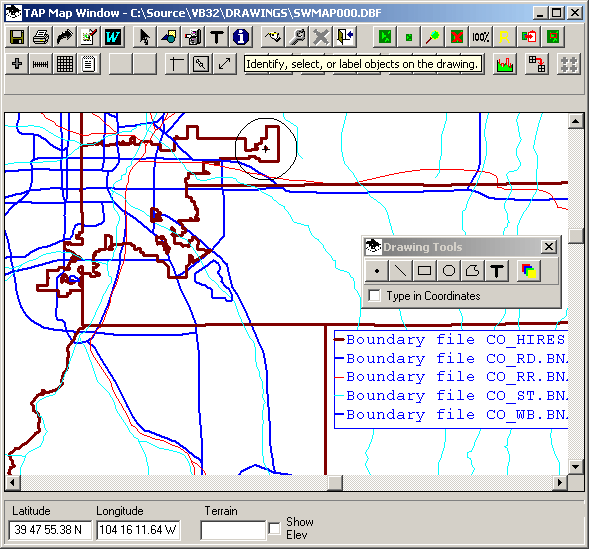
The circle you have defined will be added to the drawing:

(The Drawing Tools form is most useful for free-hand objects on the drawing. You can check the "Type in Coordinates" box and instead of clicking on the drawing, you will be prompted for the exact center coordinates and radius distance. Likewise, when drawing lines, rectangles, etc., you can leave the "Type in Coordinates" box un-checked and click locations on the map to define the object. Or you can mark the "Type in Coordinates" box to enter numerical values. However, you may want to use the TAP Boundary Line Editor to enter coordinates and create .BNA files that can be used in other drawings as well.)
If you want to change the object properties (line thickness, color, etc.), use the ID button (the blue icon with the letter "i"):
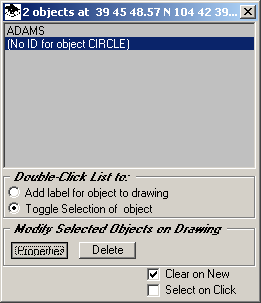
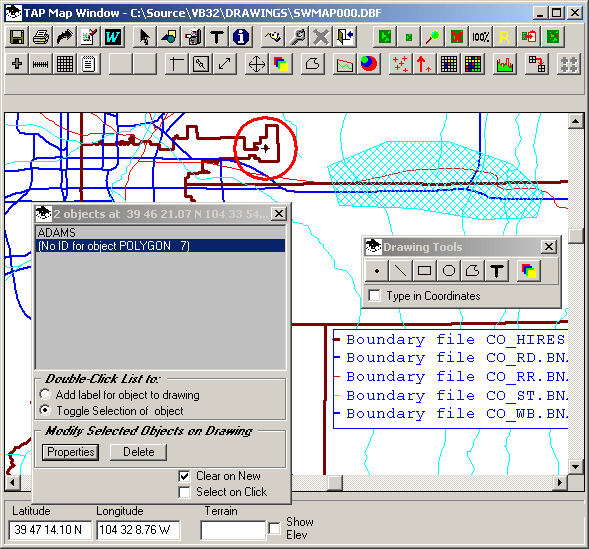
The Show Object Ids form will be displayed:
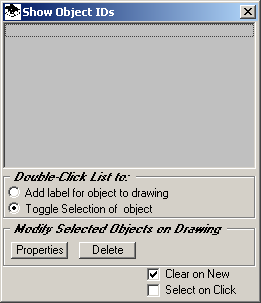
This form is used to select an object. For example, click on the circle. The object’s description (if available) will be shown on the ID form. Then click the item in the list to highlight the object:
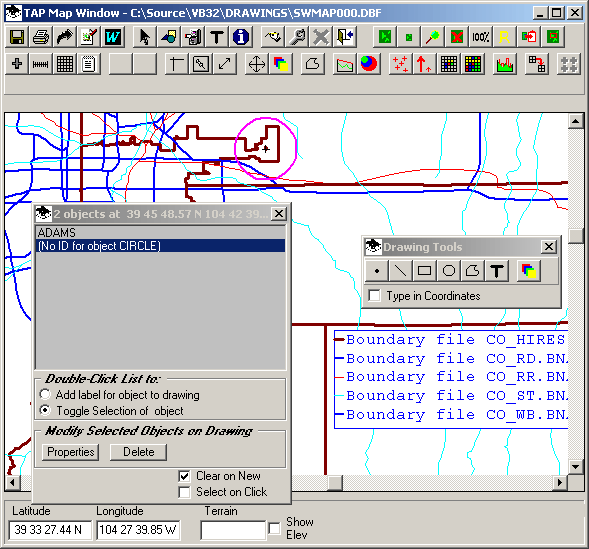
Highlight the line in the list of the object you want to change by clicking that line:
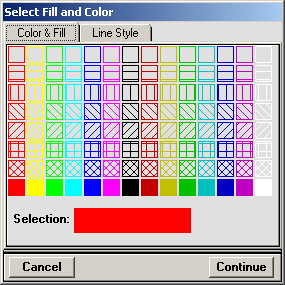
Click the Properties button. The Select Fill and Color form will be displayed. You can select the color by clicking the corresponding box:
Click the Line Style tab to set the line thickness:
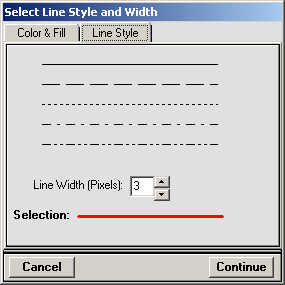
Click the Continue button to change the object’s properties.
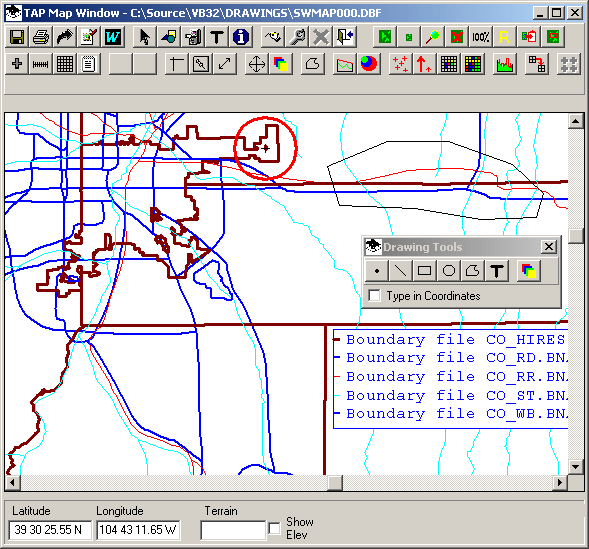
Similarly, to draw a polygon, click the Polygon button:
You will be prompted to click the points on the map to define the polygon.
You can continue clicking points to draw the polygon:
To close the polygon, click with the right mouse button:
Then you can use the ID button to select the polygon and change its color, line thickness, and/or fill pattern:
Copyright 2003 by SoftWright LLC