TAP6 Bounded Tile Studies
Q: How do I compute the coverage just in my county with TAP6?
A: HDCoverage™ in TAP6 allows you to select a boundary from a map and compute the field strength values on a rectangular grid of points inside that boundary.
(Another article that may be helpful to you in setting up a Bounded Tile Study is Adding Shapefile Layer in HDCoverage.)
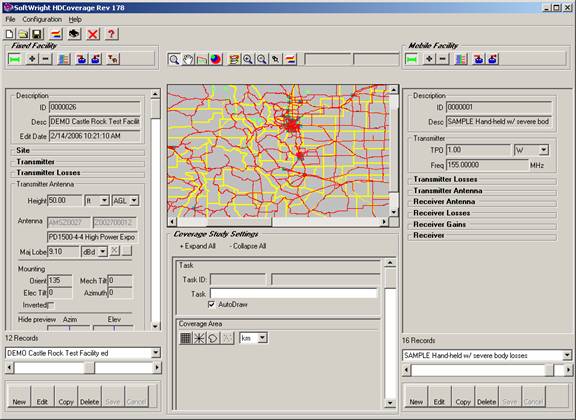
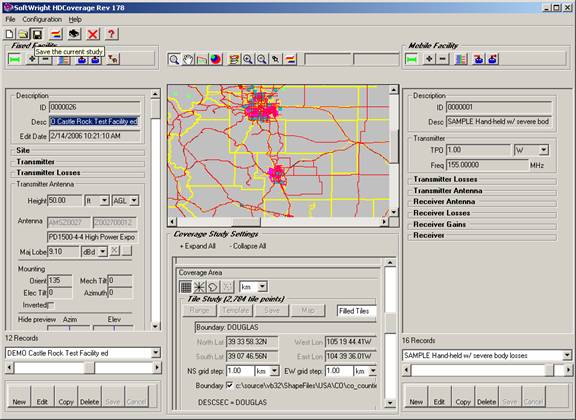
In the HDCoverage form, select the Fixed Facility record for the base station, and the Mobile Facility record for the mobile specifications you want for the study. Set the other study parameters (propagation model, surface features, topographic data, etc.). These settings are discussed in the TAP6 Tutorial.
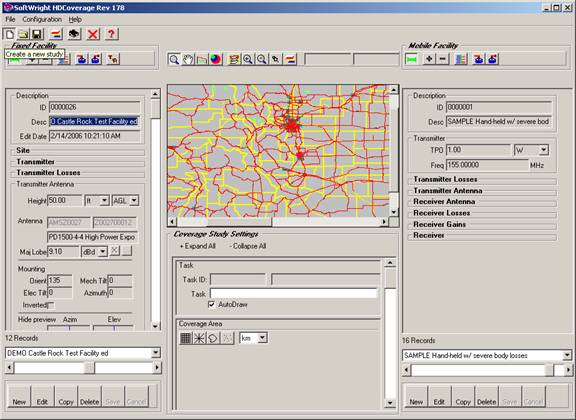
Click the New Study button:
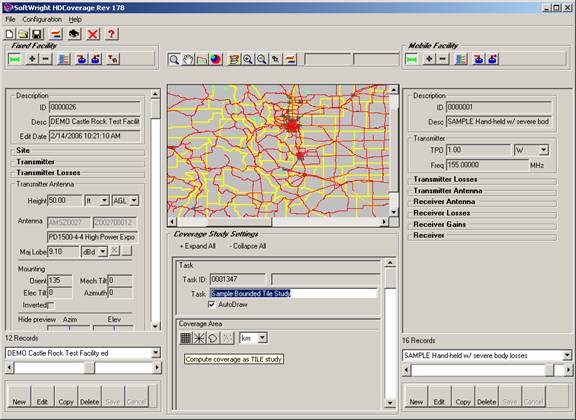
A new Task ID will be assigned, and you can enter a description for the study:

In the Coverage Area section, click the Tile Study button:
The Tile Study section will be displayed. This section includes other options for setting up Tile studies as described in the TAP6 Tutorial.
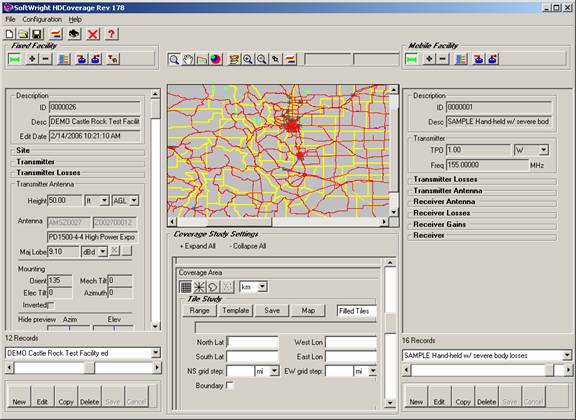
If necessary, use the scroll bar on the right side of the Coverage Area settings to see all of the section, including the “Boundary” checkbox.
To use a boundary you will need to have it displayed on the HDCoverage map. Additional information about adding shapefiles to this map is in the HDCoverage Map Layers article. That article describes how to add one or more layers that will be included every time you run HDCoverage.
You can also add a shapefile layer temporarily to HDCoverage to use as the bounding area for the tile study. This enables you to add a layer just for the current HDCoverage session without adding it to the list of default layers that are added every time you run HDCoverage.
You will need to select the active layer on the map. Since each shapefile is drawn as a separate layer, the layer you want to use must be selected. Right-click the map and the Select Active Layer and Field form is displayed:
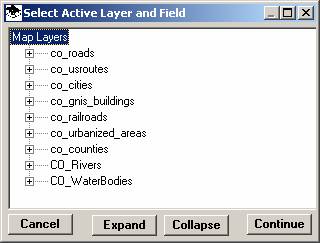
Click the “+” to expand the layer you want to use. Click the database field for that shapefile that you want.
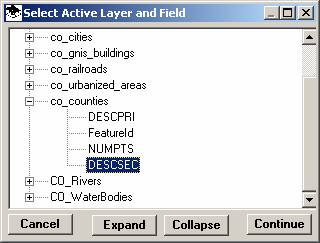
The actual layer and field names will depend on the shapefiles you are using.
Use the zoom and pan functions to find the area you are interested in:

Click the Boundary checkbox.
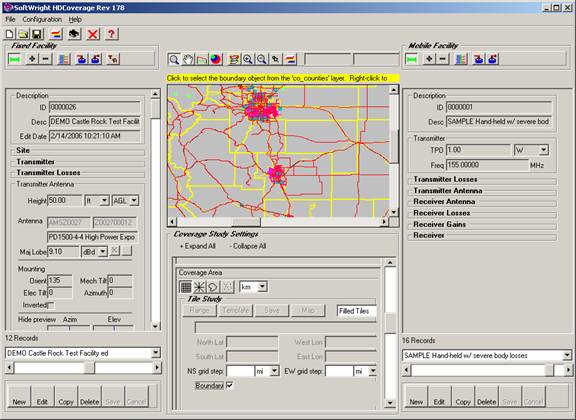
The check mark shows in the box, and the banner at the top of the map prompts you to click the boundary you want to select.
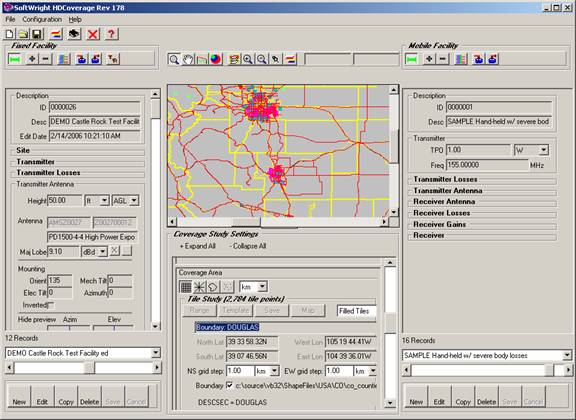
Click the map in the boundary you want to use for the Tile study. The program will read the shapefile information and fill in the Tile study limits:
Save the study by clicking the save button on the top toolbar:
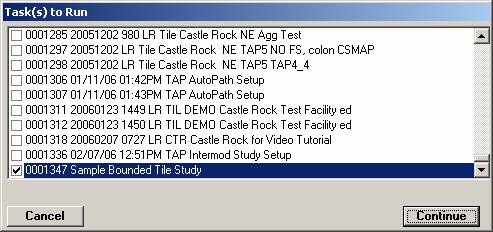
Start the study by clicking the Run button on the top toolbar:

Select the Task you want to run and click the Continue button.
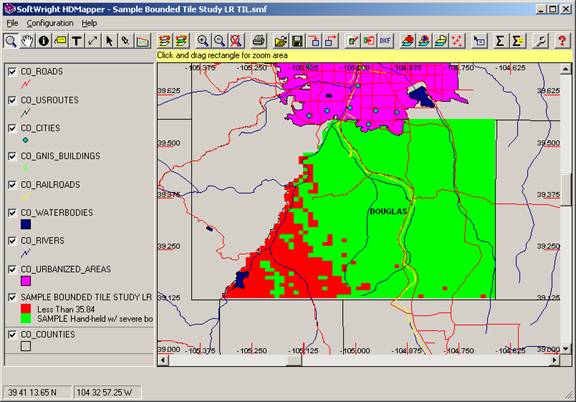
When the study is complete, you can see the coverage in HDMapper:
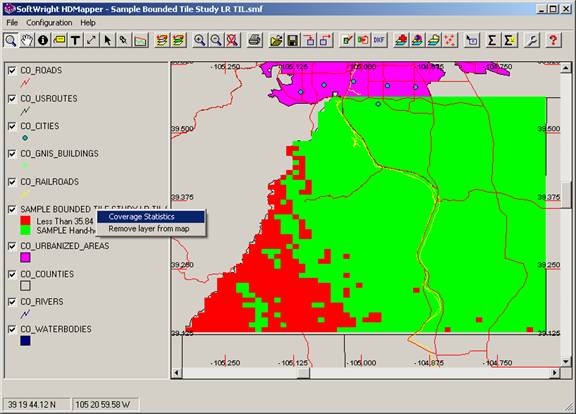
You can use the Coverage Statistics function to determine the distribution of points in the bounded area:
|
|
Copyright 2006 by SoftWright LLC