Adding Shapefile Layer in HDCoverage™
Q: How do I add a layer to the map in HDCoverage?
A: With TAP6.0.2145 or later and a Maintenance Subscription date of January 31, 2007, or later, you can add a shapefile layer with the “Add Layer” button.
If you want to include a default layer whenever you load HDCoverage, you can add it to the default layers for HDCoverage . This article describes adding a layer for the current HDCoverage session only. The layer you add will not be displayed the next time you run HDCoverage. This function is intended for using a layer temporarily, such as setting up a bounded Tile study.
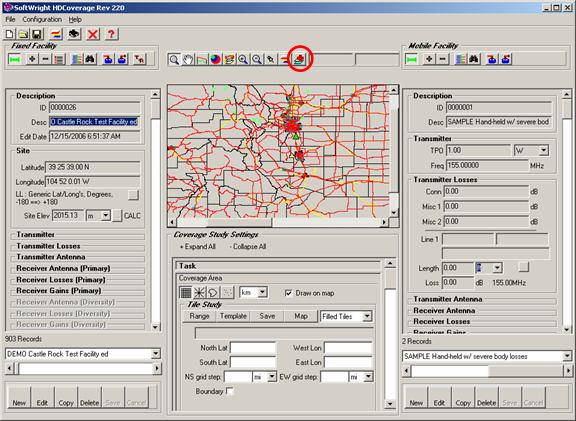
On the Map Toolbar above the HDCoverage map, click the Add Shapefile button:
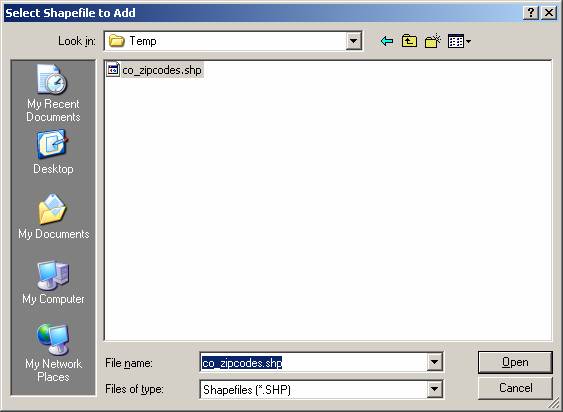
You will be prompted to select the file you want to add:
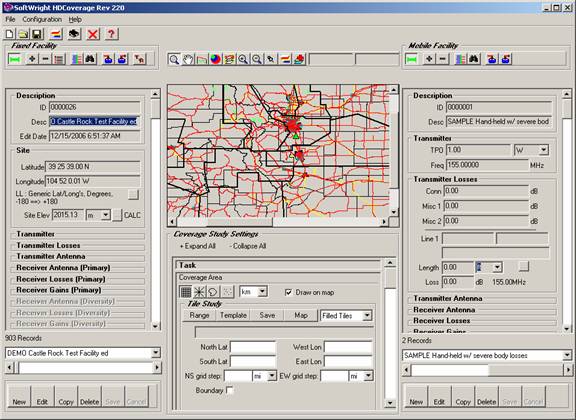
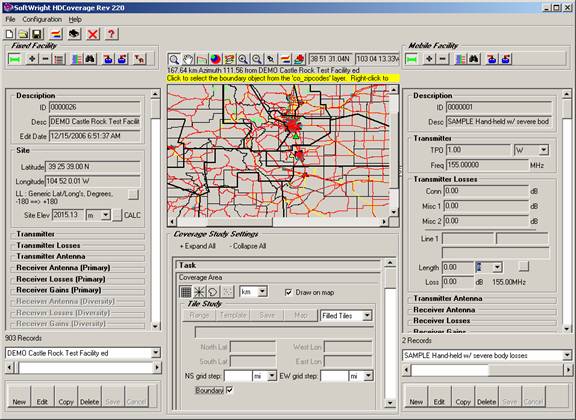
The shapefile you select will be added to the map. The layer is added as the top layer of the map with thick black borders to make it visible. The fill of a polygon layer you add is transparent to enable the lower layers to still be visible:
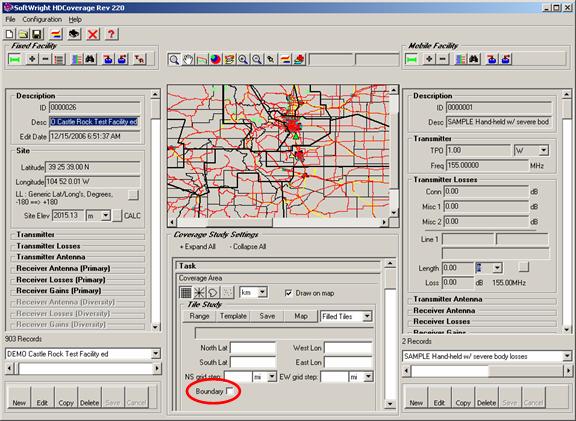
With the layer added you can use HDCoverage as usual, with the new layer providing additional reference information. For example, if you want to perform a bounded tile study using the new layer, click the Boundary checkbox in the Coverage Area – Tile Study section:
In order to select an object from the map (such as a county or other boundary) for a bounded Tile study a layer on the map must be designated as the “active layer” (as described in the Bounded Tile Study article). However, when you add a shapefile layer, that layer is automatically designated as the active layer, so you are prompted for the variable name (or “database field”) from the shapefile layer to use:

When you click the OK button, the layer list is displayed so you can select the database field to use. The data field list will be different for different shapefiles, depending on the information contained in the database associated with the shapefile.
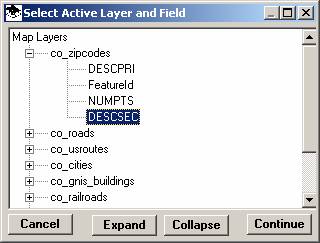
(You can also select a different layer at this time. You can select a different active layer and/or data field at any time by right clicking on the map.)
When you have selected the desired data field, click the Continue button. You will be prompted to click the map to select the object you want from that layer:
When you click the map, the object you click will be selected from the active layer, and the name of the object (from the selected data field) will be displayed near the Boundary checkbox in the Tile study section of the HDCoverage form:
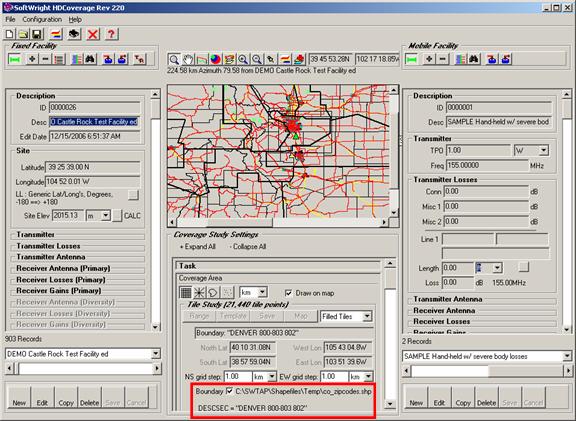
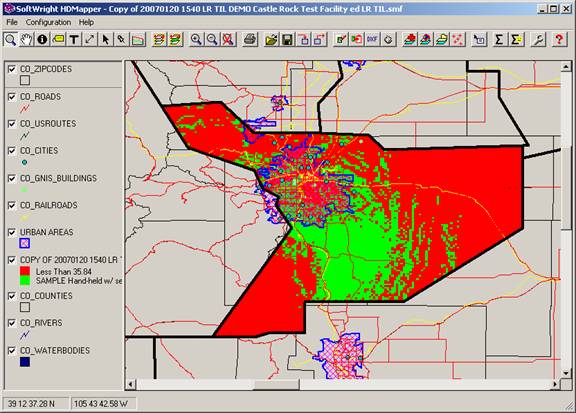
You can use the selected object in the shapefile you added to run a coverage study for the bounded area and plot it in HDMapper:
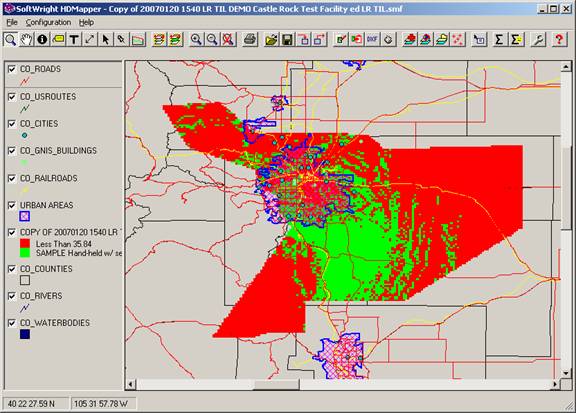
If you want, you can also add the shapefile layer to the HDMapper presentation:
|
|
Copyright 2007 by SoftWright LLC