Shadow Studies in TAP6
Q: How do I compute the shadowing around my site with TAP?
A: Shadow studies are set up in the HDCoverage function of TAP6 in a process very similar to setting up field strength area coverage studies.
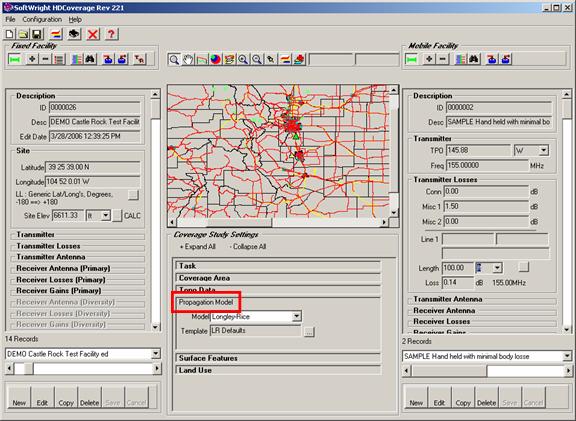
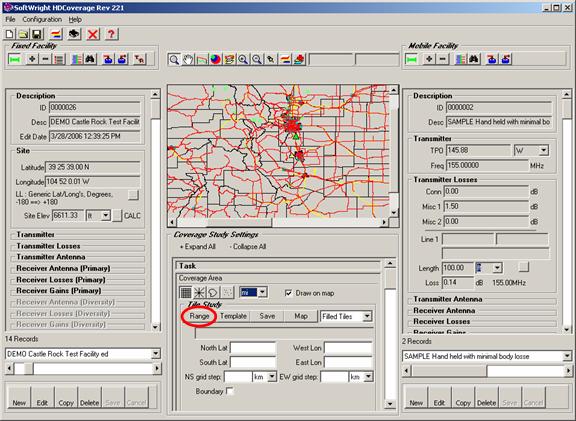
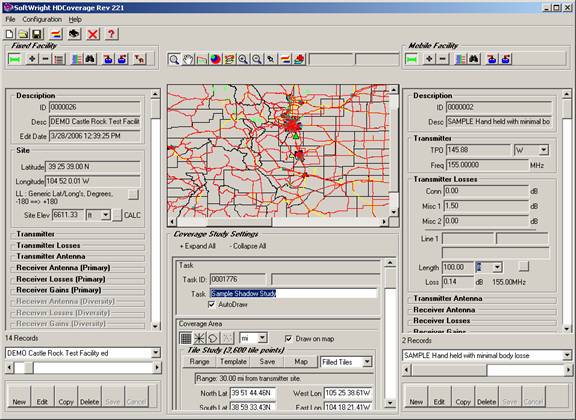
HDCoverage is used to set up the study with the base station or Fixed Facility on the left side of the form, and the Mobile Facility on the right side:

For the Fixed Facility, you must have the coordinates and Transmitter Antenna height values, and the frequency (for Fresnel zone calculations). For shadow studies, it is not necessary to include all of the transmitter power, antenna gain, loss values, etc. However, if you anticipate using the facility for future field strength studies as well as shadow studies, it is a good idea to enter that data (if known).
For the Mobile Facility, you just have the Transmitter Antenna height entered in order to compute a shadow study. (For Mobile Facilities, the “Transmitter Antenna” height value is used for both transmit and receive functions for the mobile.) For shadow studies, the power, gain, and loss values, receiver sensitivity, and required field values are not used.
(Other articles describe how to add records to the Fixed and Mobile Facility databases.)
For a shadow study, open the Propagation Model section of the Coverage Study Settings area of the form (below the map):
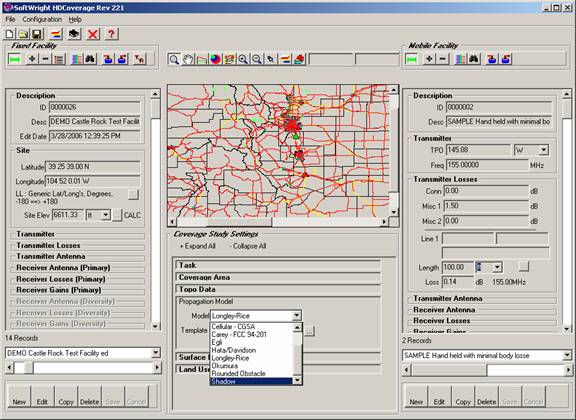
While a shadow study is not technically a propagation model, the similarities make setting up either kind of study with HDCoverage very comparable.
The list of choices for the “Propagation Model” will include all the models licensed to your TAP system. Select Shadow for this study.
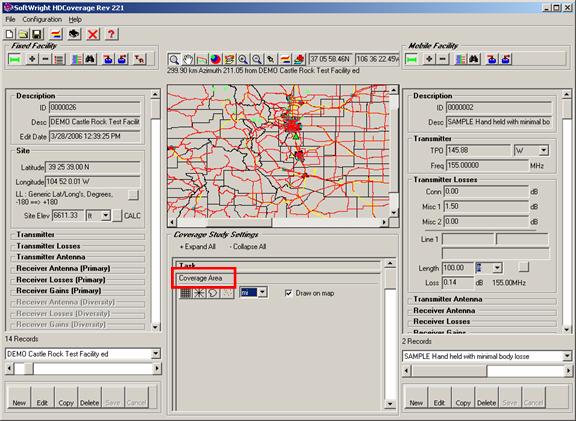
The TAP6 Tutorial provides detailed information on how to set up the Coverage Area, Topo Data, and Surface Features sections for the study. For this example of a shadow study, suppose you want to compute the shadowing as a Tile study out 30 miles from the Fixed Facility. Click the Coverage Area section to expand it, and select the units you want to use, such as “mi” for miles:
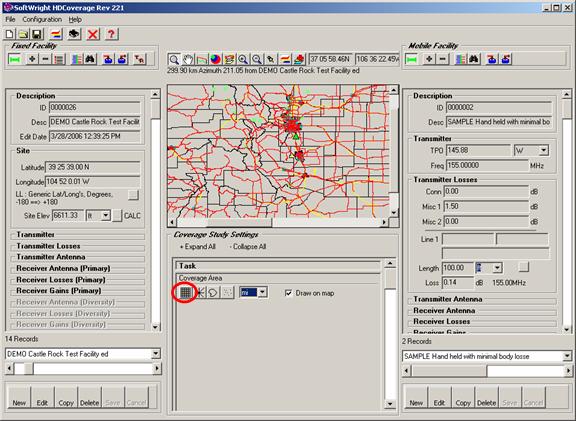
Click the Tile button to select a Tile study:
When the Tile study settings are displayed, click the Range button:
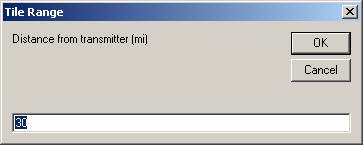
You will be prompted for the range for the calculations. Enter 30 (mi) for this example:
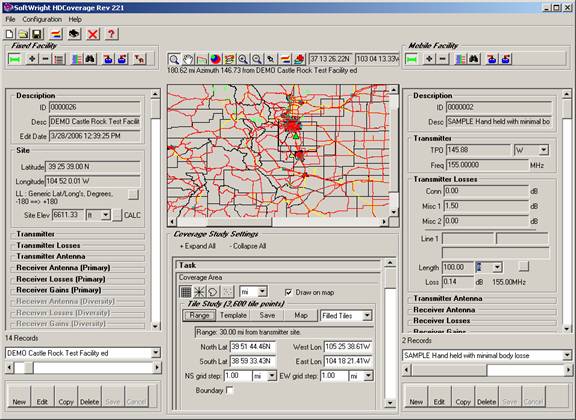
When you click the OK button, the Tile area limits will be computed and displayed:
Click the New button to create a new coverage study Task to run with the shadow study parameters you have set:
A new Task ID will be assigned. Enter a Task description for this study. The Task description will be used in the future when you want to select the Task for plotting the shadow map, etc.
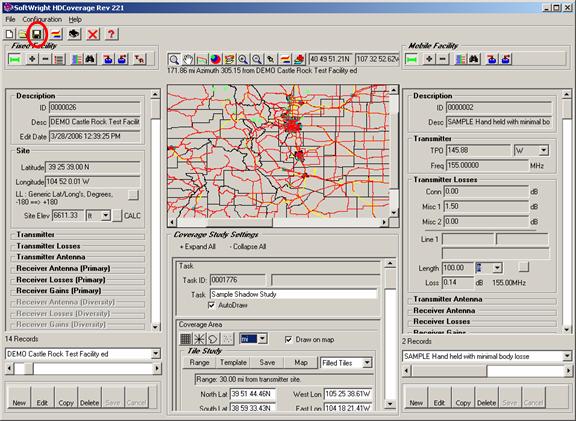
Click the Save button to save the settings for the shadow study:
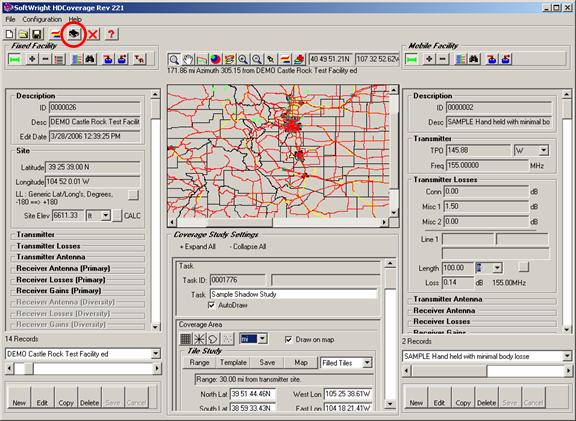
Click the Run button to start the execution of the study:
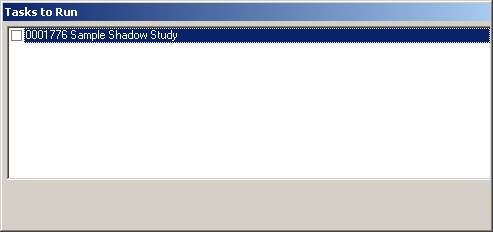
The “Task(s) to Run” form is displayed, showing the studies that have been setup but not yet run. Any studies you have edited and saved during the current session will be checked to run. You can check other studies to run in a batch mode from this form.
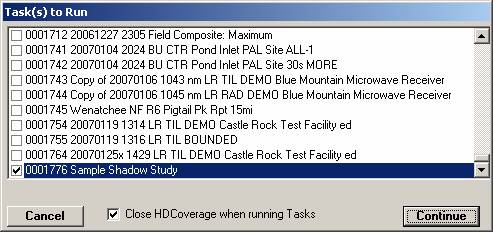
Click the Continue button to start the study execution.
A list of the selected “Tasks to Run” is displayed while the study execution is being set up by the program:
The progress of the study is displayed:

When the shadow study is completed, the map is drawn in HDMapper showing the three default shadow ratio values:
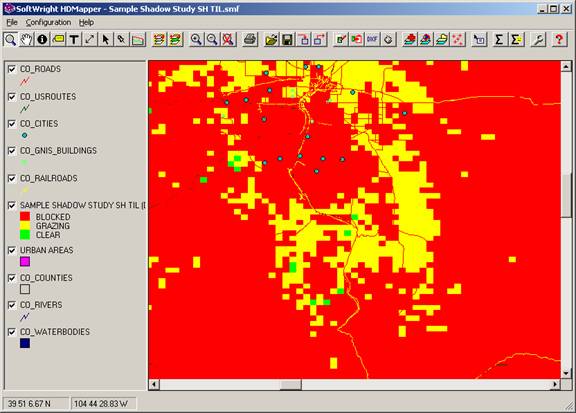
You can also change the levels for the shadow ratios you want to display.
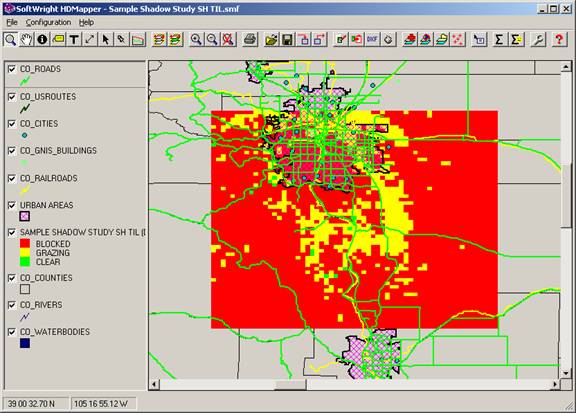
You can adjust the map parameters (zoom, layer order, colors, etc.) to get the view you want of the shadow study:
|
|
Copyright 2007 by SoftWright LLC