AutoPath Demo Run
SoftWright Home
Q: How can I run a sample of AutoPath coverage with the TAP Demo software?
A: The TAP Demo installation includes a sample file you can use to see the operation and results of AutoPath.
Note that all values in this example are for demonstration purposes only. You should determine appropriate settings for your application.
The AutoPath function uses the default settings from the HDPath function for drawing a path profile. Be sure you have created a path profile (from the Demo QuickTour or HDPath Introduction) before running this AutoPath demo. You may also want to watch the brief video that demonstrates drawing a path profile.
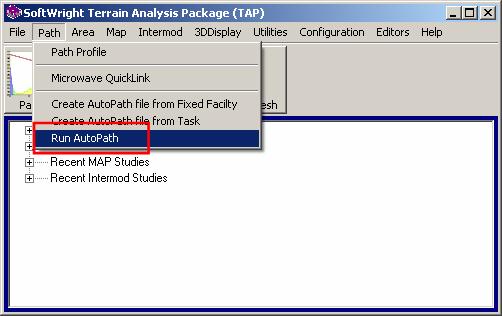
From the TAP menu, click Path, then select the Run AutoPath option:
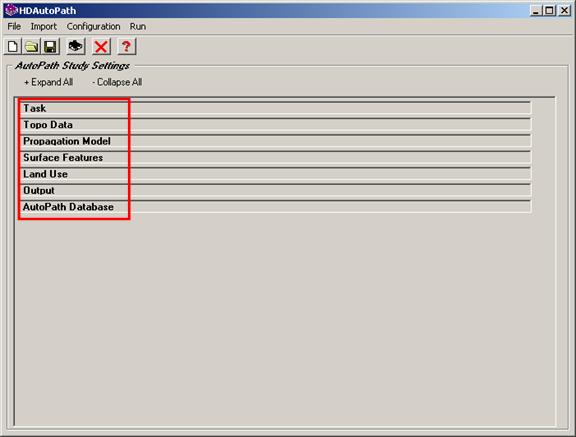
When the HDAutoPath form is displayed, the section headings (Task, Topo Data, etc., shown below) are bold for collapsed sections. You can click these headers to expand or collapse different sections.
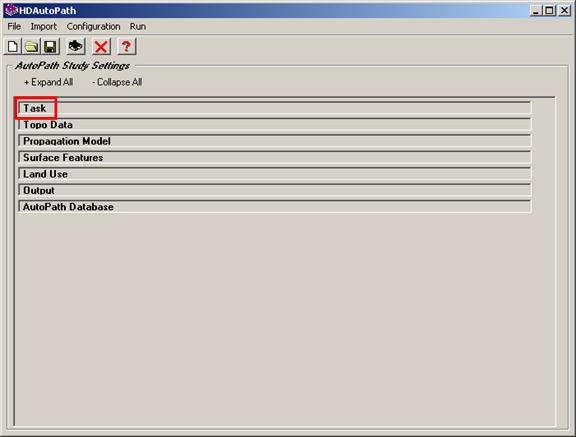
If the Tasks section is collapsed, click the Task heading:
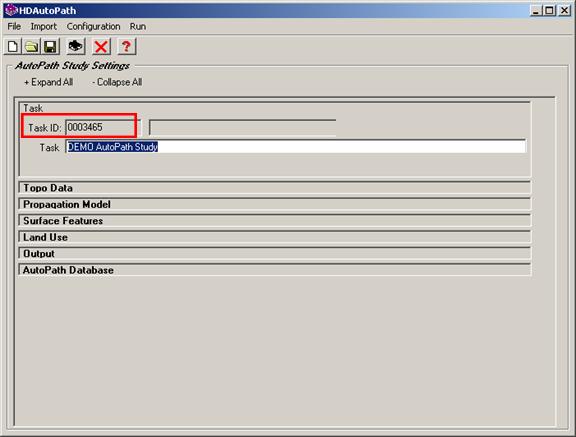
Click the “Create a new study” button on the left end of the toolbar near the top of the form:
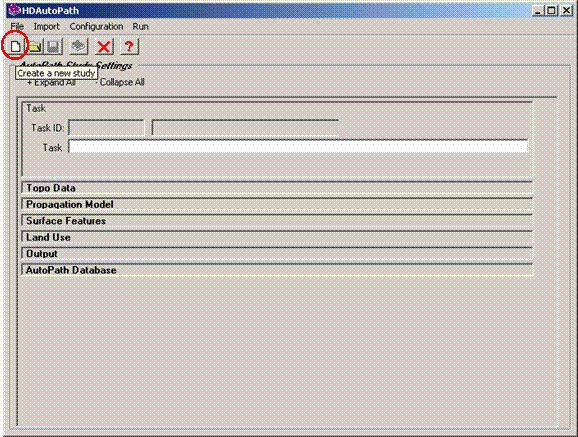
A Task ID is assigned (used internally to keep track of studies in TAP). Enter a Task Description, such as “DEMO AutoPath Study”
The boldface headings (Topo Data, Propagation Model, etc.) show sections on the HDAutoPath form. You can click these headers to expand or collapse different sections.
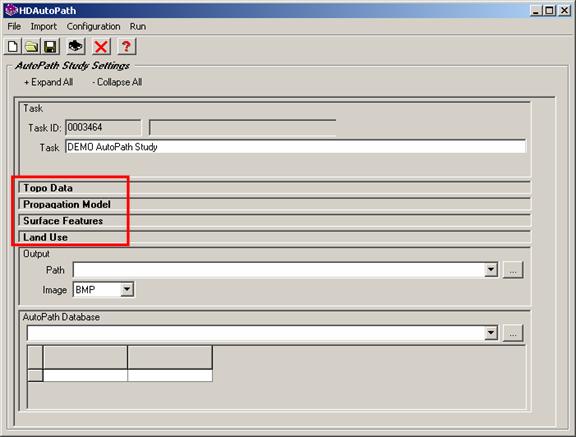
For example, click each of the sections to note the default settings for topographic elevation data, propagation model, etc.:
As you become more familiar with the TAP software, you have the ability to change these settings to customize the TAP calculations to the best values for your application.
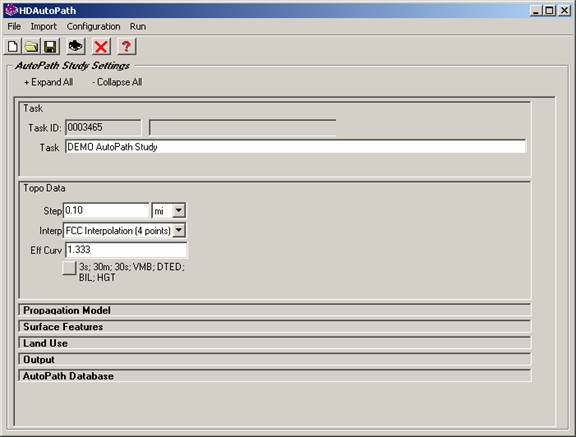
For running the demo sample study, just accept the program defaults for the Topo Data section.
For the propagation model settings:
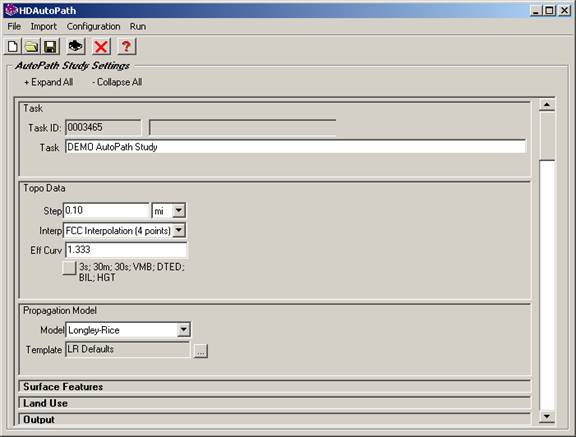
For running the demo sample study, just accept the program defaults for the Propagation Model section.
You can click the heading for expanded sections to collapse the section in order to expand other sections.
Surface features represent vegetation, man-made obstructions, etc. that might affect the path:
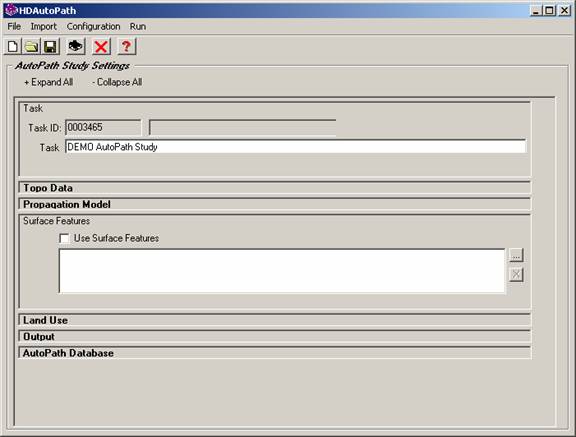
For running the demo sample study, just accept the program defaults for the Surface Features section.
Land Use data represents the type of features along the path (urban, industrial, residential, etc.)
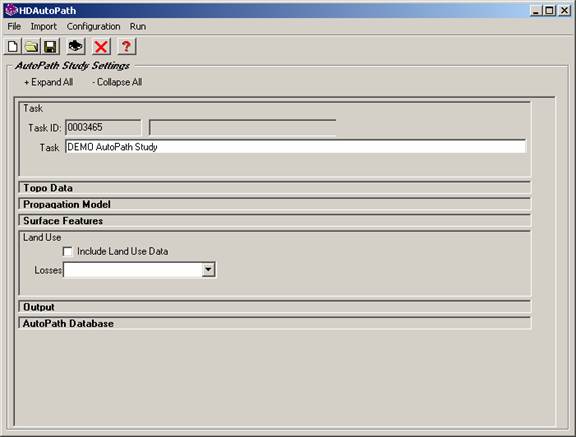
For running the demo sample study, just accept the program defaults for the Land Use section.
The Output section defines the location where results (profile image files, field strength calculation text files, the comma-delimited summary file, etc.) will be written.
Select a target output path, such as the TEMP folder where TAP is installed, and select the format for the profile image file to be written (such as JPG). To browse for a target folder, click the browse button (“…”) to the right of the form.

The AutoPath Database section defines the paths to run with AutoPath. Click the Browse button (“…”) to the right of the form and navigate to the AUTOPATH folder where TAP is installed. Select the file “AutoPath Sample.DBF” which contains three paths.
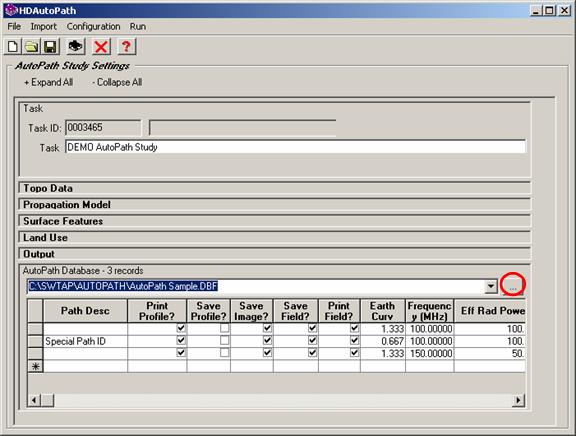
Later you may want to edit the entries to experiment with AutoPath. For this demo sample, just use the values in the sample file.
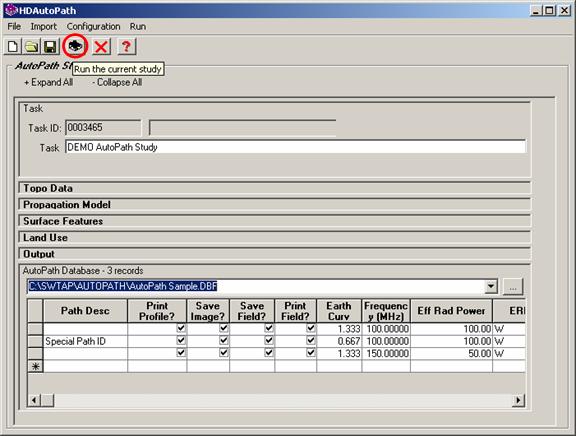
Click the save button on the toolbar near the top of the form to save the study setup information.

Click the Run button to start the AutoPath study.
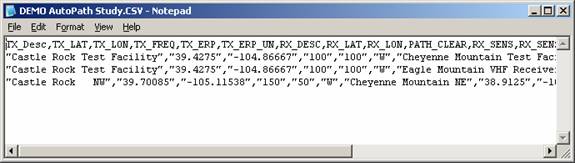
The program will automatically draw the paths, including brief displays on the screen. You should not attempt to work with the screen displays while AutoPath is running. The profiles will be printed, along with a brief text description of the field strength calculations. When the paths have all been processed, the AutoPath summary comma-delimited file (.CSV) will be displayed. :

(If your Windows configuration uses Excel or another spreadsheet program as the default for .CSV files, the fill will be loaded in that program. Otherwise, it will be displayed in Notepad)
|
|
Copyright 2011 by SoftWright LLC