Adding BNA Object from the Map Window
Q: How can I create a boundary file for a custom area for doing coverage studies?
A: For TAP 4.5.928 systems with a Maintenance Subscription date of October 31, 2003 or later, you can draw an area on the TAP Map Window and add that area to a new or existing .BNA boundary file.
In addition to the Boundary File Editor (which enables you to enter exact coordinates for points along a boundary), you have the option to draw a boundary on the map using the mouse. The object in the boundary file can be used for numerous functions in TAP, such as defining an area for an Advanced Tile Coverage study or for the Index Trim function to define the topographic data indexed on your TAP system.
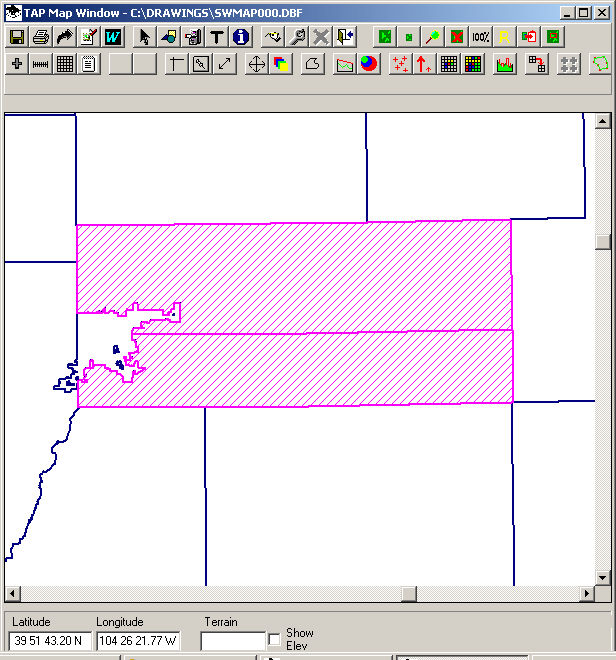
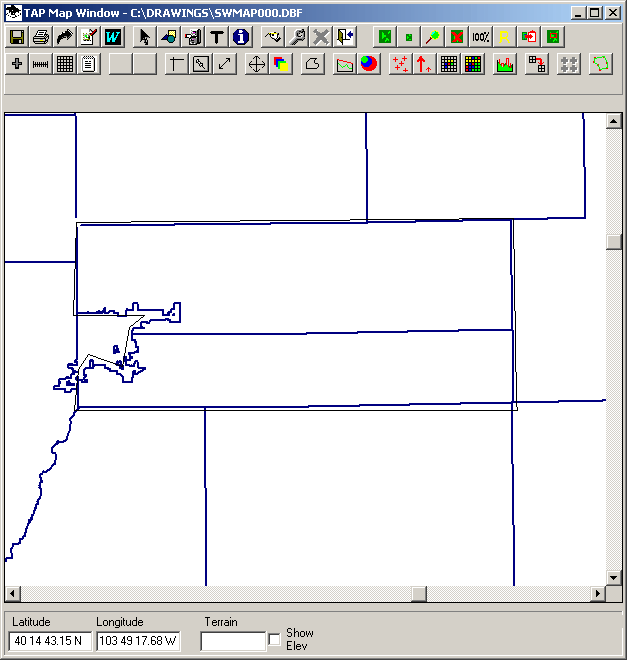
Suppose you have a map and you want to define an area that includes two counties as shown below:
Click the "Draw Boundary" button on the toolbar:
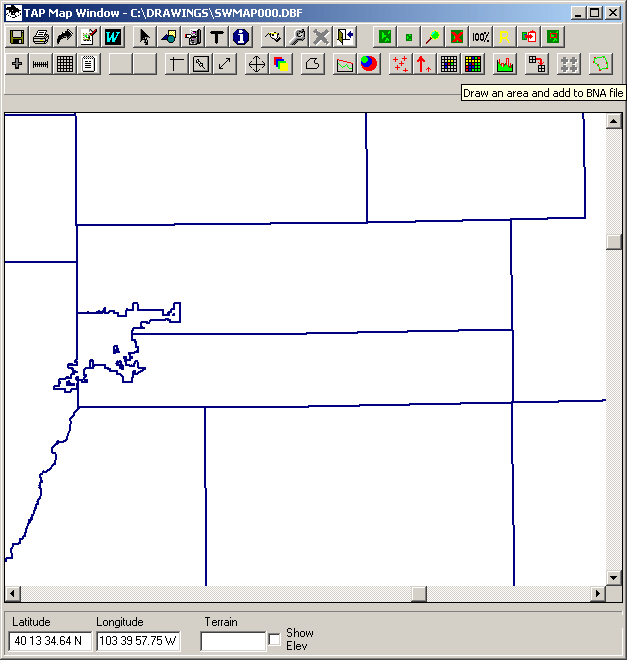
(The two counties were de-selected with the ID button function for this demonstration.)
You will be prompted to click points on the map with the mouse to define the boundary:
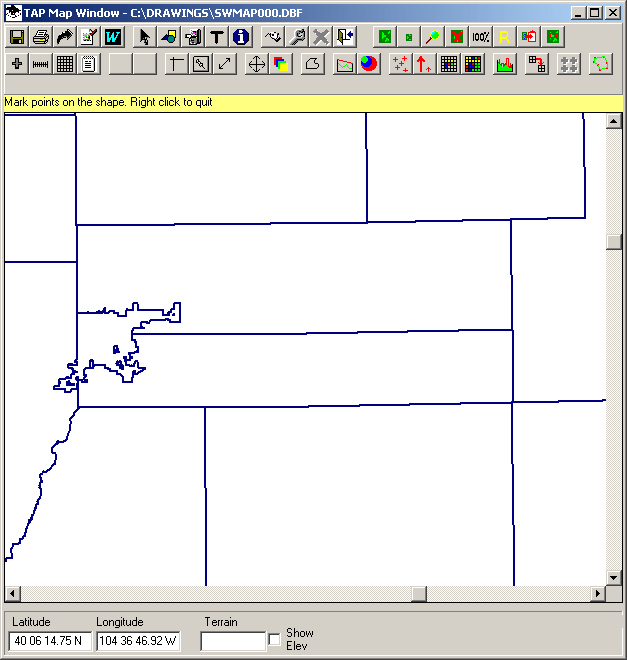
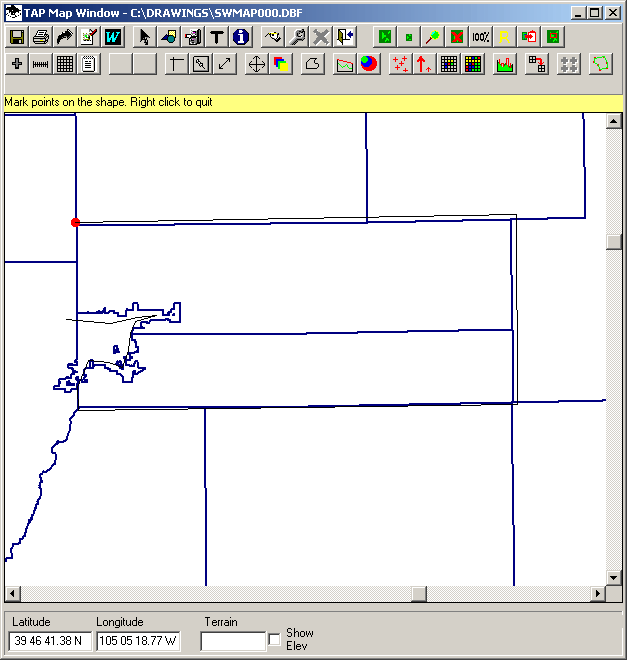
Click the points you want to use to define the boundary. The first point is marked with a red dot as a reference for closing the boundary as described below:
You can click points to create as much or as little detail as needed.
To close the area, use the right mouse button:
You will be asked if you want to add the object to a boundary file:
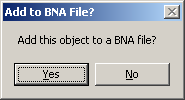
If you click No, the process will be cancelled. If you click Yes, you will be prompted for a name to describe the object:
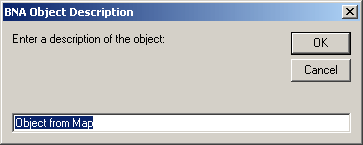
You must enter a description. A blank description will cancel the process.
You will then be prompted for the name of a boundary .BNA file to add the object to. You can enter a new name and the .BNA file will be created, or you can select an existing file and the object will be appended to that file:

Copyright 2003 by SoftWright LLC