Topo Data Index with External Drives
Q: How can I maintain the index of topographic data on an external hard disk if the drive letter changes when I connect the drive?
A: With NTFS drives in Windows 2000 and later (including XP) you can create a “mount point” for the drive that will eliminate the problem of changing drive letters when an external drive is removed and later re-connected. This technique is also useful if you use numerous external drives, since the limited number of drive letters available will not be a problem.
Note that all values in this example are for demonstration purposes only. You should determine appropriate settings for your application.
You should only make the changes described in this FAQ if you are familiar with changing Windows configuration settings. Otherwise you should have your IT department or other knowledgeable person follow these steps for you.
The Topographic Data index that TAP uses includes the drive and folder information used to find the topographic elevation data files. If the data files on a drive are indexed on an external drive, and the drive is removed and later connected, it is possible that the re-connected drive will be assigned a different drive letter by Windows. If this happens, the location information in the TAP topo data index will no longer be valid, and TAP will not be able to find the data when needed. Assigning a mount point for the drive, and using the mount point instead of the drive letter when indexing the data will eliminate this problem.
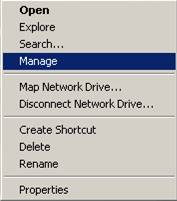
To assign a mount point for the external drive, right-click on My Computer. When the pop-up menu is displayed, select the “Manage” item:
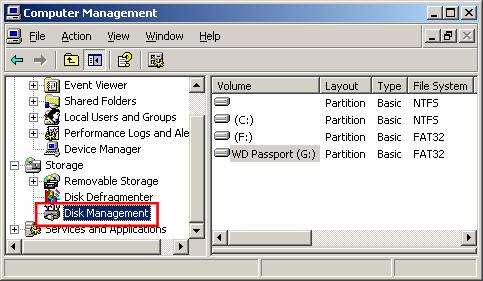
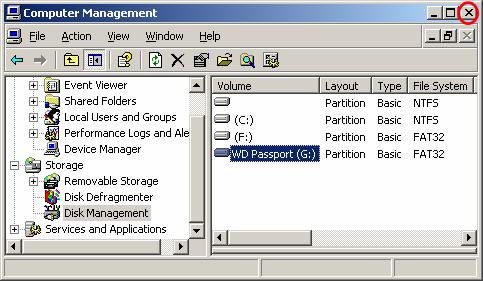
When the Computer Management form is displayed, click on the “Disk Management” item:
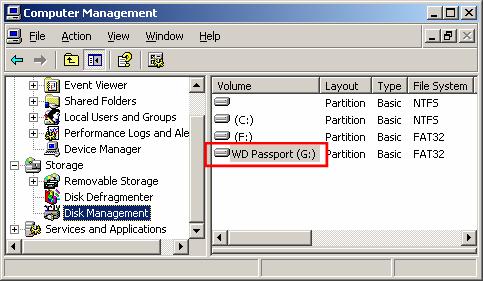
Select the external drive you want:
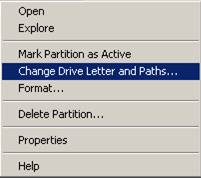
Right-click on the drive item and select “Change Drive Letter and Paths”
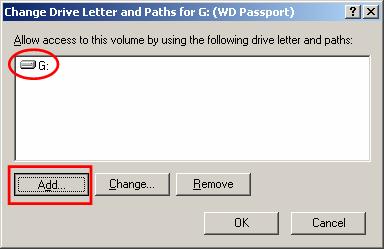
The current drive letter is shown. Click to “Add” button to add a mount point for this drive:
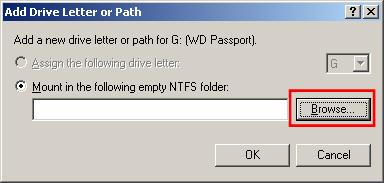
On the Add Drive Letter or Path form, click the “Browse” button:
Navigate to the location you want to use as a mount point. The mount point must be an empty folder:
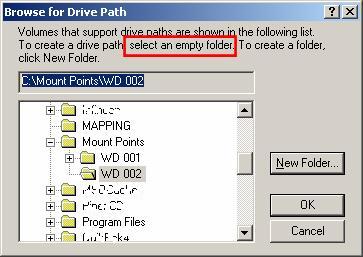
When you have selected the empty folder you want to use, click the OK button to close the form.
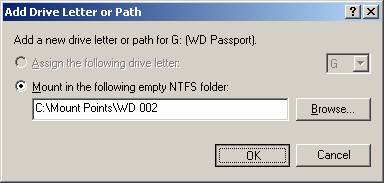
Click the OK button to close the “Add Drive Letter or Path” form:
Close the “Computer Management” form:
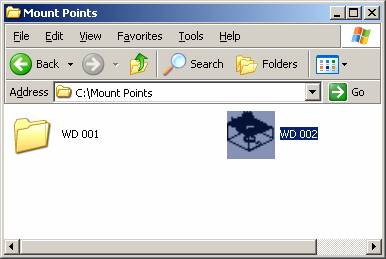
The folder used as a mount point will now be displayed with the icon (if any) associated with the external drive.
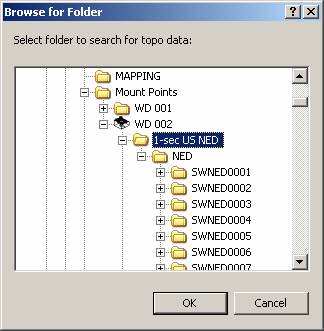
Now when you use the Configuration-TopoData index function, that mount point folder, or any of its sub-folders can be selected for indexing topo data.
Note that if the drive is disconnected (using the Windows “Safely Remove Hardware” function), the mount point folder is displayed as the generic folder icon:
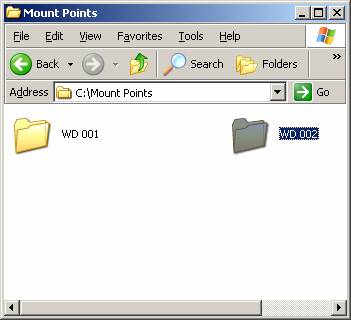
This provides a quick indication of which drives are connected and which are not.
Also, if the drive has been removed, attempts to access the drive using the mount point will generate an error message:

|
|
Copyright 2007 by SoftWright LLC