Introduction
This document provides a brief tutorial for the SoftWright ASSET MANAGER program. The tutorial includes sample records to illustrate the functions in the program. All information is for illustration purposes only.
This Tutorial is designed to provide familiarity with the general operation of ASSET MANAGER. Additional, more detailed information is also available in the ASSET MANAGER Frequently Asked Questions (FAQs).
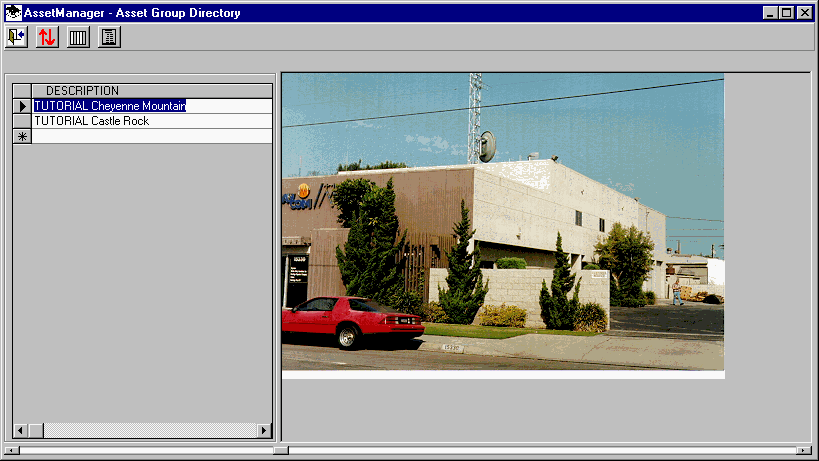
When you start ASSET MANAGER, the ASSET GROUP , list is displayed:

The ASSET GROUPs are the organizational units for grouping the other information included in ASSET MANAGER, as you will see below. These are typically geographical locations such as a particular "antenna farm", building rooftop, etc., where rf installations are located.
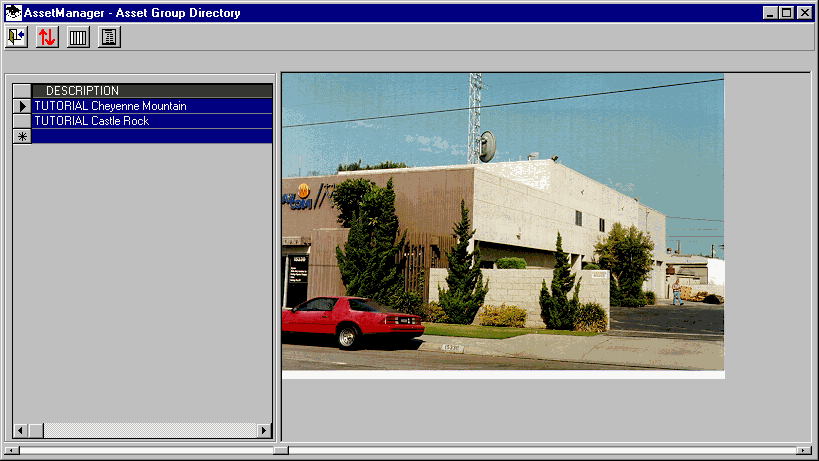
The tutorial database initially contains the records shown. You can sort the records by selecting the column by clicking the header bar at the top, then clicking the Sort button on the toolbar:
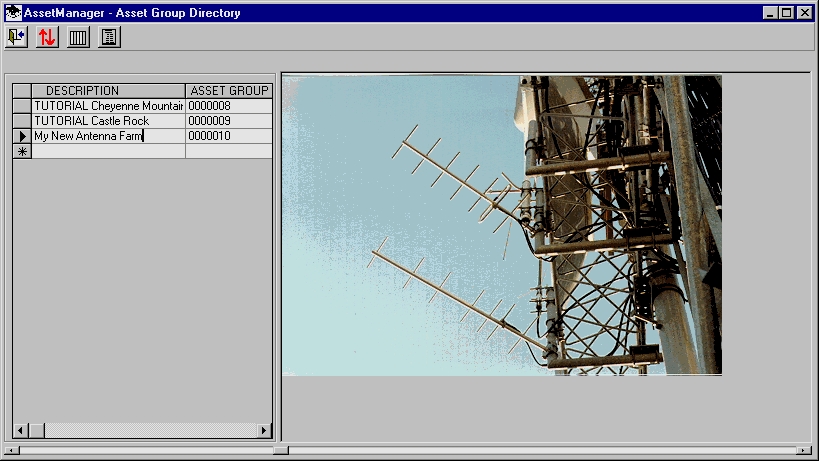
You can add a new record by typing in the bottom line of the list (the line marked with an astersisk "*" at the left end).
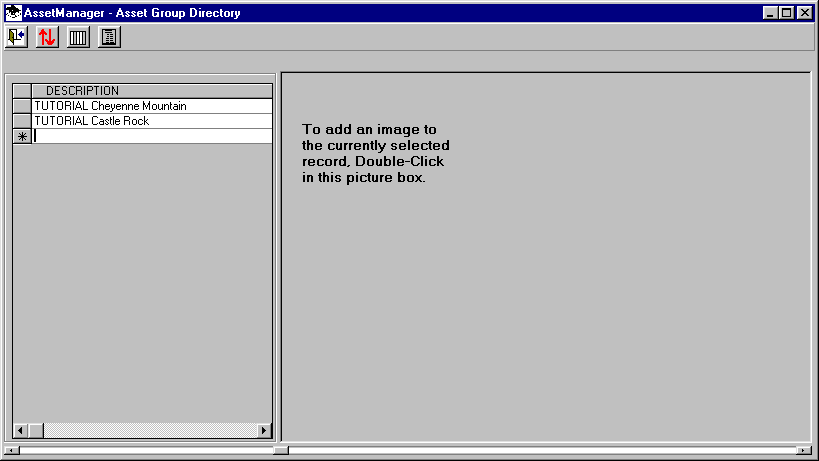
As you begin typing, a new record is added to the database:
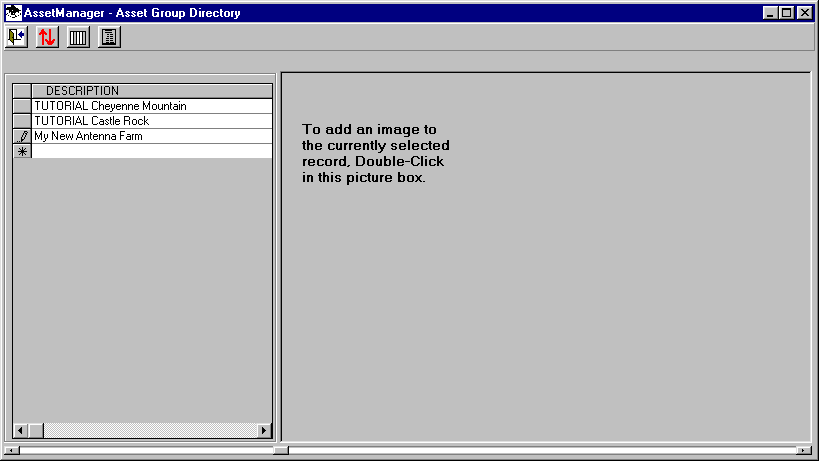
If you want to add an image associated with the new site, double click on the image area on the right of the form. The Database Image form is displayed:
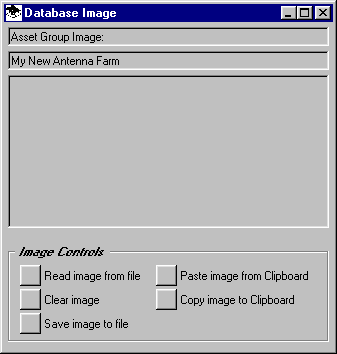
Click the "Read image from file" button. You can then locate the image file you want to use.
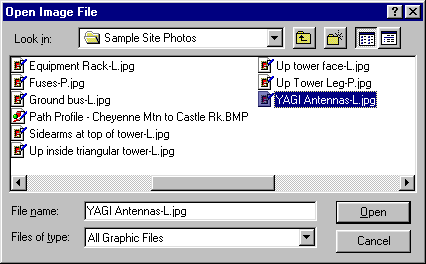
For example, if you go to the System folder located immediately under the folder where ASSET MANAGER is installed (typically the SWTAP folder), there is a folder named "Sample Site Photos". You can open this folder and select one of the image files, such as "YAGI Antennas-L.jpg"
The image is loaded into the Database Image form:
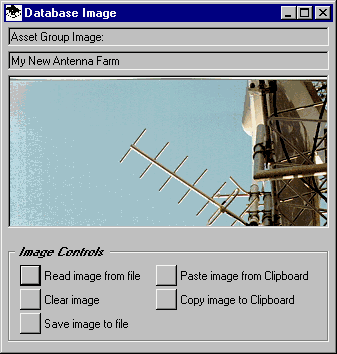
You can use the mouse on the edge or corner of the form to resize the form for a better view of the image:
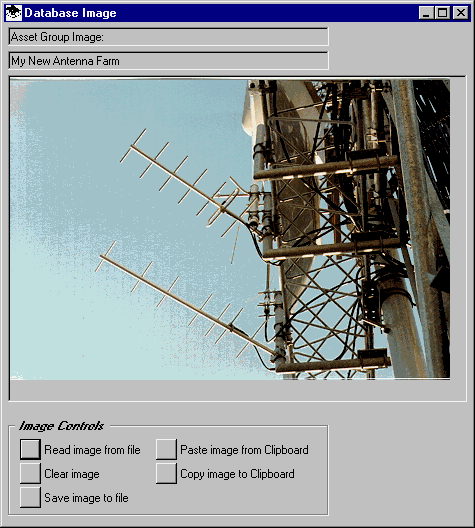
Close the form with the "X" in the upper right corner of the form and the image will be added to the ASSET GROUP record:
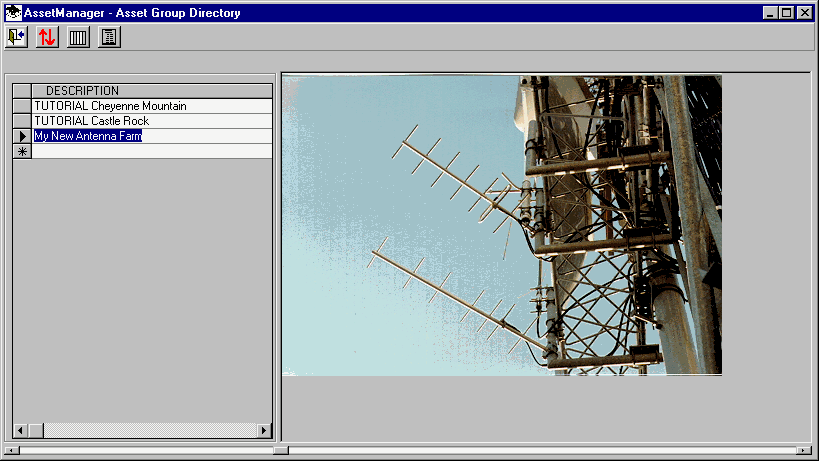
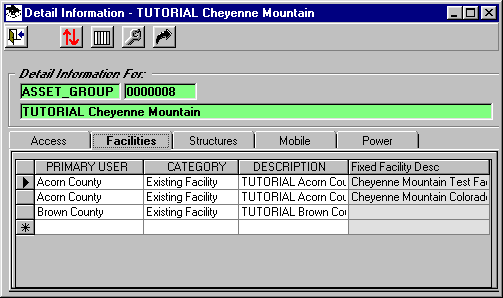
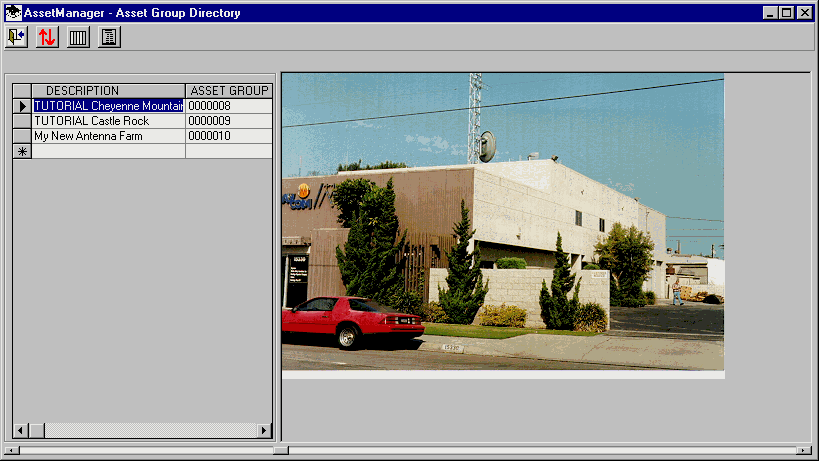
To see additional detail information about one of the ASSET GROUPs, double-click the mouse on the description. For example, double-click on the Cheyenne Mountain record:
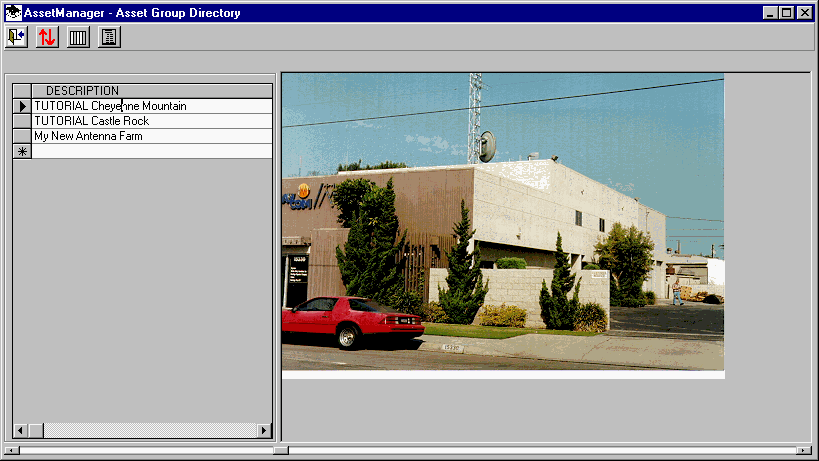
The Detail Information form is displayed. This form shows the information associated with the Cheyenne Mountain ASSET GROUP. Four types of information are shown:
Click the Accessibility tab to see a list of directions to the location, special instructions for winter access, phone numbers for a contact person, etc.
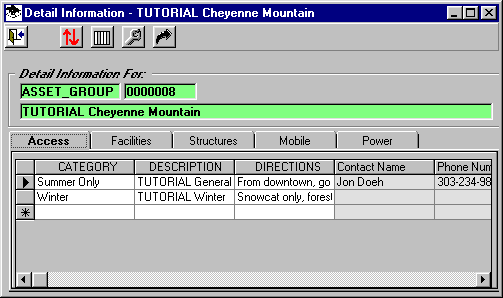
In this example, separate driving instructions are provided for summer and winter conditions.
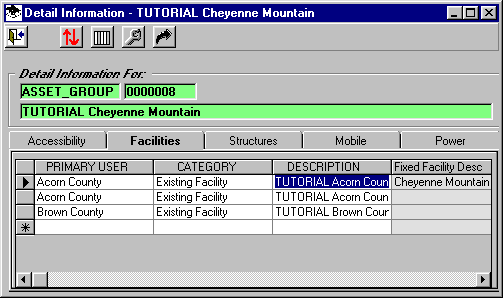
Click the Facilities tab to see a list of the users at the location.
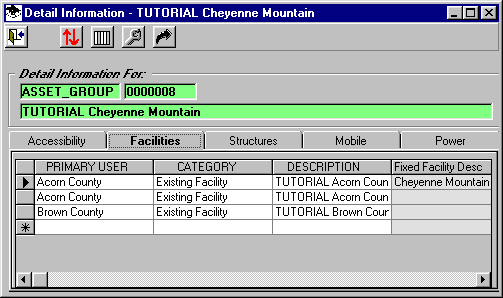
In this tutorial example, three Facilities are shown at Cheyenne Mountain, two for Acorn County (the roads department and the sheriff) and one for Brown county (the sheriff)
Click on the Structures tab to see a list of towers and other supporting systems at the location:
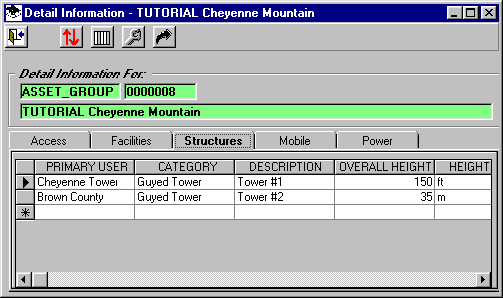
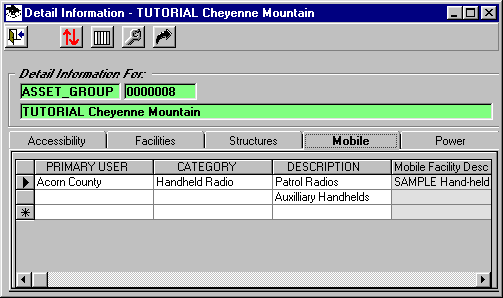
Click on the Mobile tab for a list of Mobile units associated with the site:
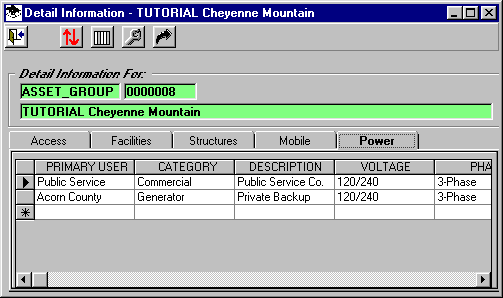
Click on the Power tab for a list of power sources at the site:
Additional Detail Information
On most ASSET MANAGER database Detail Information forms, there is a further level of detail for each record. For example, select the Facilities tab for the Cheyenne Mountain ASSET GROUP:
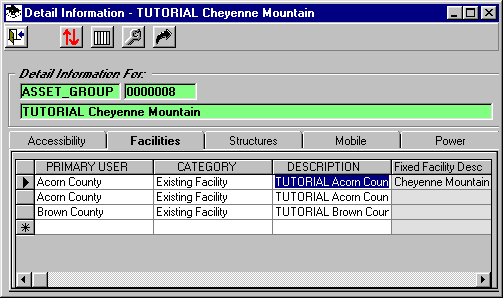
Double-click the Description for the Acorn County Roads facility record.
A Detail Information form for that facility record is displayed, showing the database information available for that Acorn County Roads facility:
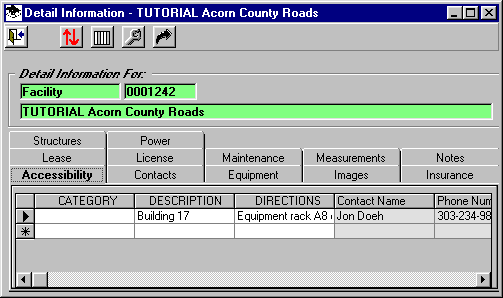
You can select each of the tabs to see the kind of information that is stored in each of the databases.
Close the Detail Information form for Acorn County Roads by clicking the Exit button on the left end of the toolbar.
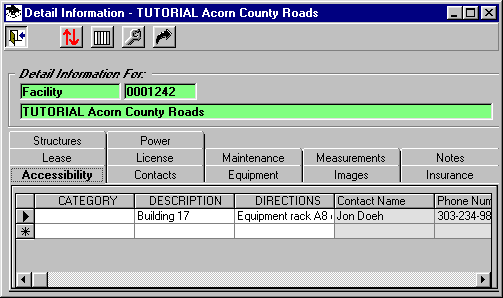
This will return you to the Detail Information for the Cheyenne Mountain Facilities:
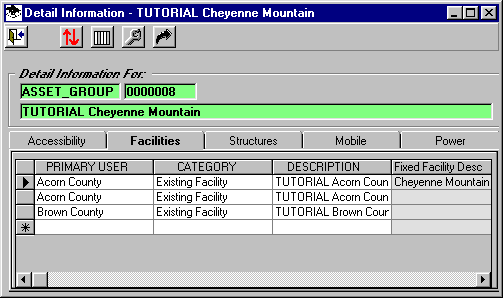
You will notice on many of the tabs in ASSET MANAGER a column labeled "Primary User". The "Primary User" field enables you to define a list of users, owners, or other classification that can be associated with various types of information records.
For example, in the tutorial tabs shown above, two of the Facilities at Cheyenne Mountain are associated with Acorn County, and one with Brown County. In addition, one of the Structures at Cheyenne Mountain is associated with Brown County.
To specify a current "Primary User" with a record, you can use the pull-down list. For example, click on the Facilities tab for the Cheyenne Mountain ASSET GROUP.
When you click on the Primary User for one of the Facility records, you can view the list of currently defined Primary Users:
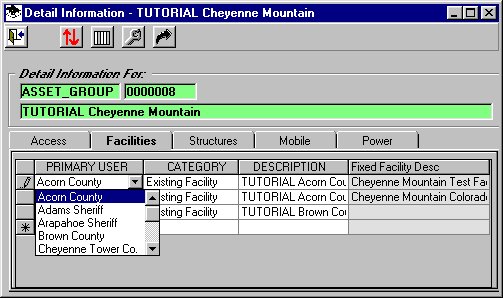
You can select any entry from the list to specify the Primary User.
You can add a new Primary User to the list by typing in the new name. To demonstrate this, first close the Detail form for Cheyenne Mountain by clicking the Exit button at the left end of the toolbar, or the "X" button at the upper right corner of the form.
The ASSET GROUPs List form is still displayed. Click on the record you added for "My New Antenna Farm":
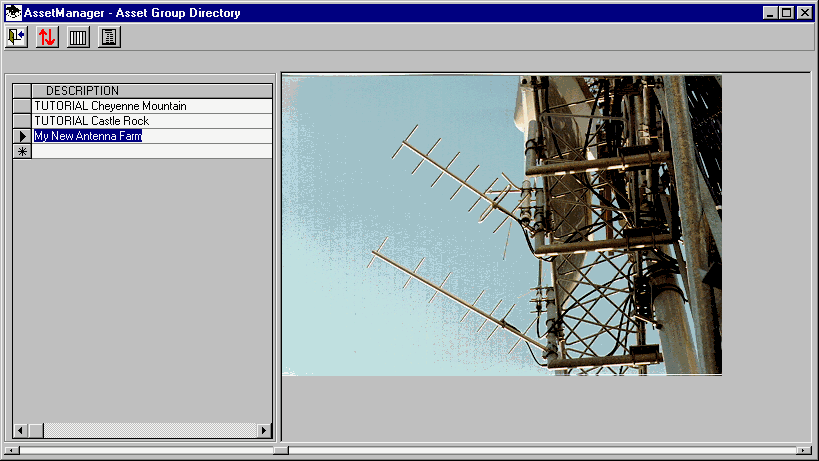
Double-click the "My New Antenna Farm" record added earlier (changes will be made to this record so we preserve the original tutorial records for later illustrations).
The Detail form for My New Antenna Farm is displayed. Click the Facilities tab.
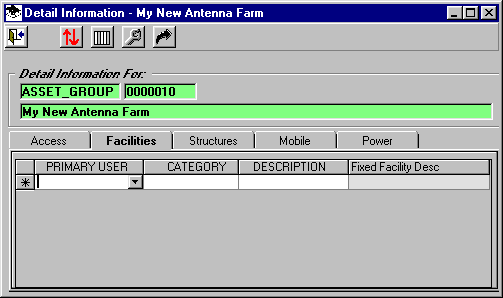
Since this is a new ASSET GROUP, there are no Faclity records. Place the cursor in the Description column and type a new description, such as My New Facility:
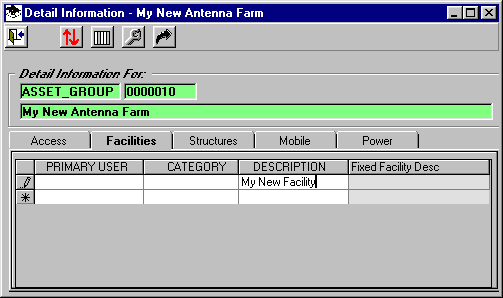
(Notice the new record is created when you start entering information on the "*" row, just like for the ASSET GROUPs.)
Suppose we want to specify the Primary User for this Facility as "Clark County." View the pull-down list for Primary User:
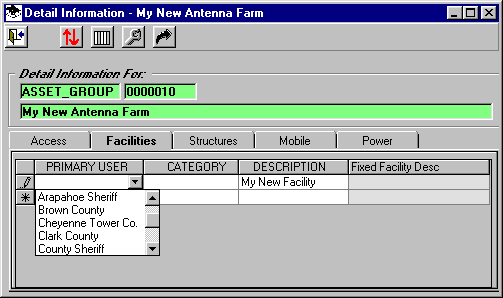
Since Clark County is not in the list, you can add it by typing in the new Primary User name:
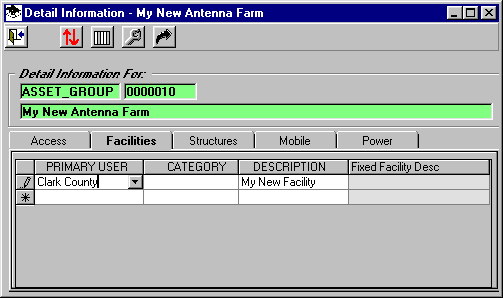
Now if you go to another record, such as the Structures tab, you will see that Clark County has been added to the Primary User list:
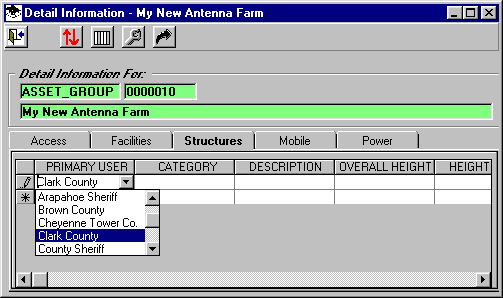
The Primay User list is available for any record of any type of data. This enables you to associate various information with the same Primary User. Since you select from the list, you can avoid errors in typing, different spellings, etc.
To see how the Primary User list is available for different records and types of data, close the Details form for "My New Antenna Farm" by clicking the Exit button:
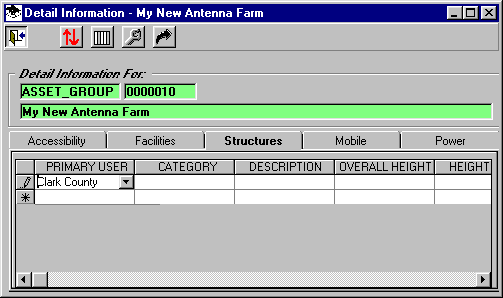
When the ASSET GROUP form is displayed, open the Cheyenne Mountain ASSET GROUP by double-clicking on the record in the ASSET GROUP list.
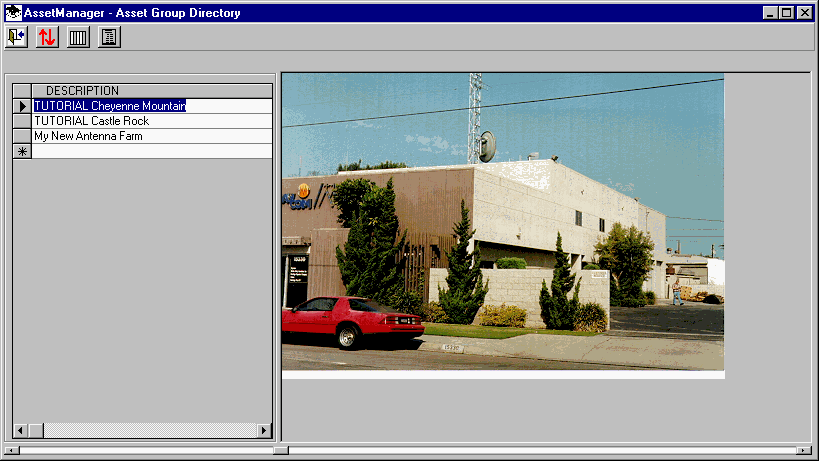
The Detail Information form for Cheyenne Mountain will be displayed:
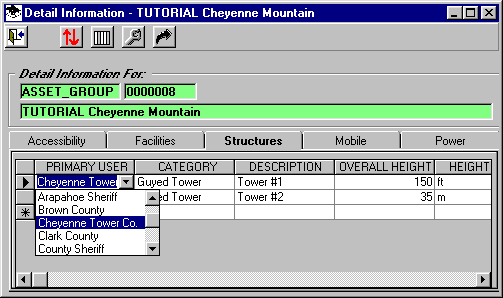
You will see that the Clark County listing for the Primary User (added under My New Antenna Farm) is available in the list of Primary Users for Cheyenne Mountain. The Primary User list is the same for all for all record types in different databases.
Be sure you leave Cheyenne Tower Co as the Primary user for the record, then close the form by clicking the Exit button.
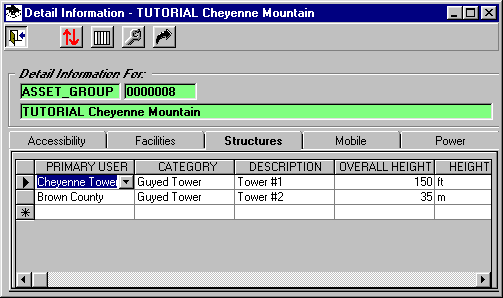
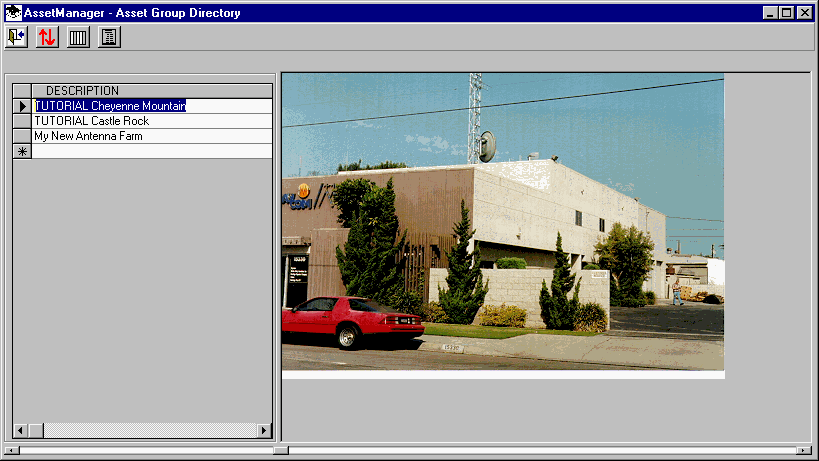
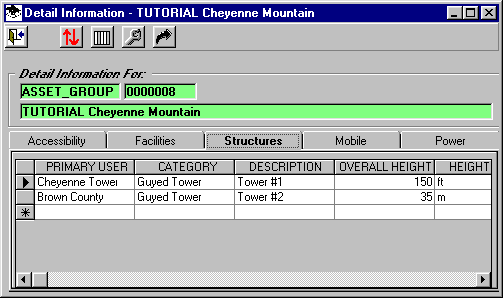
Another column you will see on several of the ASSET MANAGER database detail tabs is a "Category" for a record. For example, from the ASSET GROUP form, double-click the Chenyenne Mountain record.
The Detial Information form will be displayed, showing the last tab used, in this case the Structures tab. (A different tab may be displayed if you explored the other tabs earlier in this tutorial.
Click the Accessibility tab to select that list of records:
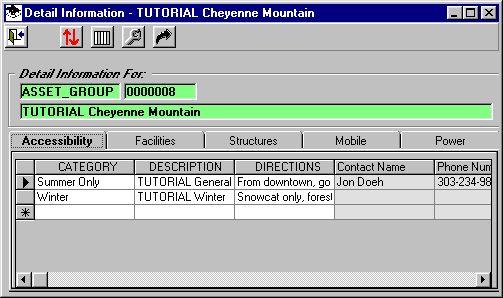
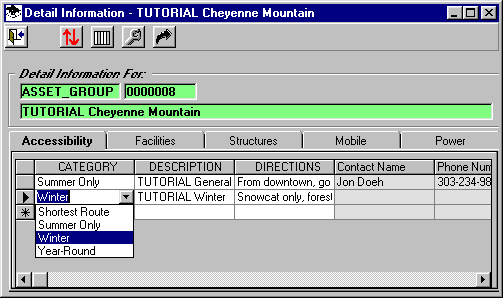
A Category column is similar to the Primary User column described above, in that the Category provides a list of entries you can select from. Like the Primary User column, you can add a new entry to the list by typing into the column.
The key difference between the Category and Primary User information for a record is that, while the list of entries for the Primary User column remains constant wherever the Primary User column appears, the Category list is specific to the particular database or tab it is displayed on. For example, the list of Categories for different types of access to a location (on the Accessibility tab) is available on any Accessibility tab in ASSET MANAGER.
But the Category list for a different database, shown on a different tab, such as Facilities, contains different items, appropriate for that database.
Click the Facilities tab to open those records. If you pull down the Categories list on the Facilities tab you will see a different list of Categories that can be used to organize Facilities records.
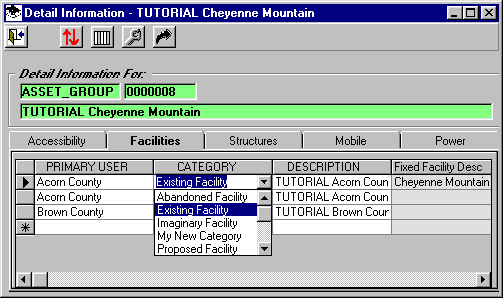
You can add a many items as needed to the Category list for each of the databases.
Suppose you need to edit or delete a Category (or Primary User) item from the list. For example, close the Detail Information form for Cheyenne Mountain by clicking the Exit button:
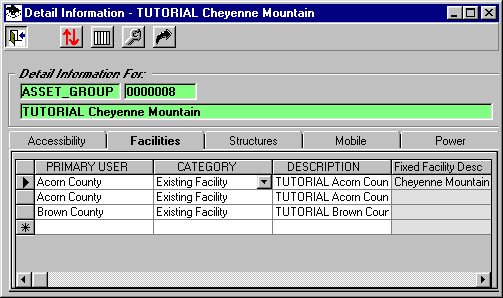
This will return you to the ASSET GROUP Directory form:
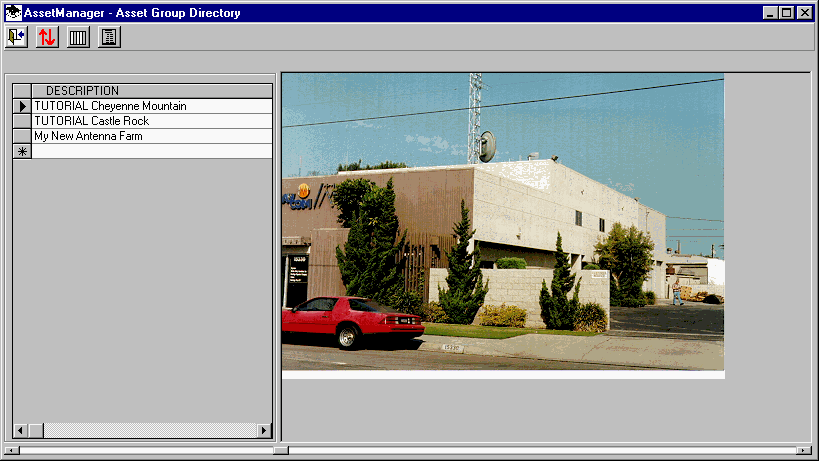
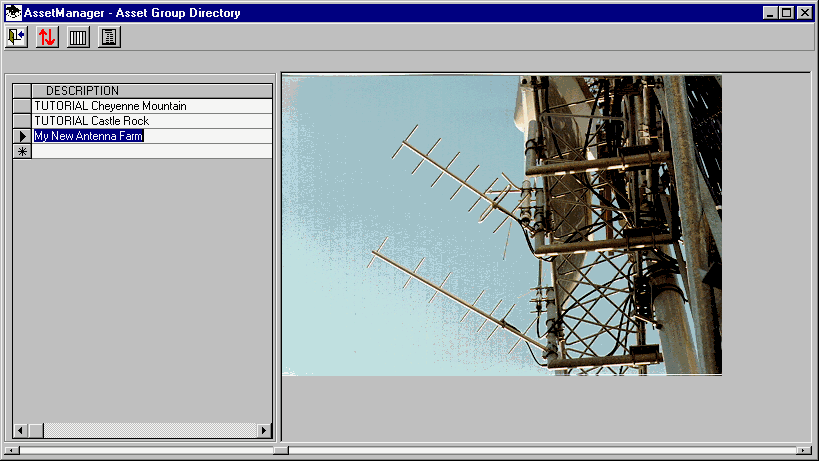
Select the My New Antenna Farm record by clicking on the list:
Double-click the My New Antenna Farm record to open the details for that site, and select the Facilities tab:
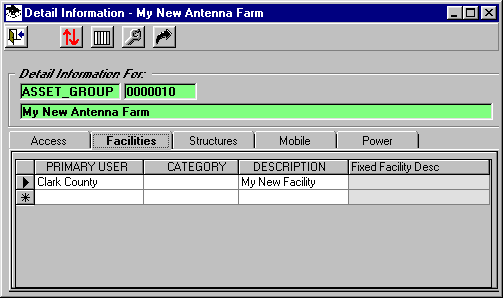
In the Category column for the record, enter any string of characters, such as "asdf". That erroneous item is now in the list of available choices for the Facilities Category:
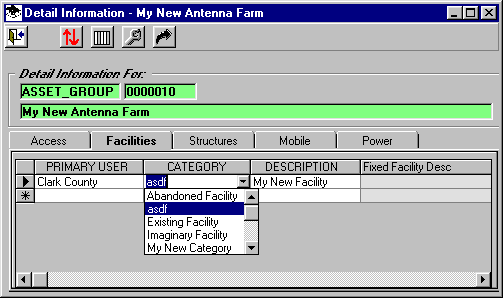
Now we can edit the Category list for Facilities records. With the mouse cursor in the Category column, press the F9 function key on your keyboard.
The Category Editor form is displayed.
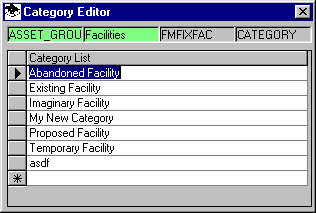
Click the mouse cursor on the selection button at the left of the row you want to edit:
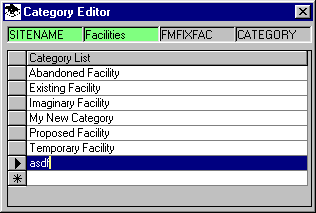
You can either edit the entry to correct it, or press the Delete key on your keyboard to remove the selected item. Close the Category Editor form by clicking the "X" in the upper right corner of the form:
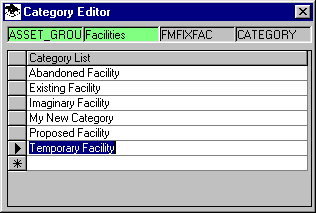
This will return you to the Detail Information record for "My New Antenna Farm"
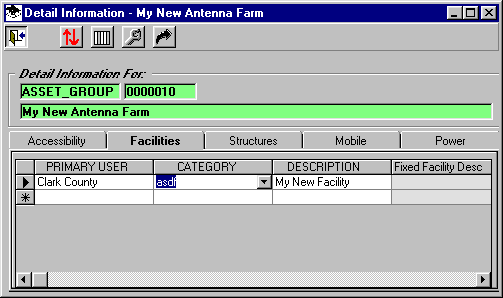
Note that correcting or removing the item from the list does not modify any record in the database where it has been previously used.
Close the form by clicking the Exit button.
Some of the ASSET MANAGER databases include numerous columns. While you can use the horizontal scroll bar at the bottom of the grid to navigate to columns beyond the width of the screen, you also have the option to hide columns that are not needed for your use of ASSET MANAGER. In addition, several columns containing record IDs or other internal database information are normally hidden.
For example, on the ASSET GROUP Directory form, click the "Configure visible columns" button:
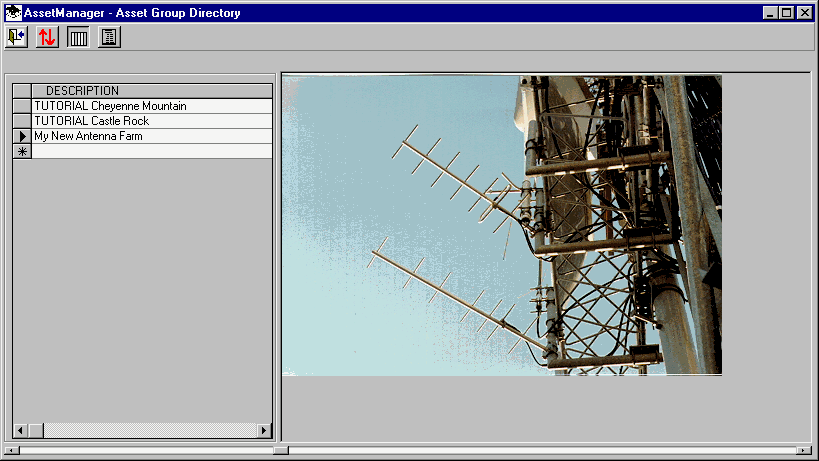
A form is shown listing the columns in the database, and a check box to enable you to select which columns you want to display:
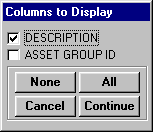
Check the "ASSET GROUP ID" item and then click the Continue button.
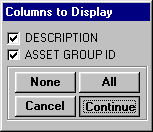
Now the ID column is also displayed. (You may have to adjust the column widths by using the mouse to move the column dividers in the header at the top of the column.)
Note that the ID column has a gray background, indicating that the information in that column cannot be edited (the values are assigned and managed internally by ASSET MANAGER).
On other forms, the selection may be much more extensive. For example, double click the Cheyenne Mountain record on the ASSET GROUP list:
On the Detail Information, select the Facilities tab. Double click the Acorn County Roads record:
This opens the Detail Information for that Facilitiy:
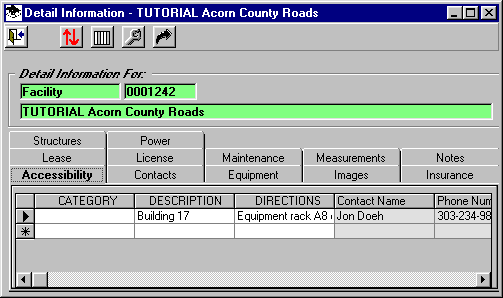
Click the Equipment tab:

This tab includes twelve columns. Click the "Configure visible columns" button:
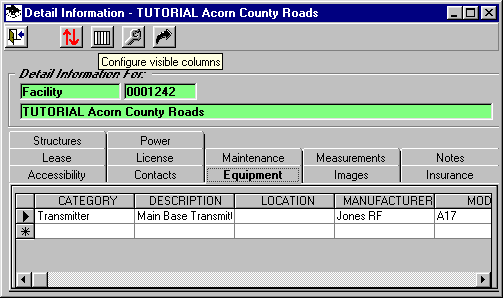
These are shown on the corresponding Columns to Display form.
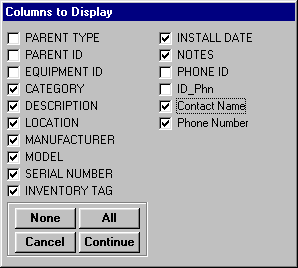
You can change the Column Configuration information at any time to suit your particular needs.
Note that normally the fields that are used for internal database "housekeeping", such as ID fields or "Parent" fields, are unmarked on the Columns to Display form, so this information is not normally displayed.
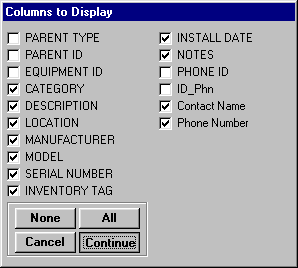
Click the Continue button to close this form.
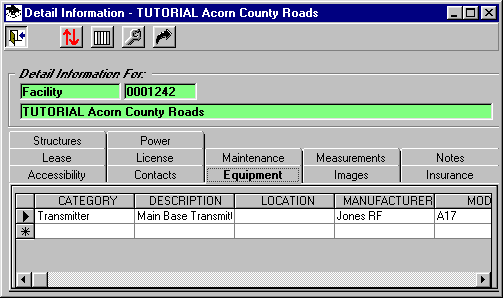
Close the Detail Information form for Acorn County Roads by clicking the Exit button:
Close the Detail Information form for the Cheyenne Mountain Asset Group by clicking the Exit button:
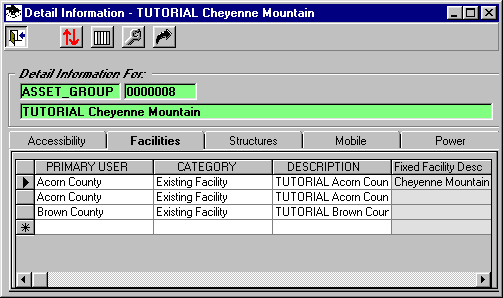
The ASSET GROUP form is displayed:
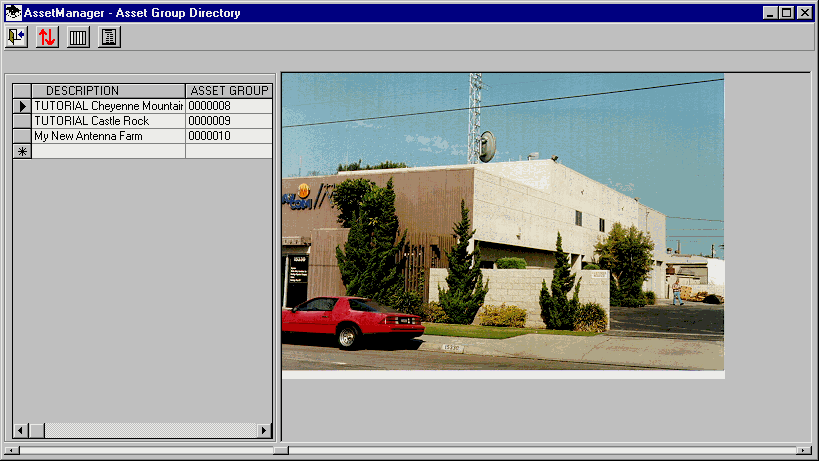
Several of the databases in ASSET MANAGER include a "Contact" column for a person or agency related to the record.
For example, on the ASSET GROUP Directory form, double-click the Cheyenne Mountain ASSET GROUP.
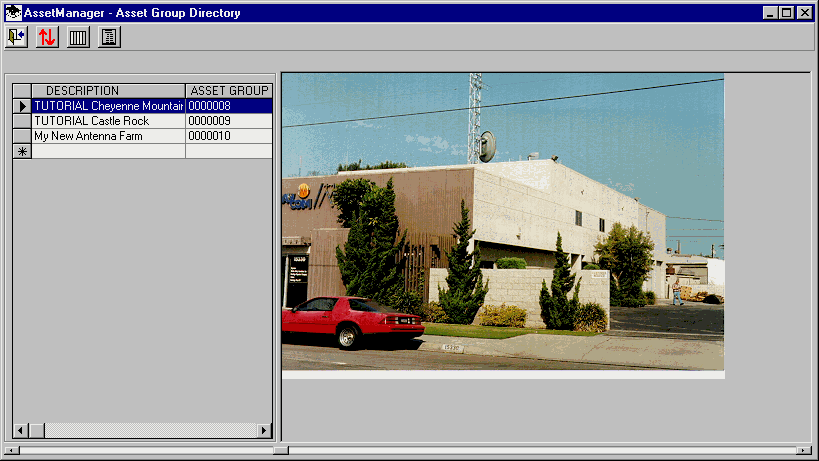
The Detail Information form is displayed for this ASSET GROUP. Select the Facilities tab on the form.
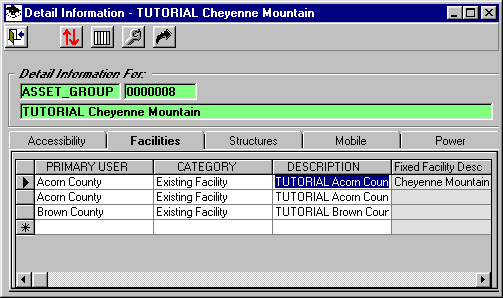
Double-click the Description column for the Acorn County Roads record. The Detail form for the facility is displayed. Select the Maintenance tab, and scroll to the right so you can see the Contact Name column:
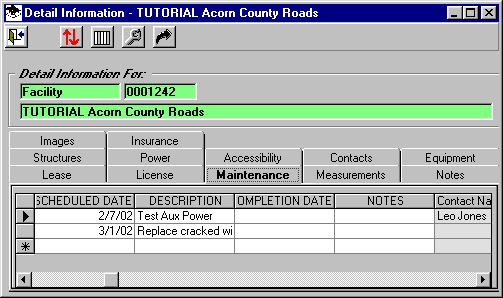
In this example, the contact might be the person responsible for the maintenance item.
Double-click the Contact Name column. The Phone Directory form is displayed.
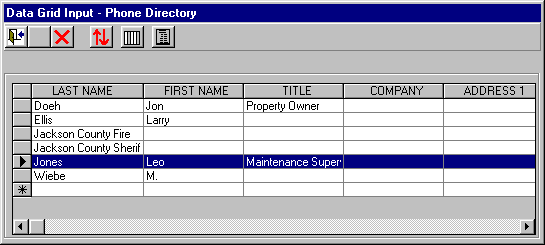
Click the selection button to the left of the row you want to select. Then click the Exit button on the far left of the toolbar.
The name and phone number information are returned to the Maintenance record:
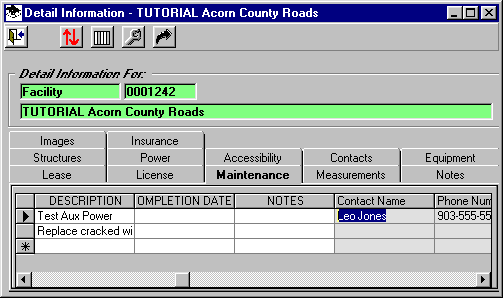
Note that the Phone Directory information can be changed only in the directory itself. Since the Contact information in each database is linked to the Phone Directory, if you change the information in the directory, the change will be shown in all records (such as the Maintenance record in this example) that refer to the Phone Directory entry.
Close the Detail Information form for Acorn County Roads by clicking the Exit button:
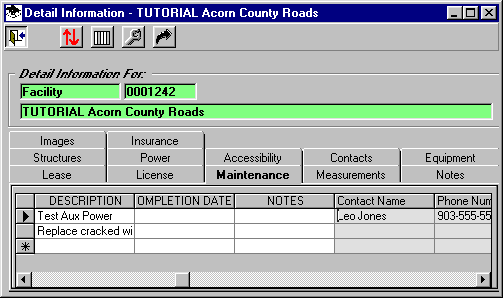
Close the Detail Information form for Cheyenne Mountain by clicking the Exit button.
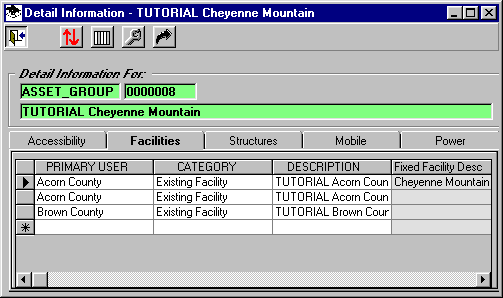
As you build up information in the ASSET MANAGER databases, you can use the Report functions to manipulate and view the data.
From the ASSET GROUP Directory form, click the Create Report button.
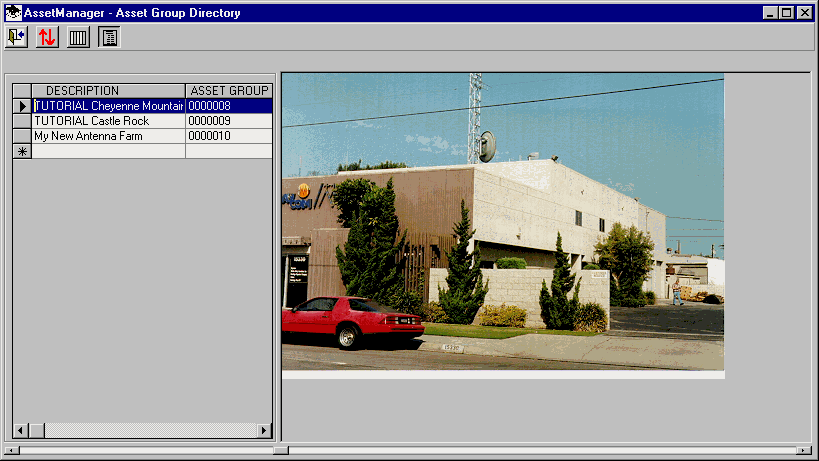
The Report Setup form is displayed:
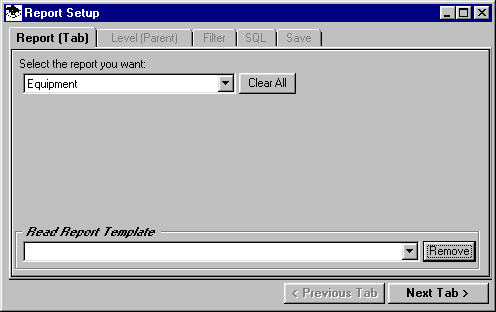
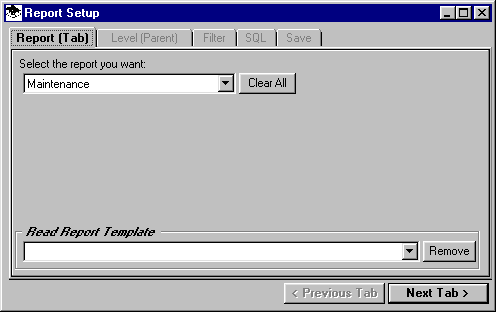
The first step is to select the database you want information about. Use the pulldown list on the Report tab to select Maintenance:
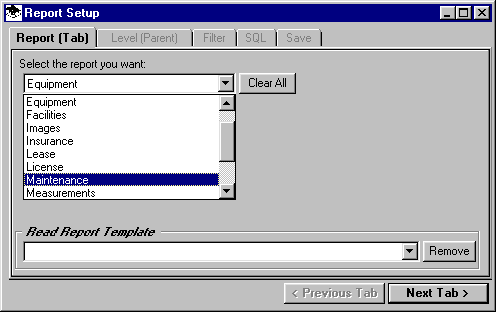
Click the Next Tab button at the lower right of the form. The Level tab is displayed.
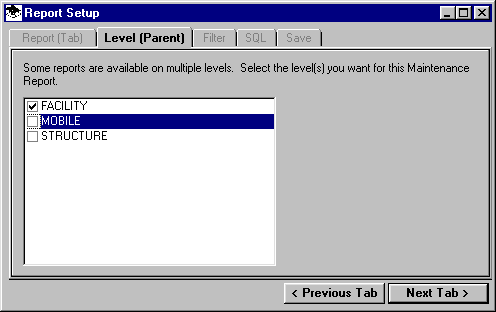
Since the Maintenance database (which we selected on the first tab) can be associated with several different higher levels (or Parents) you can choose which Parent(s) you want to search for this report. As a refresher, recall (near the beginning of this tutorial) the Detail information for the ASSET GROUP record initially displayed several tabs for different information associated with the ASSET GROUP.

The Maintenance records were available to the Facilities, Structures, and Mobile records (visible when you double-clicked a Facility record for example, and the Detail for that facility were displayed). These "upper level" records of Facilities, Structures, and Mobile information are the possible "Parents" for the Maintenance records. Different databases will have different Parents, depending on the applicability of the data to the upper level information.
The Level (or Parent) tab on the Report Setup form enables you to select one, some, or all of the parents for the database report you are creating.
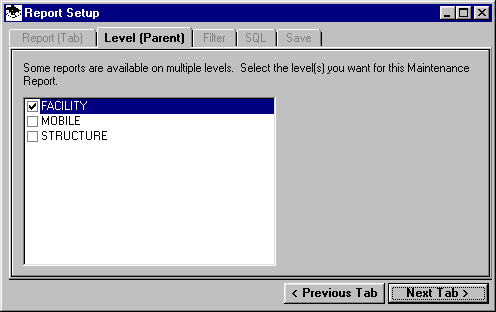
In this example, for the Maintenance database you selected, check only the Facility option, and un-check the others:

Click the Next Tab button at the lower right of the form.
The Filter tab is displayed.
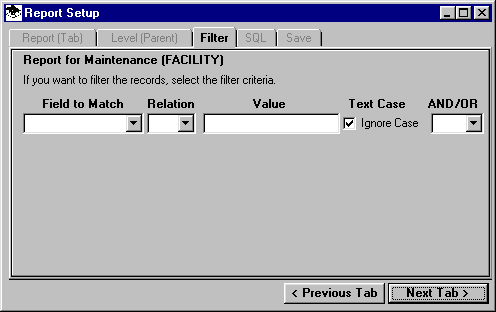
This tab enables you to specify one or more conditions (or "filters") to use in searching the database when creating this report.
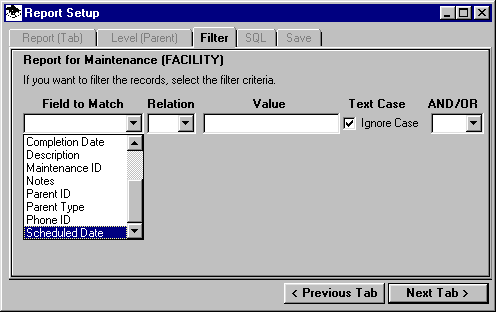
The first pull-down list on the row contains a list of the columns (or "Fields") available to test in the database selected for this report.
Since the Maintenance database was selected for this report, the columns from that database are available for use in the Filter. Select the Scheduled Date from the list:
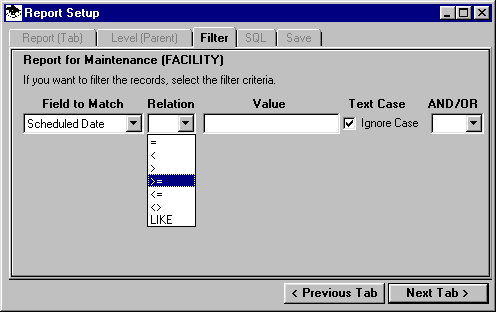
The next pull-down list for the filter is the "operator" you want to use. You can define a filter or test based on relationships such as equal ("="), greater than (">"), etc., to compare the selected field (in this case, the Scheduled Date), to a value you will define.
Suppose we want a list of Maintenance items with a Scheduled Date in February of 2002. Select the relational operator as greater than or equal to (">=") from the list:
The third box on the filter is the value you want to use in comparison with the records in the database. In this example, we want a date on or after February 1, 2002, so enter that into the box.
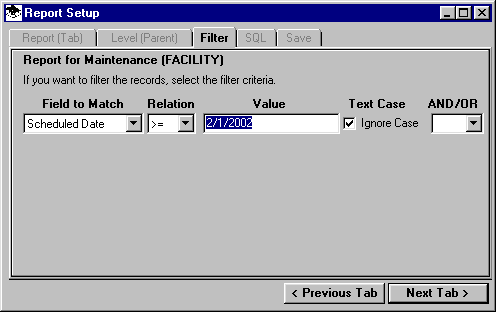
The "Ignore Case" option is only used if we are matching text strings, which will be discussed later.
If the only criterion for this report was Scheduled Dates after February 1, 2002, the filter would be complete. However, to limit the report to dates during that month, a second condition will be needed. We want both conditions, that the date is on or after February 1, and on or before February 28.
The last box on the filter is the Boolean operator. Since we want both conditions to be met, select AND from the pull-down list:
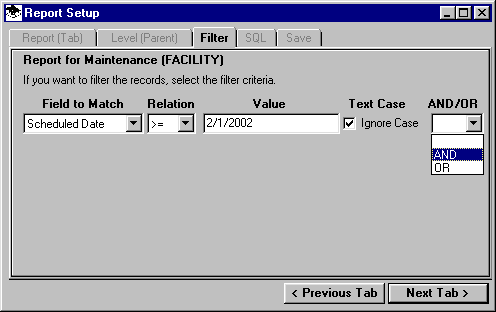
When either AND or OR is selected as the Boolean operator, another row is displayed for the filter:
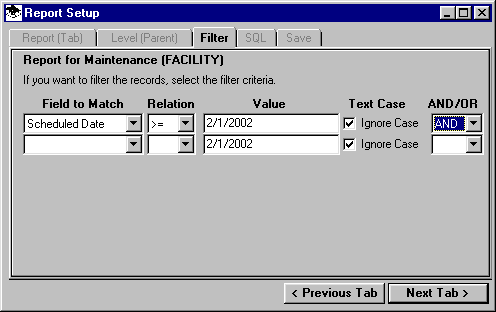
Complete this portion of the filter for dates on or before (less than or equal, "<=") February 28:
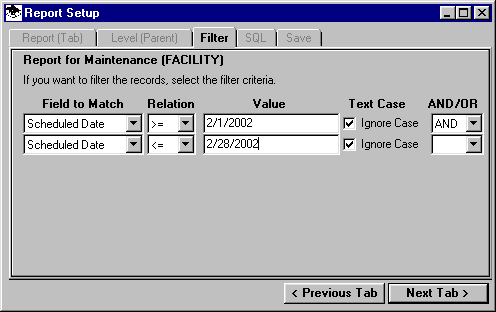
Click the Next Tab button at the lower right corner of the form.
The SQL (Structured Query Language) tab is displayed.
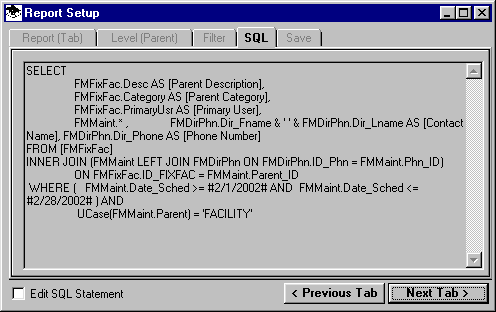
This tab displays the database query constructed from the selections and filter information. If you are familiar with SQL syntax and rules, you can check toe "Edit SQL Statement" box to enable editing of the SQL. Changes in the SQL statement that do not follow standard SQL practices may result in errors or unpredictable results in the report.
Click the Next Tab button.
The Save tab is displayed:
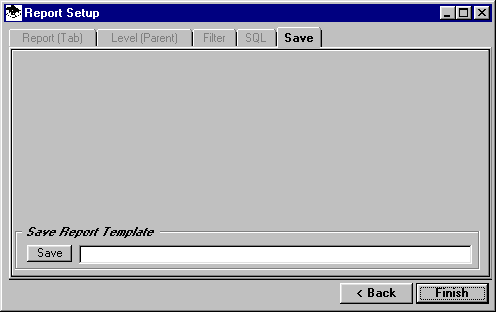
This tab enables you to save all of the specifications of the report (including the Filter information) for use later. For this example, leave the text box empty and click the Finish button.
The Report form is displayed with the results.
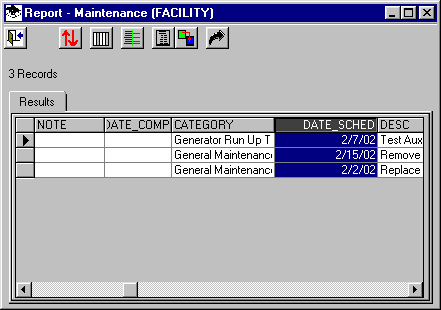
Note that none of the data on the Report form can be edited.
Reports – Matching Parent Fields
The ASSET MANAGER Report generator can also match information on the Parent records in the preparation of the report.
For example, from the ASSET GROUP Directory form, double-click on the Castle Rock ASSET GROUP.
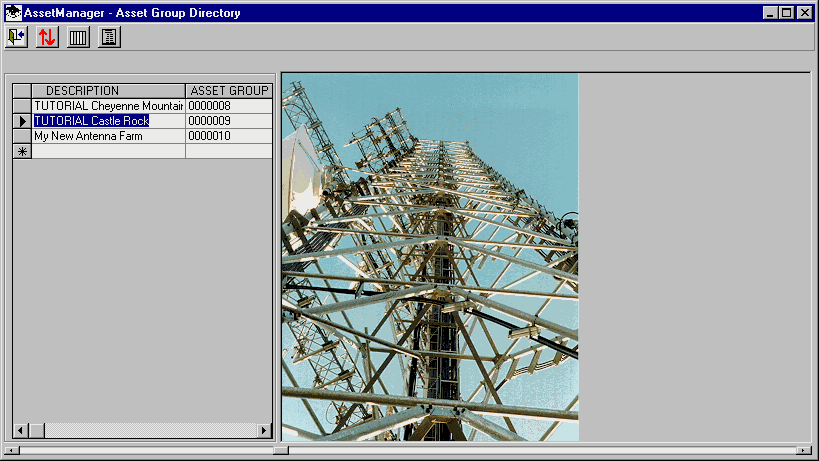
When the Detail form is displayed for Castle Rock, select the Facilities tab.
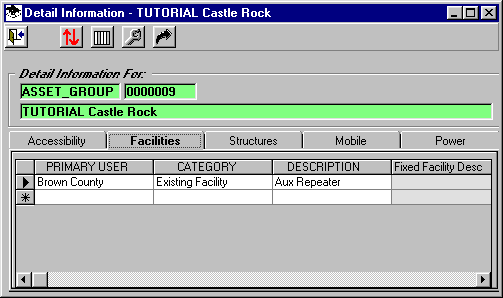
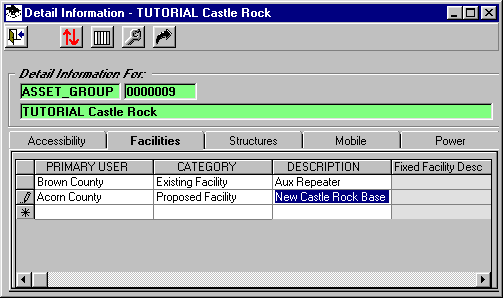
Using the last row of the grid (with the "*" in the left column), enter a new Facility record with Acorn County as the Primary User as shown:
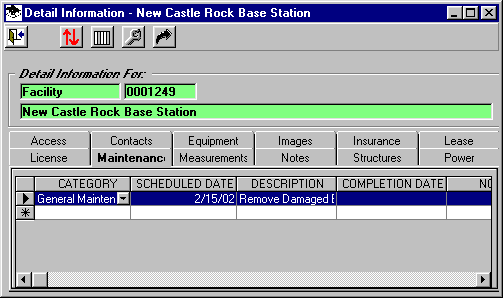
Double-click the Description column on the new record to open the Details for that Facility. Select the Maintenance tab and add a new record as shown:
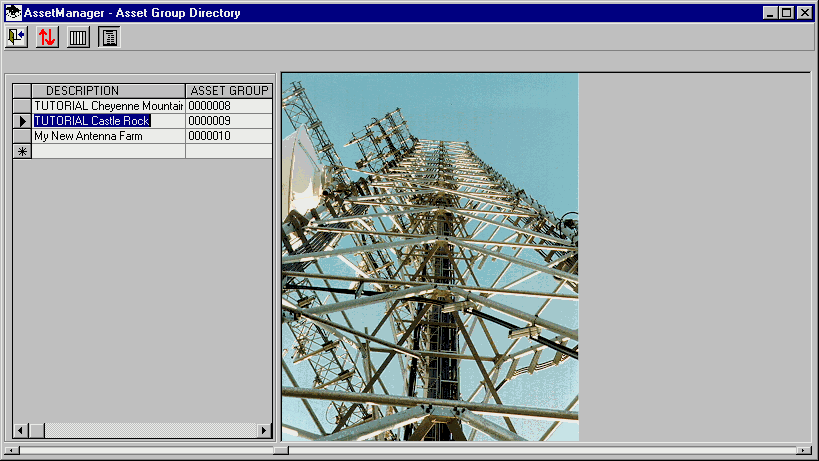
Close the forms to return to the ASSET GROUP Directory form, and click the Report button:
On the Report Setup form, select the Maintenance report:
On the Level tab, select only Facility:
On the Filter tab, use the pull-down list to display the fields that can be matched.
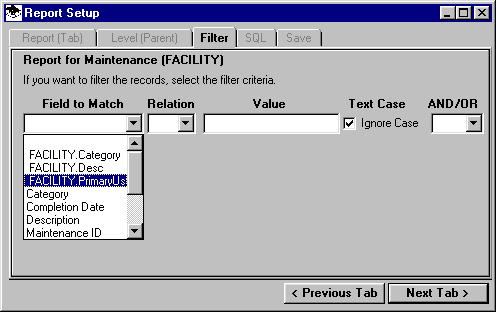
Notice that at the top of the list are certain fields from the Parent(s), in this case the Facility parent. Select the PrimaryUser field.
In the operator pull-down list, select "LIKE":
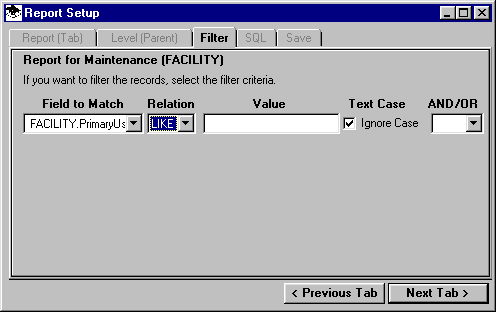
The LIKE operator permits the use of wildcard characters, providing more flexibility than the equal "=" operator.
If we want to find Maintenance records for Facilities that have Acorn County as the Primary User, we can type in the text to match. However, for Primary User fields, and for Category fields (since both have a pre-determined list of values already defined), double-click on the text box, and a list of the available values is displayed:
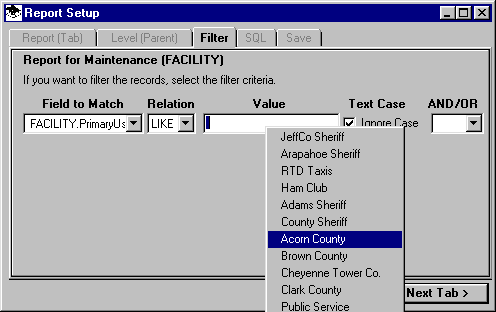
Select Acorn County, then click the Next Tab button.
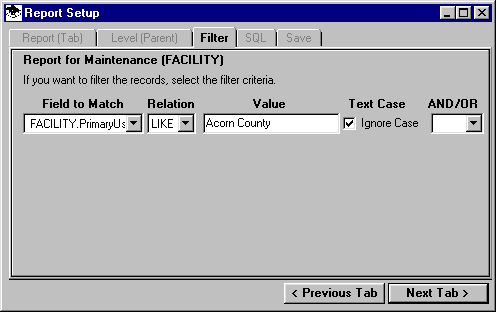
Click the Next Tab button to move past the SQL tab.
Click the Finish button on the Save tab.
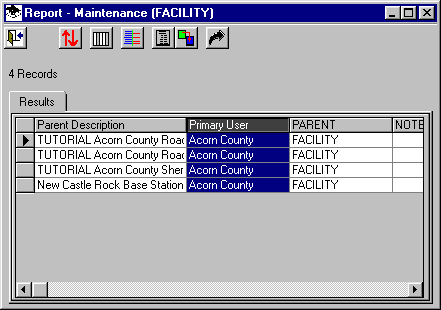
The Report is generated showing the Maintenance records for all Facilities with Acorn County as the Primary User, even though the records are for Facilities at different ASSET GROUPs.
A "Sub-Query" starts with the result of one Report, then creates another report by searching those preliminary results, rather then the complete database.
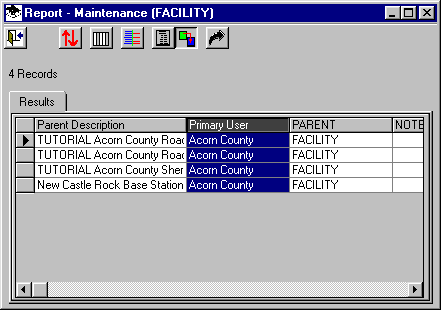
For example, suppose you want a report of the Access information for the Maintenance report created above. Starting with that Report, click the Sub-Query button on the toolbar:
The Report Setup form is displayed. Select the Access report from the pull-down list:
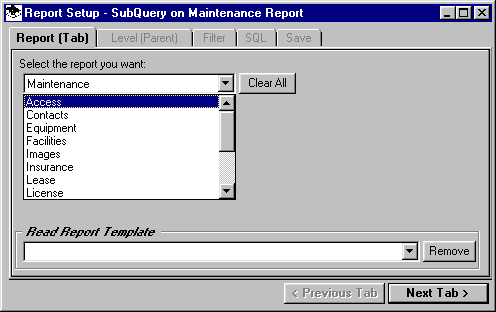
Click the Next Tab button.
Since the Parent(s) have already been defined in the original report, they cannot be changed in this sub-query.
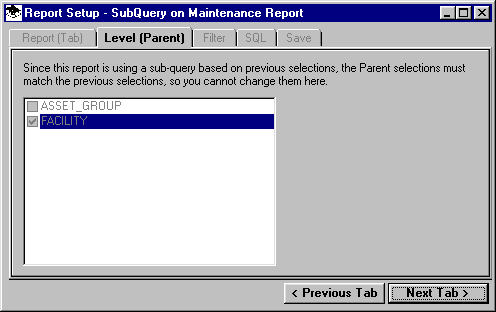
Click the Next Tab button.
Additional filters (based on the Access records) could be added here. For this example, we will not add any other filters:
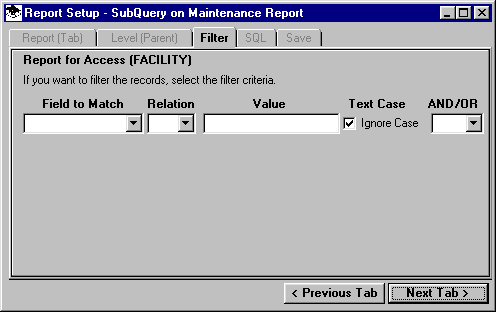
Click the Next Tab button.
Click the Next Tab button to pass the SQL tab.
Click the Finish button on the Save tab.
The Report form is displayed, showing the Access information for the Maintenance records related to Acorn County facilities:
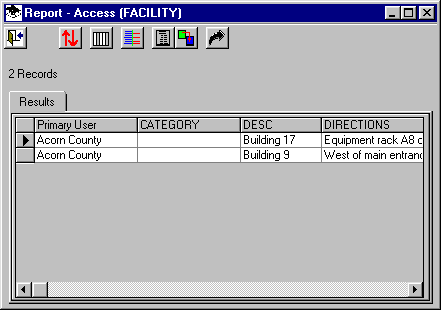
|
|
Copyright 2002 by SoftWright LLC