Map Image Overlays in 3DDisplay
Q: How do I overlay an image file of a map on a 3D image?
A: Image files in several formats (.BMP, .TIF, .JPG) can be added to images in the 3DDisplay program ("3DD").
As an example, use the "Test Document" to start with a simple 3D image. (If the Test Document file does not exist you can create it as described in the "Create Document" FAQ. This Test Document file is used in several FAQ examples.)
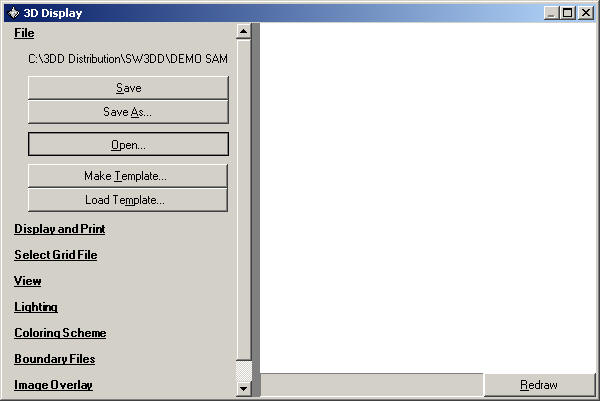
To open the Test Document file, select the File section in 3DD and click the Open button:
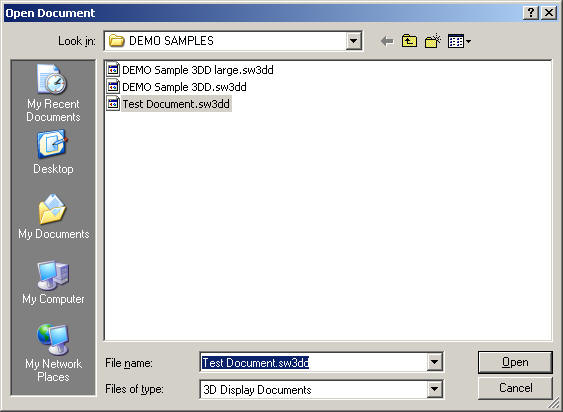
Select the Test Document file to load:
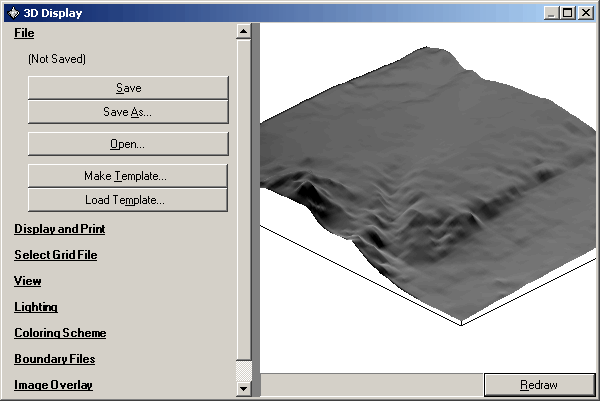
Click the Redraw button to display the image:
If you have reasonably fast Internet access, often the most convenient way to add an image overlay is using the Download button in the Image Overlay section to retrieve an image for your area from the TerraServerÔ service.
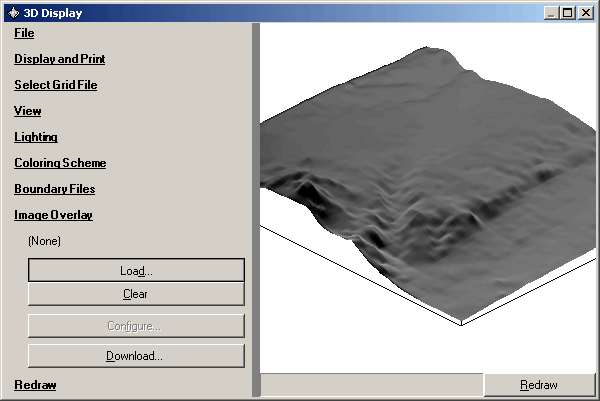
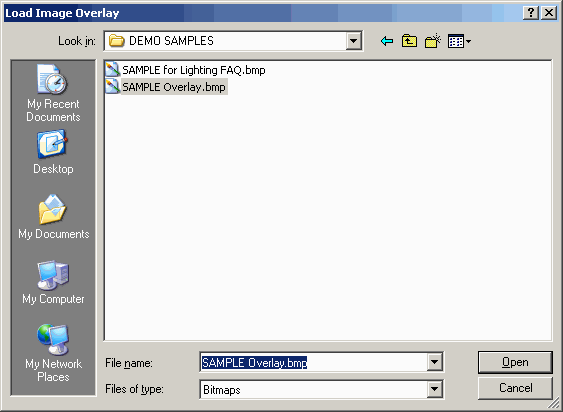
To add an map overlay from an image file on your hard disk, in the Image Overlay section, click the Load button:
Select the graphic image you want to use. For this example, use the "SAMPLE Overlay.bmp" file in the DEMO SAMPLES folder.
If the file has not been used in 3DD before, you will be prompted to enter the coordinate limits of the edges of the file on the "Simple Texture Aligner" form:
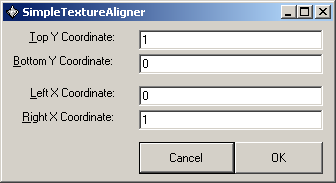
This form is used to determine the limits of the image so the image can be properly aligned to the 3DD drawing.
For this example, using the sample image file, enter the edge limits as shown below:
Top Y Coordinate: 39.181 (maximum latitude) Bottom Y Coordinate: 38.819 (minimum latitude) Left X Coordinate: -105.232 (minimum longitude) Right X Coordinate: -104.768 (maximum longitude)
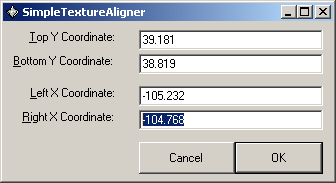
Note that the coordinate values are entered in decimal degrees, with north latitudes (Y values) and east longitudes (X values) entered as positive numbers, and south latitudes and west longitudes entered as negative numbers.
Note also that these coordinates represent the edges of the map image, to be aligned with the 3D topographic graphic in 3DD. For example, the image file loaded in this exercise is shown below:
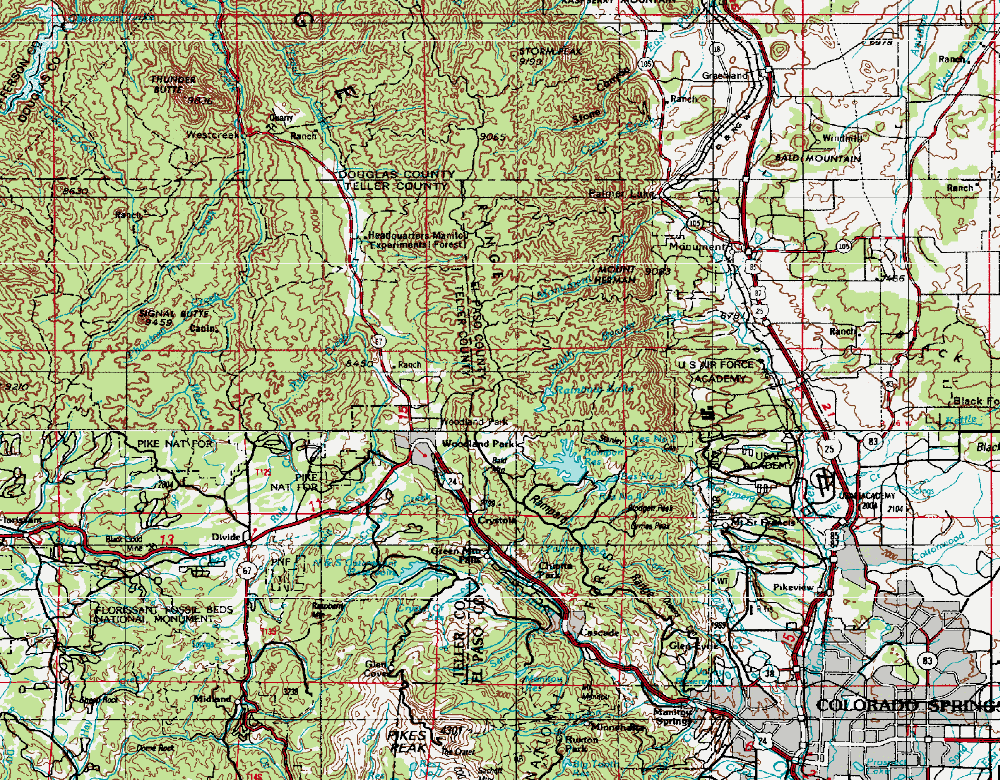
Some image files include borders, legends, or other information. These files will be considered below.
When you have the alignment values entered and click the OK button, the image file will be displayed as an overlay on the 3D image:

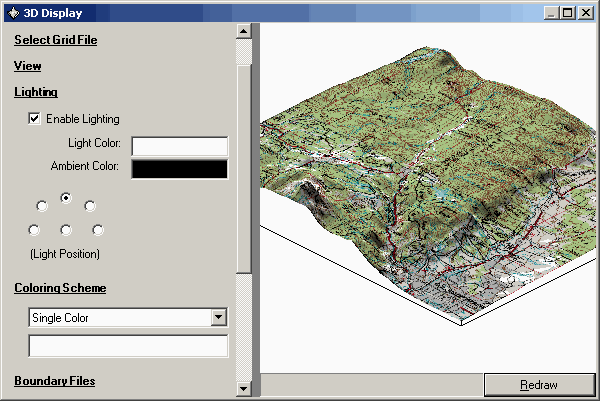
You can adjust the Lighting and Coloring Scheme settings for different effects. For example, setting the Light Position directly over the image, and changing the Single Color for the Color Scheme to white, will result in a considerably brighter image:
Once the image edge coordinates have been entered, the values are saved (in the 3DD.INI file), and the next time you use the same image the coordinates will be retrieved and used automatically.
If you need to adjust or correct the edge coordinates, click the Configure button in the Image Overlay section. The Texture Aligner form will be displayed again for the image file with the previously entered coordinate values.
You can remove the image overlay from the 3D drawing with the Clear button in the Image Overlay section.
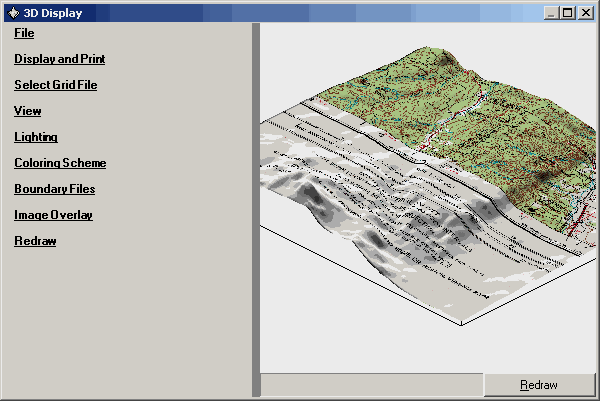
Note that the image file does not have to exactly match the topographic elevation grid area (although this usually is desirable). Consider another image file loaded on the same 3D image (after the first overlay was removed with the Clear button):
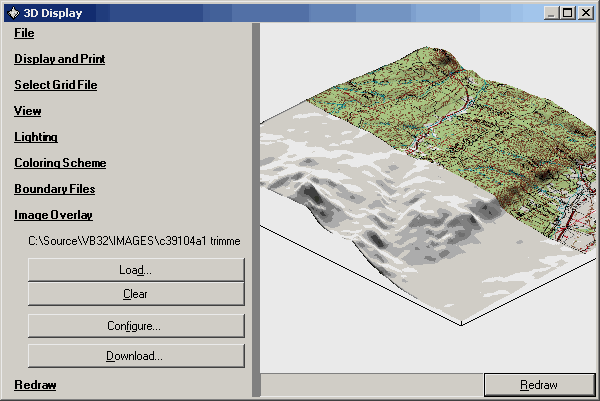
Image Files with Borders
If the map image file you want to use includes borders, legends, etc., those must be either removed or accounted for before using the image file as an overlay in 3DD. Two approaches are possible:
|
|
Copyright 2003 by SoftWright LLC