Lighting in 3DDisplay
Q: How do I use the Lighting functions in the TAP 3Ddisplay module?
A: The Lighting function in 3Ddisplay ("3DD") gives you significant control over the appearance of your 3D image.
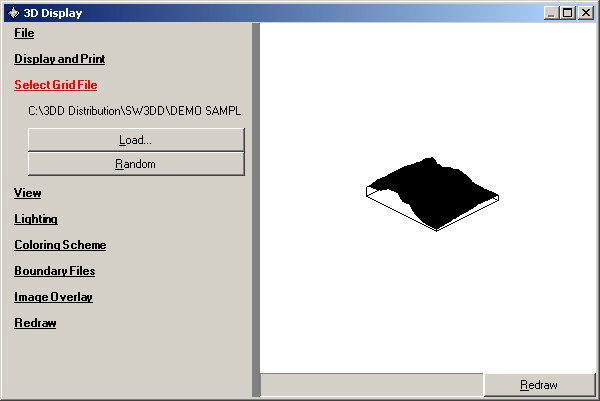
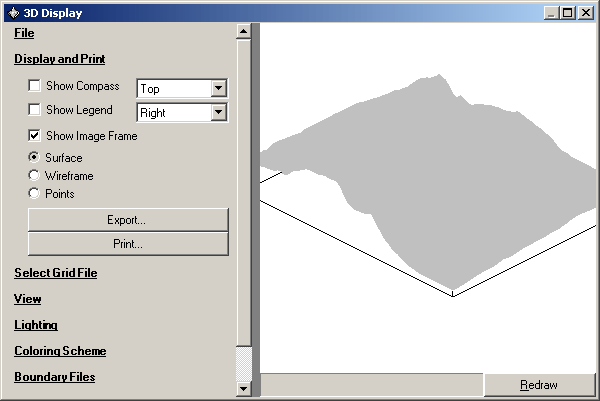
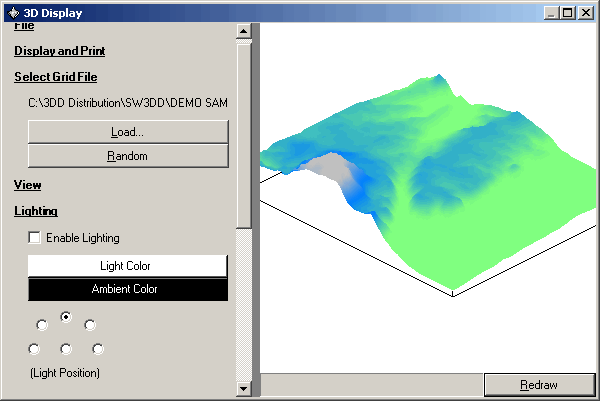
As an example, use the demo sample file "SAMPLE Topo Data.GRD" from the SW3DD\DEMO SAMPLES folder:
Use the View function to enlarge the image by setting the Width or Depth scale factor:
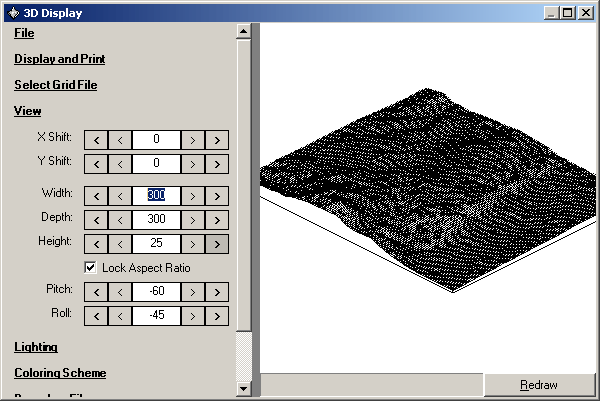
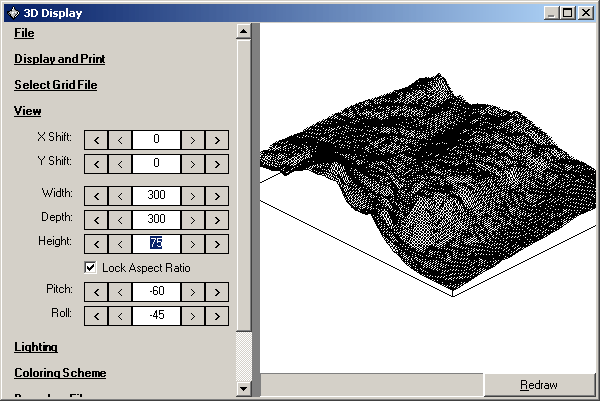
Change the Height scale factor to show more relief on the image:
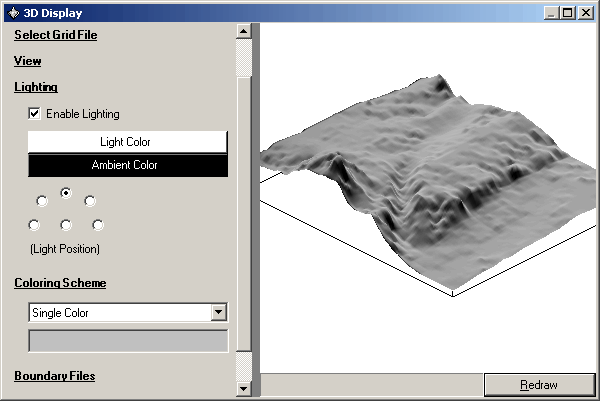
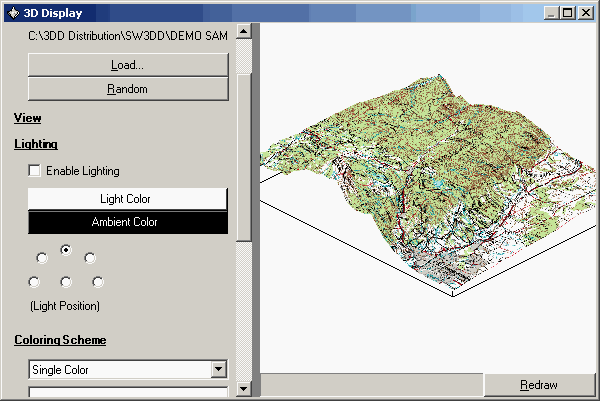
In the Coloring Scheme section, leave the default "Single Color" setting, and double-click the color bar to set the color to light gray. (You can select any color, but this example will use the light gray setting. After finishing this example, you should experiment with different color and lighting combinations.)
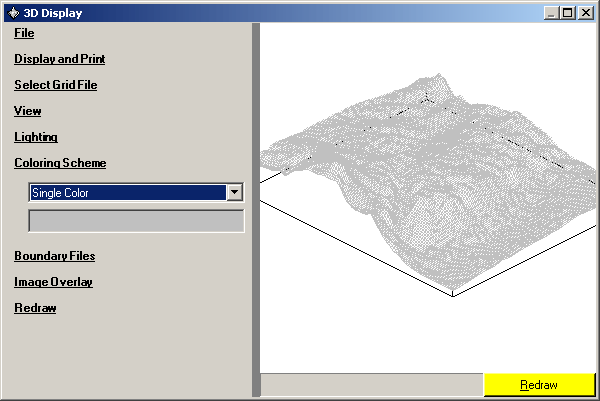
The last step of preparation for this example is to use the "Display and Print" section to change from the "wireframe" mesh drawing to the "surface" option to better illustrate the effects of lighting:
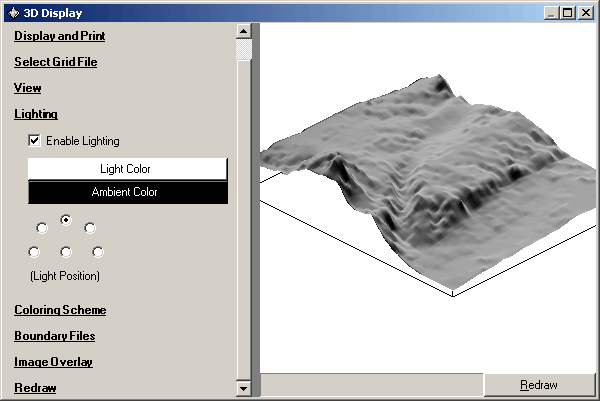
Enable Lighting
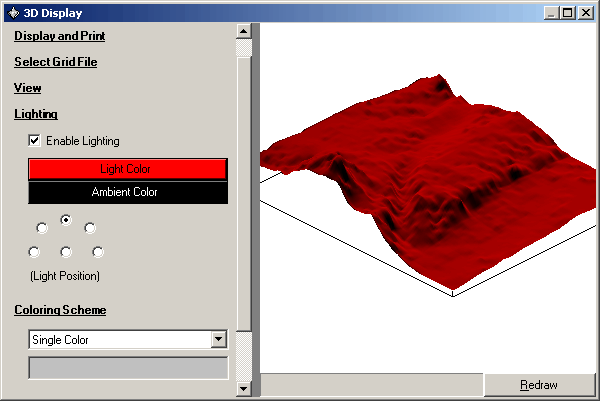
Now in the Lighting section, click the Enable Lighting checkbox, and click the Redraw button if the drawing does not automatically refresh.
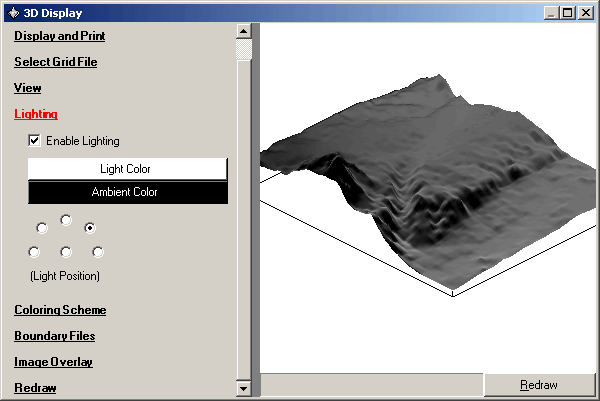
You immediately see the effect of the lighting, accentuating the hills and valleys of the topography.
Two basic settings are available when lighting is enabled: Directional lighting and Ambient lighting. These are explained in more detail below, but the simple rules are:
Directional Lighting
One of the most important points regarding directional light on the drawing is the fact that an image is rotated, scaled, and translated (these are the effects of the various tools in the "View" section) before the lighting is applied. This means that the "camera" used to record the picture is in a fixed position.
To help visualize this, image a small 3D terrain model placed in a room with a single light, and picture yourself walking around the model. In this situation, you represent a dynamic camera, and (ignoring the possibility of a shadow), your position in the room does not affect the way the light illuminates the model.
Now, change the scenario a bit. Pick up the model and rotate it around while standing still. This is analogous to how 3DD works. You now represent a static camera, and the way the 3D terrain is illuminated depends on how you hold the model.
Because 3DD fixes the camera location and rotates the model, you can change the way the light interacts with your model by modifying the pitch and roll settings in the View section. Note that because of the way lighting works in 3DD, scaling (width, depth, and height) or translating (x-shift and y-shift) the image have no effect on the lighting.
Light Position
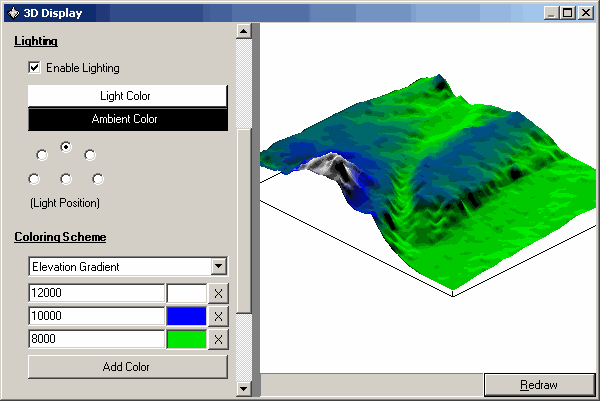
Notice that the default Light Position is indicated by the selected option on the top right side of the six options. The Light Position options represent the position of the light source in the image's vertical ("y") plane. The 12-o'clock option shines down from directly above the image, the 3-o'clock position shines from the right-side horizon, etc.
The selection at the center bottom of the options positions the light in the horizontal plane, shining into the drawing from in front of the monitor.
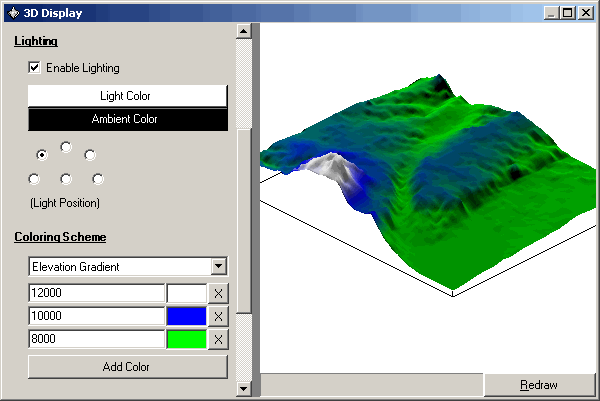
You can select different Light Position options for different effects. For example, the top option positions the light source directly above the drawing, and you can see the differences in the image:
The Directional light affects the surface of the image as a function of the angle at which the light strikes the surface. For example, light shining directly on the surface will illuminate the surface more than light arriving at an angle, as illustrated below:
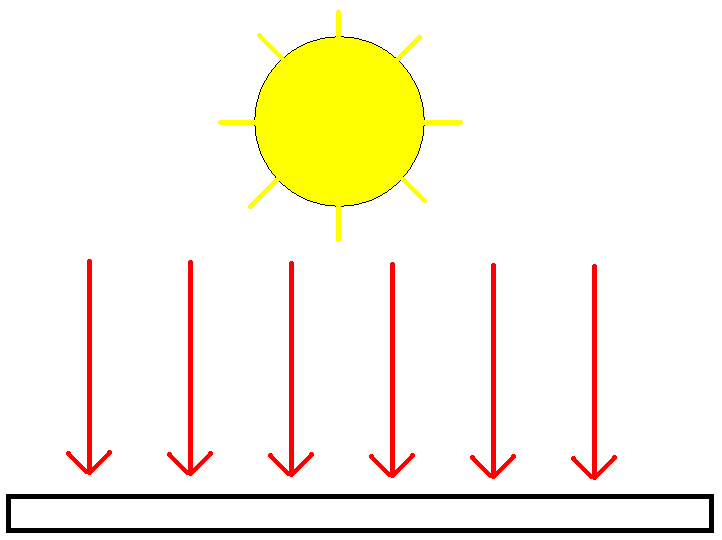
In both images, light is hitting a white surface. In the image on the left, the light is directly above the surface, and so the surface’s color is not changed.
However, in the image on the right, the light is placed in the upper right-hand corner and so light hits the surface at an angle. This means that less light is hitting the surface, and so it darkens the color a bit.
If the surface is turned completely away from the light, then no light hits it and it would be colored black.
These three scenarios illustrate the point that normal lighting will only make the colors on your image darker. They will never make any colors brighter than what they already were. So, if you use a lot of dark colors in your image, turning on the lighting won’t have much of an effect. Lighting is most effective when you are using bright colors in your drawing.
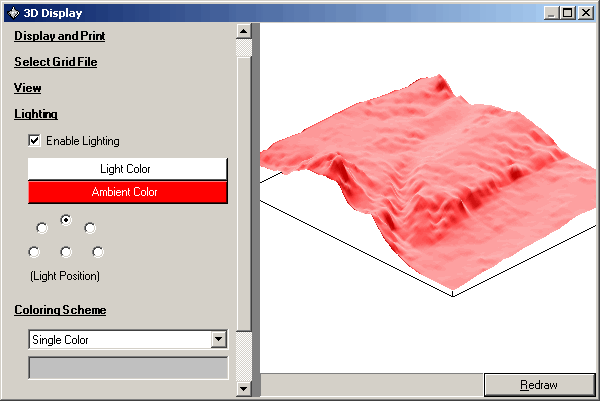
Light Color
Changing the Light Color tints the image to that color. In our sample so far, since the entire surface was light gray, a Light Color of red tints the surface that color:
The Color Blending section below discusses what happens when the surface is represented by different colors.
The key point to remember for Directional or "normal" lighting is that lighter colors work best to show variations due to the vertical relief of the image. Since Directional lighting darkens areas where the surface is angled away from the light source, darker colors for that light will make the overall image much darker.
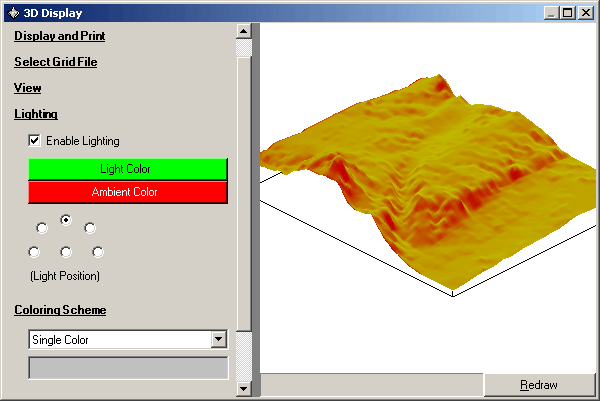
Ambient Light
Ambient light, the other type of lighting used in 3DD generally has effects that are opposite to the Directional lighting effects.
For example, compare the image above (with the Directional light color set to red), with the same image using a white Directional, but the Ambient light set to red:
The Ambient light setting makes the entire image brighter, as if there is a source of light that illuminates all surfaces uniformly (regardless of the angle of incidence). The relief of the terrain is still visible from the effect of the white Directional light, but the entire image is lighter.
Obviously, you have a large number of permutations available by combining different settings for the Directional light color and the Ambient color (as well as the surface color or colors).
You should experiment with different combinations to find those that best fit your requirements.
Color Blending
The lighting effects become even more interesting (and a bit more complicated) when the surface itself contributes one or more colors.
For example, restore the original settings for our sample image. In the Lighting section, keep the Enable Lighting box checked, but change the Light Color to white and the Ambient Color to black. This returns the image to our "Single Color" setting of light gray:
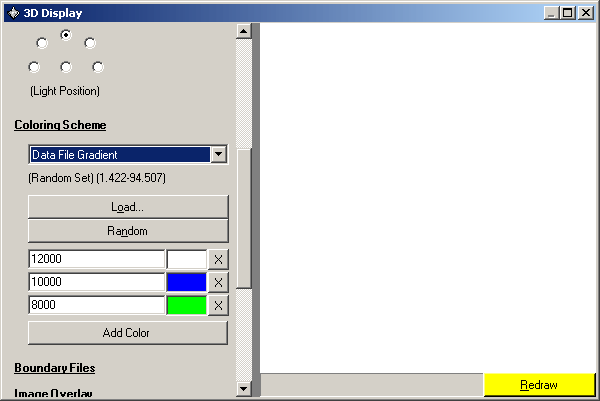
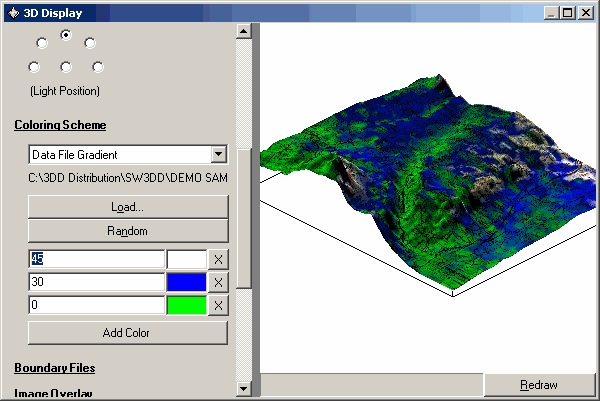
Now change the Coloring Scheme to Elevation Gradient, and set three colors with the elevations shown (Depending on the speed of your machine, you may want to set the Redraw option to "Quick drawing only" while changing the values and colors to prevent the image from repeatedly refreshing.):
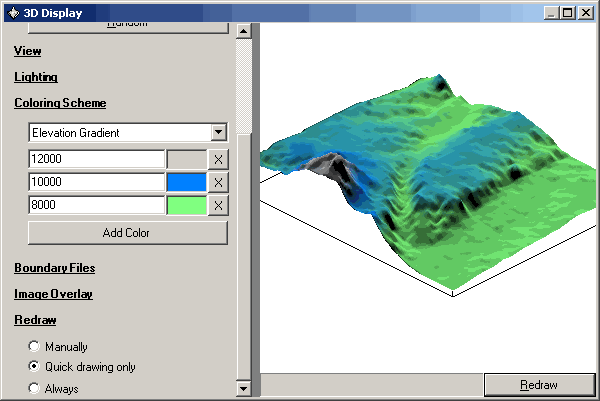
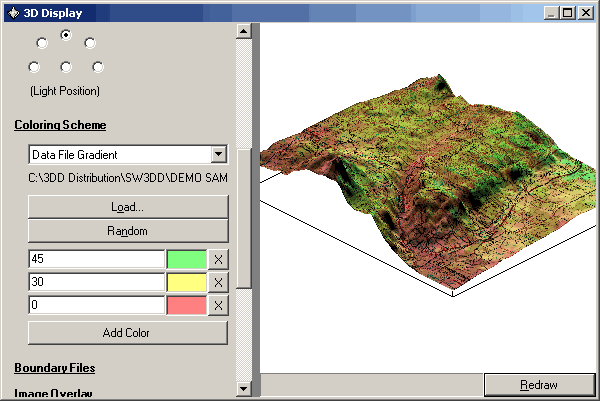
Note that relatively light (if not attractive) colors were chosen for this example. Therefore, based on the lighting discussion above, we should expect that the Directional lighting would darken the light colors. This effect can be seen if the Enable Lighting box is un-checked:
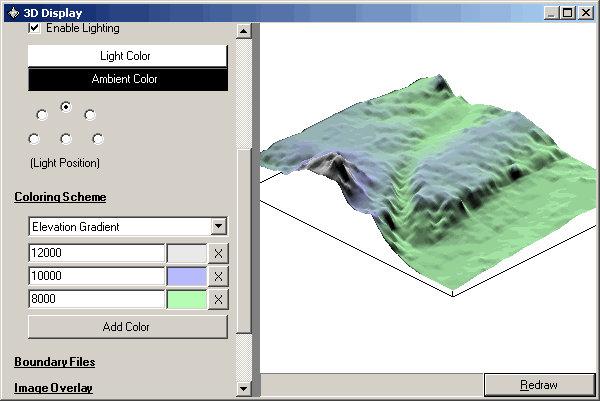
The image is considerably brighter, but the absence of Directional lighting eliminates much of the detail of the topographic relief.
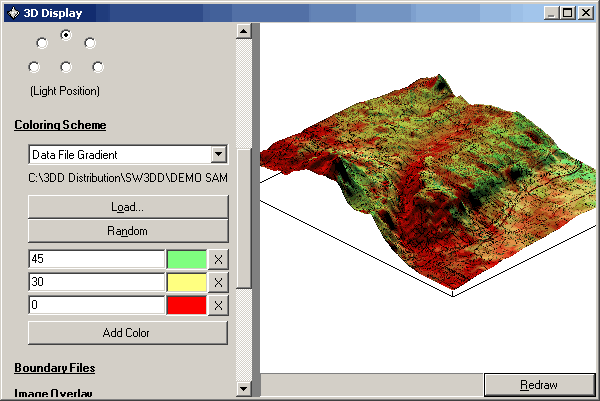
Selecting even lighter colors results in a lighter image even with Lighting Enabled:
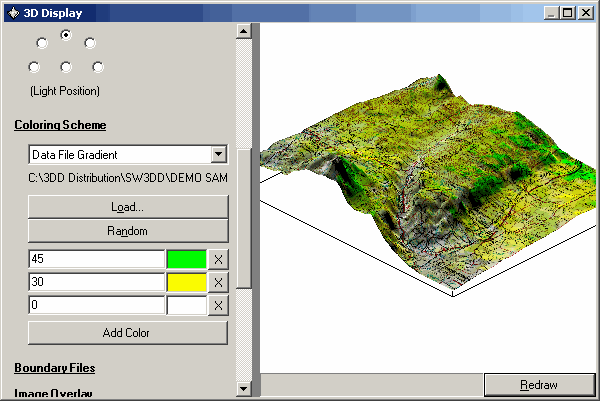
Selecting darker colors will result in a darker image, but may help in better representation of the elevation relief.
Changing the Light Position can also help accentuate different aspects of the drawing:
As suggested before, your own experimentation will be the best way to find what combinations best suit your use of 3DD.
Image Overlays
Finally, how do the lighting settings relate to the use of image overlays?
For this illustration, once again return to the original settings for the image, using a Single Color setting (light gray) for the Coloring Scheme:
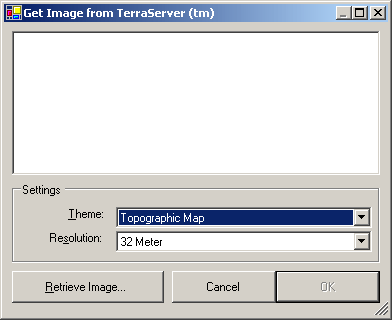
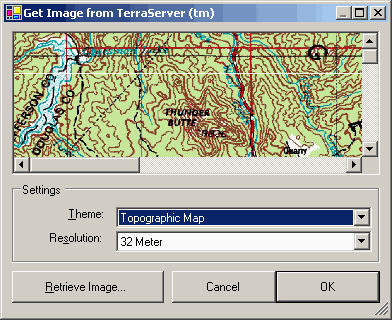
In the Image Overlay section, click the Download button to get a bitmap image of the area from the Microsoft Terraserver. Select the Topographic Map theme with the 32-meter resolution. Click the Retrieve Image button:
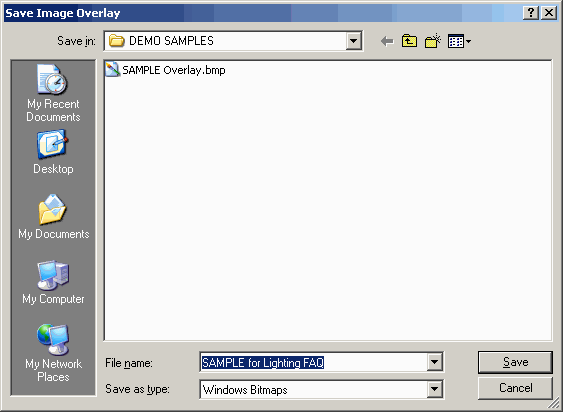
When the download completes and the map is displayed, click the OK button:
Enter the name of a file to save the image to:
When the drawing is refreshed (you may need to click the Redraw button), the image is displayed with the topographic map overlay:
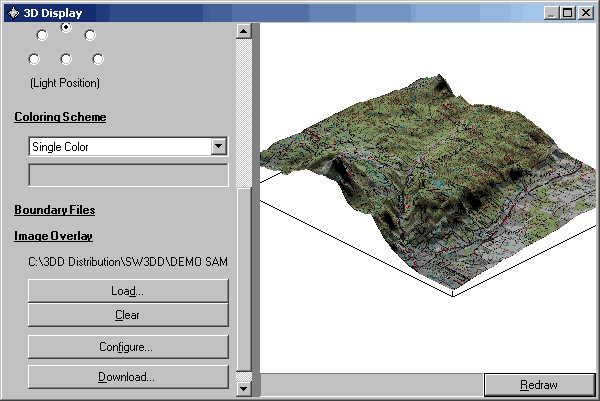
When using an overlay, the image may show up better if you change the Single Color value to white:
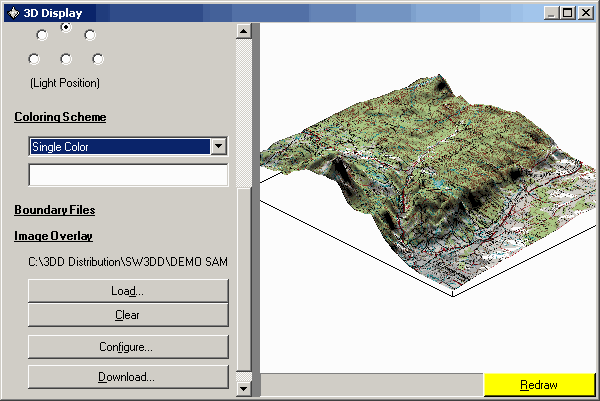
You probably will want to keep the Lighting Enabled box checked even when using an overlay map. Without Lighting Enabled, the terrain relief is less obvious on the image:
To show field strength
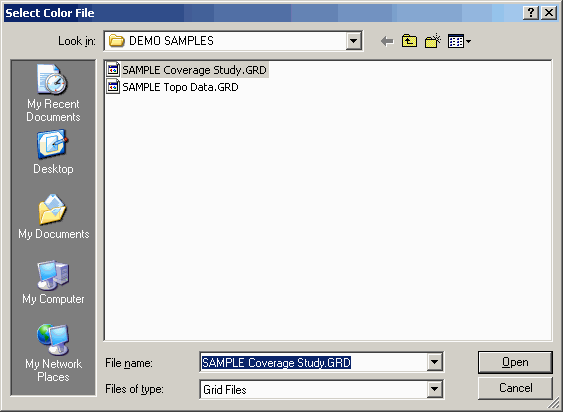
Click the Load button:
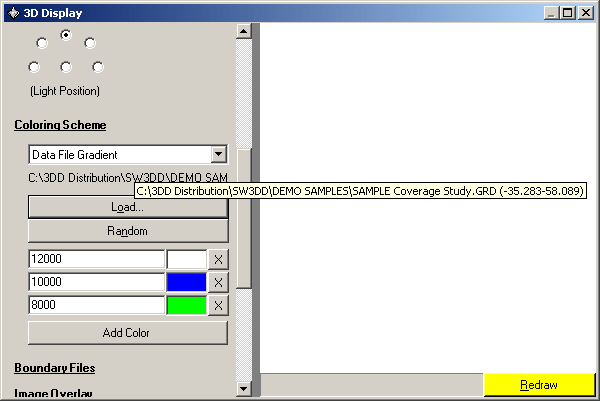
Hover the mouse over the file name to display the range of values in the file:
Set the ranges, leaving the same colors used before for the elevation gradient settings:
Now the combination of the colors in the overlay and the colors indicating field strength levels blend together. The following guidelines may be helpful in selecting colors to use with a map overlay:
These guidelines have the following practical applications in 3DD:
If you use lighter colors for your field strength levels, the blended results will tend to show more of the original map colors:
If you use darker colors for your field strength levels, the emphasis will be more on the field strength information instead of on the map colors:
If you want to eliminate a field strength level from the image, you can set that color to white, and only the original map colors will show for those areas. The following map shows where the signal is 30dBu or above (yellow) and 45dBu and above (green). The valley where the signal was lower now shows only the map information:
|
|
Copyright 2003 by SoftWright LLC