Creating a Template in 3DDisplay
Q: How can I save a basic drawing settings I want to use several times in the TAP 3DDisplay module?
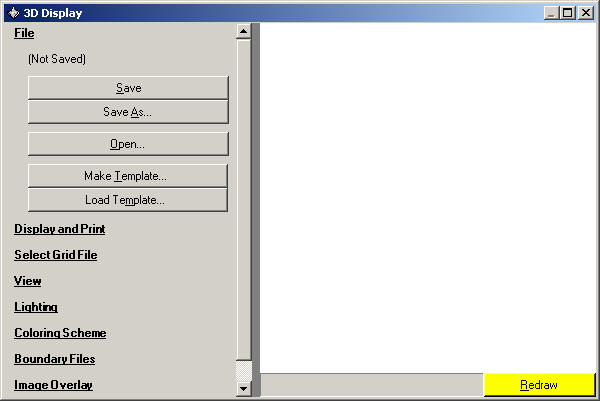
A: The Template function in 3DDisplay ("3DD") enables you to save the settings of a drawing so you can re-create those settings on another drawing by simply loading the template of your 3D image.
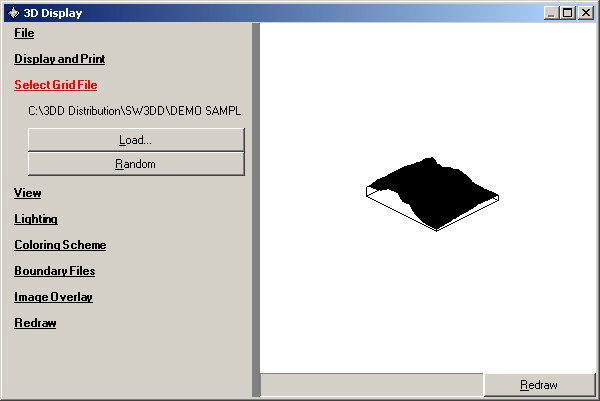
As an example, use the demo sample file "SAMPLE Topo Data.GRD" from the SW3DD\DEMO SAMPLES folder:
Use the View function to enlarge the image by setting the Width or Depth scale factor:
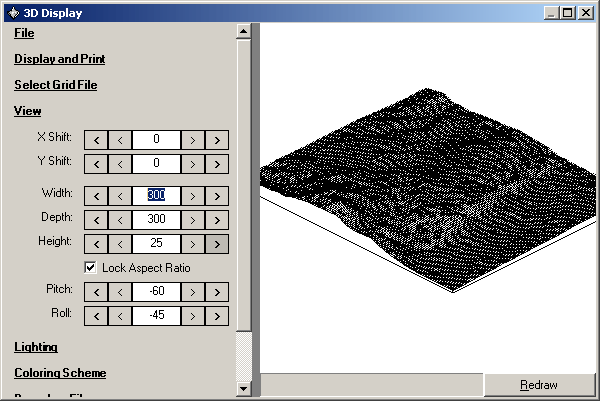
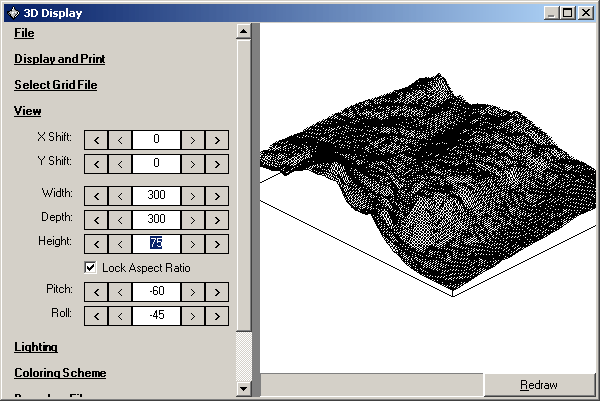
Change the Height scale factor to show more relief on the image:
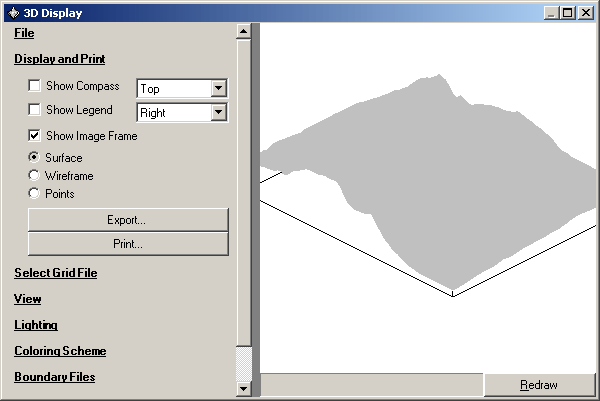
In the Coloring Scheme section, leave the default "Single Color" setting, and double-click the color bar to set the color to light gray. (You can select any color, but this example will use the light gray setting. After finishing this example, you should experiment with different color and lighting combinations.)
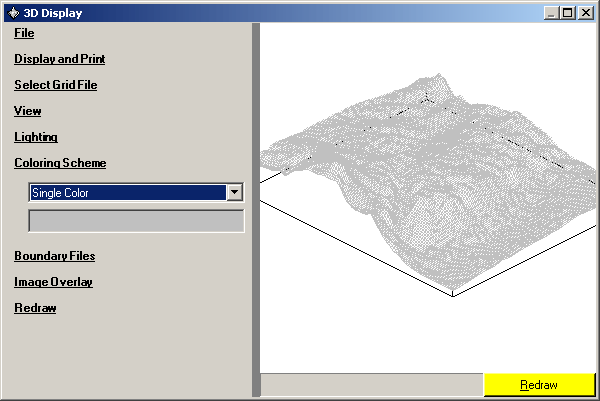
The last step of preparation for this example is to use the "Display and Print" section to change from the "wireframe" mesh drawing to the "surface" option to better illustrate the effects of lighting:
Enable Lighting
Now in the Lighting section, click the Enable Lighting checkbox, and click the Redraw button if the drawing does not automatically refresh.
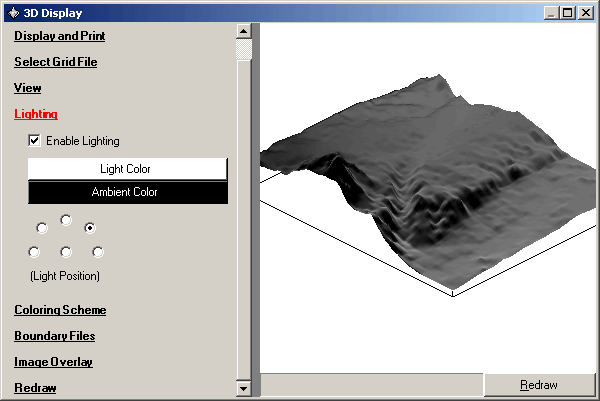
You immediately see the effect of the lighting, accentuating the hills and valleys of the topography. (For more information on 3DD Lighting, see the FAQ Lighting in 3DDisplay.)
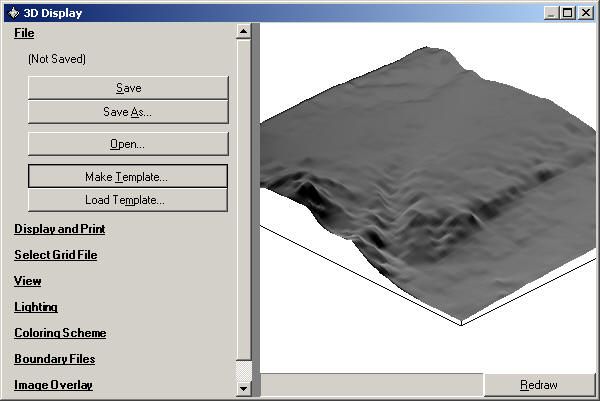
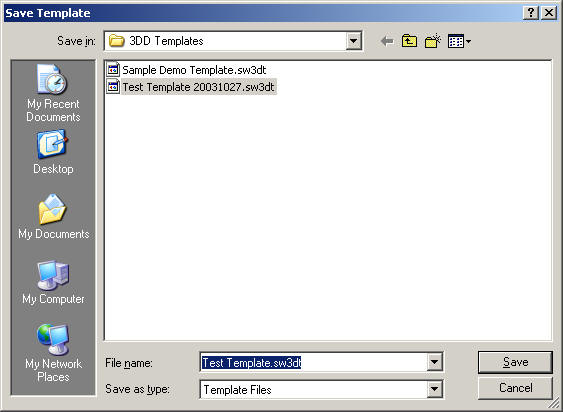
Finally, to save the image as a Template, in the File section, click on the Make Template button:
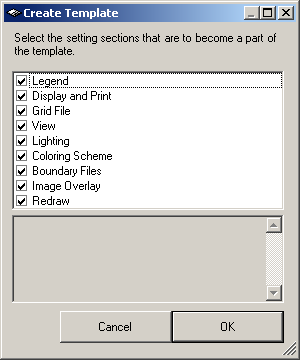
You will be prompted to select the elements of the drawing you want to save. Typically you will leave all the items checked and click the OK button:
You will be prompted for a name for the template file:
After the Template has been saved, you can open the template in the future with the Load Template button in the File section:
|
|
Copyright 2003 by SoftWright LLC