Q: How can I add customized boundary line information for fire districts, roads, and town locations to my TAP coverage plots?
A: The TAP boundary (.BNA) files support three types of objects: Points (for showing the town locations), Lines (for showing the roads), and Polygons (for showing the district areas). You can use the Boundary Line Editor to create files containing these objects.
TAP handles all the objects in a particular .BNA file as a group with the same color, line width, etc. Therefore, in this example, you may want to create three separate files (one each for the towns, roads, and districts). This will allow you to select which categories of objects you want to add to a particular plot, as well as show different categories with different colors and line widths.
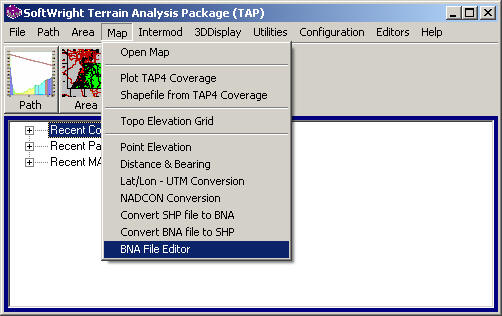
Start the Boundary Line Editor from the TAP Map menu:
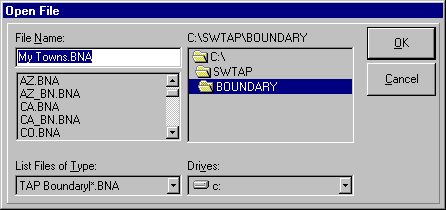
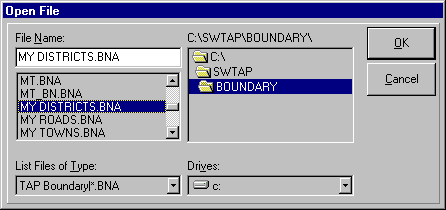
You will be prompted for the name of the boundary file. If you enter a new name, the program will create a new file:
The Boundary Line Editor will be displayed:
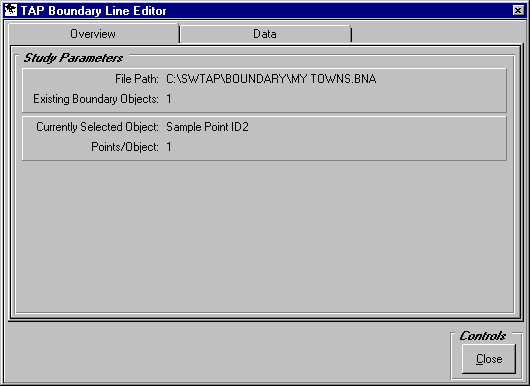
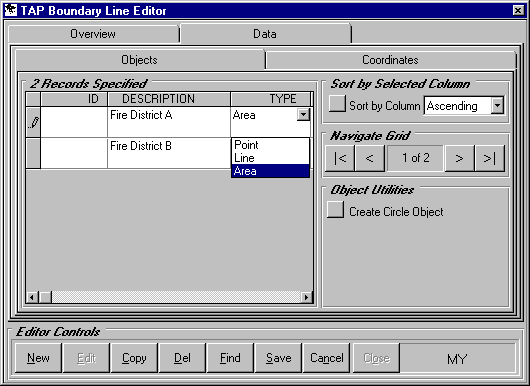
When the Boundary Line Editor is displayed, click the Data tab:
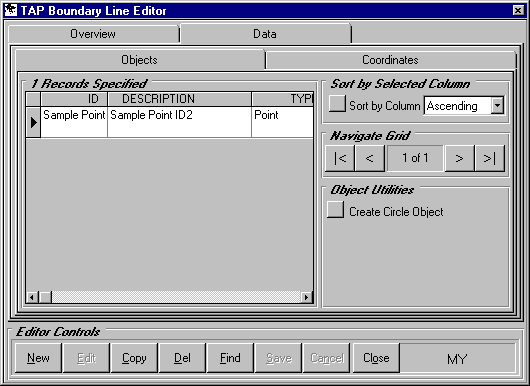
In a new file, the only object shown in the list on the Objects tab will be a sample point. You can edit the sample to create the first town location:

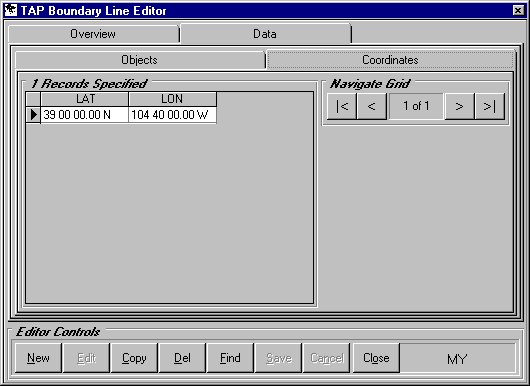
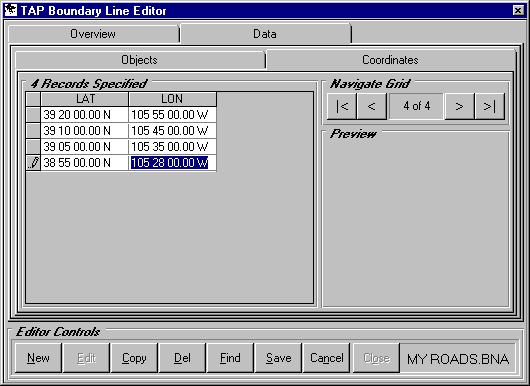
To enter the coordinates of the point, click the Coordinates tab:
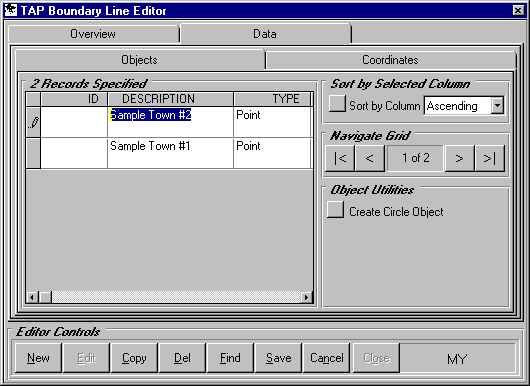
Return to the Objects tab to enter another town location:
Enter the coordinates for the point location:

When all the objects have been entered for the file, click the Save button to save the .BNA file (you will be prompted to confirm that you want to overwrite the existing .BNA file), then click the Close button.
Follow the same general process to create a file for the roads you want to enter. From the TAP Boundaries menu, click the Boundary Line Editor item and enter a new file name:

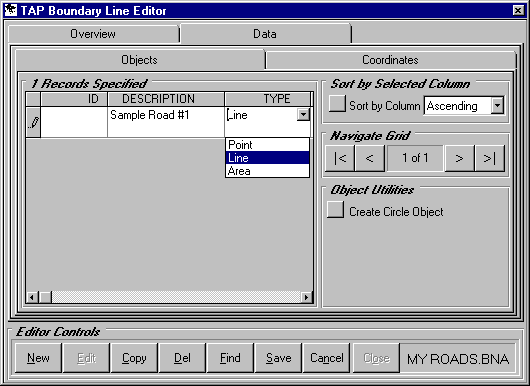
Again, since this is a new file, the only object in the file is a sample point. But in this case, the object we want to create is a line (multiple points). Use the Type pulldown list to select the type Line:
Then go to the Coordinates tab to enter the points that define the line for this road (Use the New button to add points to the list):
Enter the Objects and their corresponding points, then click the Save and Close buttons.
Finally, use the editor to create a file for the fire districts:
Change the object type to Polygon:
Enter the coordinates for each district area:

Save and Close the form.
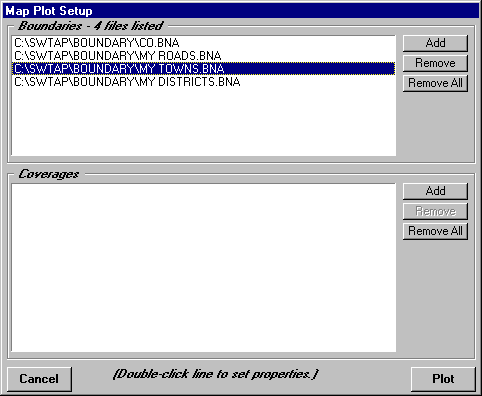
Then you can plot the new objects on your map. You can double-click the individual files to set the colors, line width, and text information:
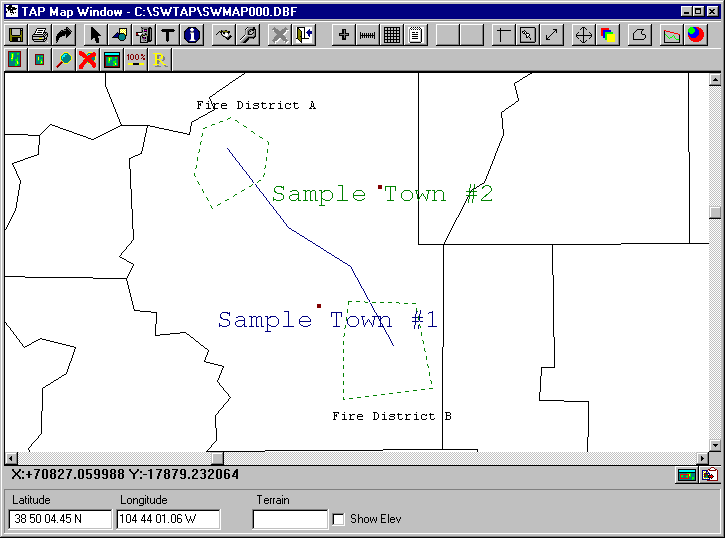
The various features will be displayed on the map: