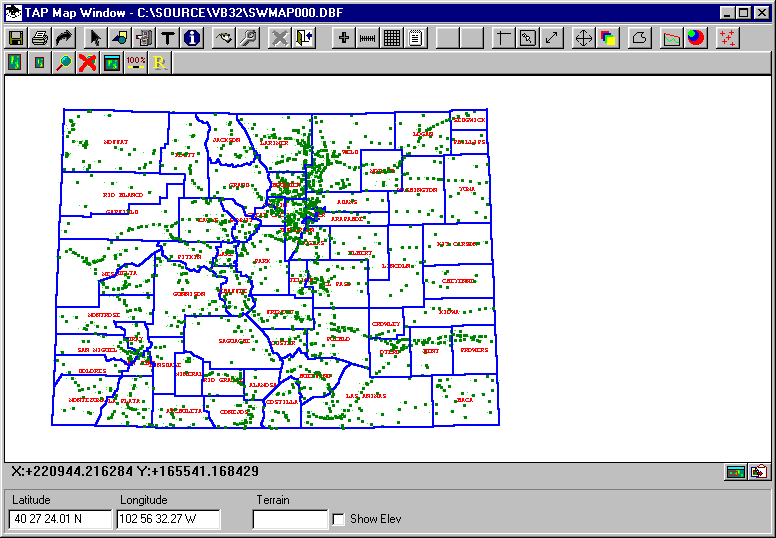
Q: How do I show a labels for my boundary line files on a coverage map?
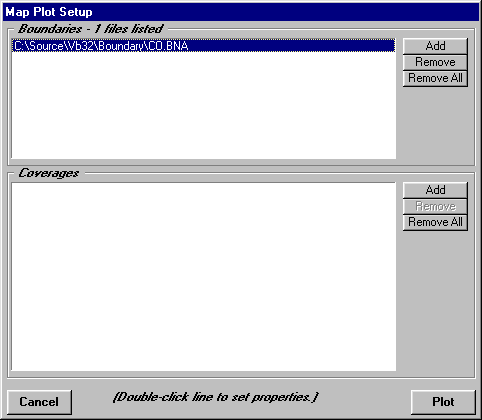
A: When you draw a boundary file, after you have added it to the list in the "Map Plot Setup" form:
You can double-click the file listed on the form to set its properties:
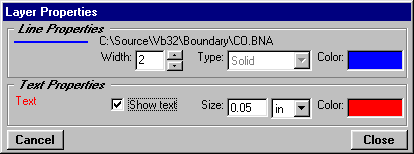
On this form you can set the color of the boundary lines in that particular file, and you can check the "Show Text" box if you want the ID information for the objects in that file (in this case, the Colorado counties). You can set the text size and color as well. If the "Show Text" box is not checked, the text information will not be included on the drawing.
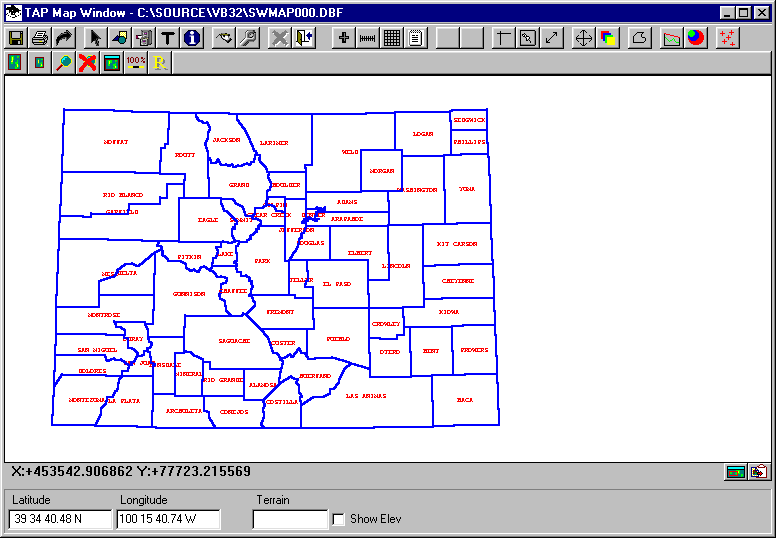
When you close the Layer Properties form and click Plot on the Map Plot Setup form, the map will be drawn with the labels:
Note that the buttons on this form may look different from the buttons you see if you are running a version earlier than TAP 4.2. The buttons on earlier versions appear on a separate form, but perform the same functions:

You can position the text, or change its size or color using the Text button, as described in the FAQ "Map Legend and Notes". If you want to change the size or color of all of the labels for a particular boundary file, you can use the Layers button as described in the FAQ "Drawing Layer Management".
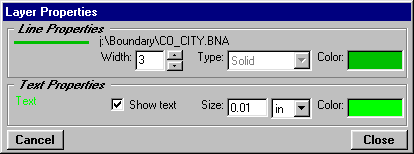
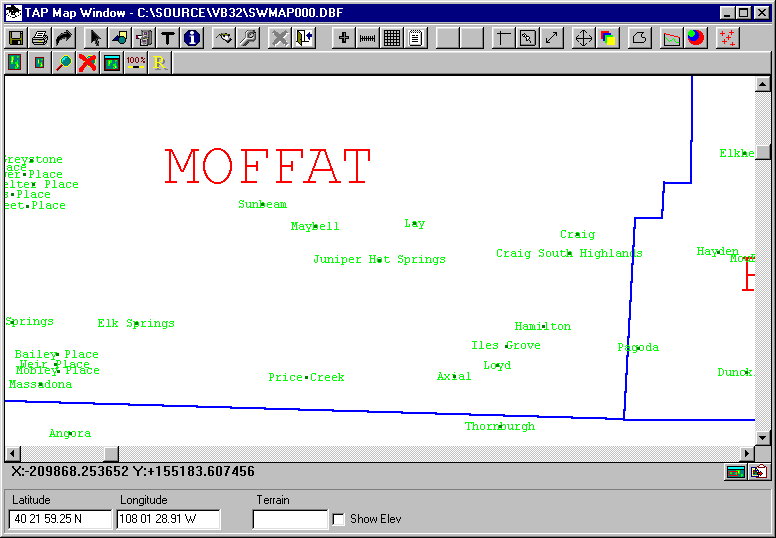
If you are adding a file with many objects (such as the CO_CITY.BNA city file), you can make the text size very small so can zoom in to see a particular label. For example, you can use the settings as shown:
The map will be drawn with all the cities:
You can use the Zoom function (the magnifying glass button):
Another option, if you don't want to draw all of the labels, is to use the ID button. For example, you can hide the labels (by unchecking the Visible box on the Layers form for the "Labels for CO_CITY.BNA" layer). Then when you use the ID button and click on an object, the description of the object will be shown on the ID form:
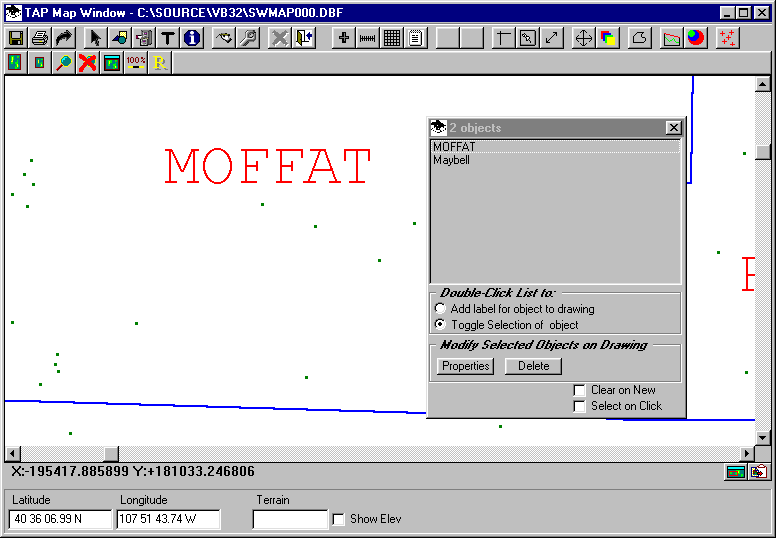
Note that the ID form lists ALL of the objects for the point you clicked, in this case the county as well as the city. If you want to label that particular city, click the "Add label for object to drawing" option button on the ID form, then double click the city name in the ID list. You will be prompted to click on the map where you want the label. (If you change you mind and want to cancel, click the right mouse button.)

When you click the location, the label will be added.
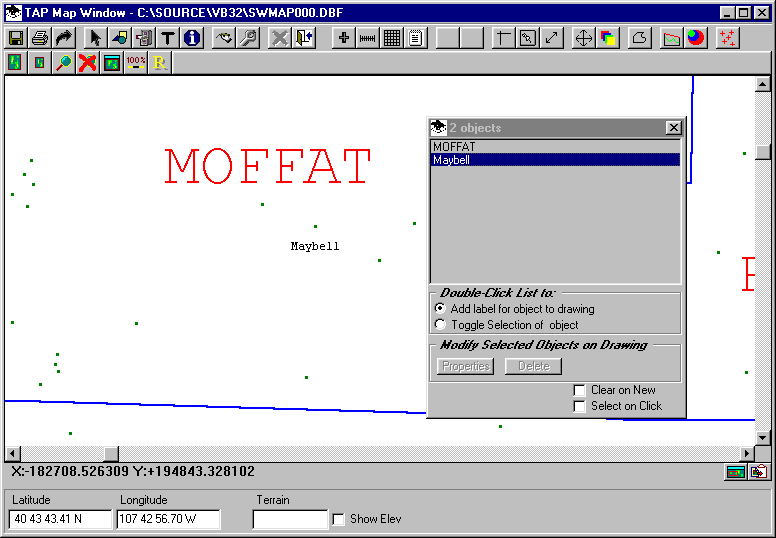
You may want to change the size or color (or even the text) of the label using the Text button.
Copyright 2000 SoftWright