Creating Antenna Patterns
Q: I have the SoftWright antenna libraries and wish
to create a directional antenna which is not currently in the
TAP antenna data base. How can I accomplish this?
A: You will need to run the TAP Antenna Files Editor
to view, edit and add azimuth (horizontal) and/or elevation (vertical)
pattern records. We will illustrate this process in this tutorial.
(Note: This article describes the TAP Antenna Editor function through
TAP Version 4.4 If you are using TAP 4.5 or later, please see the
article on the Antenna Editor used in those
later versions.)
TAP Antenna Data Base Overview
The TAP antenna data base refers to a set of Microsoft FoxPro
version 2.5 tables found in the ANTENNAS\ sub-directory of your
TAP program directory. This set of files will include as many
as nine different files for each library of antennas depending
upon the manner in which the library was created. All antenna
files must be located in a sub-directory named \ANTENNAS under
your TAP working directory. You can use the Antenna Files Editor
to view, add to or modify antenna patterns in these files or create
and edit a new set of antenna files.
Files such as AMSAND00.DBF that begin with the letters "AMS"
contain manufacturing specifications such as an antenna description
and a major lobe gain for each antenna in the library. Files such
as AHDAND00.DBF that begin with the letters "AHD" contain
the angle and gain values that define the azimuth antenna pattern
for each antenna in the library. Files such as AVDAND00.DBF that
begin with the letters "AVD" contain the angle and gain
values that define the "elevation" or vertical antenna
pattern. The AMSXXXXX.CDX, AHDXXXXX.CDX and AVDXXXXX.CDX files
are the associated index files for the antenna data base. If you
created a new antenna data base using the antenna editor, you
may notice an "INF" file such as AMSXXXXX.INF that was
automatically generated for each of the three antenna tables referenced
above.
The data included in the antenna pattern files supplied
with TAP contain manufacturing specifications supplied by antenna
vendors, and SoftWright does not warrant the accuracy of the data
nor the availability of antenna products.
- This editor runs a number of error checking procedures as
you enter new angles and field values into the azimuth and elevation
parameters files of the antenna data base. Under certain circumstances,
an inconsistency warning screen will appear when an inconsistency
is detected between the major lobe and one or more field values
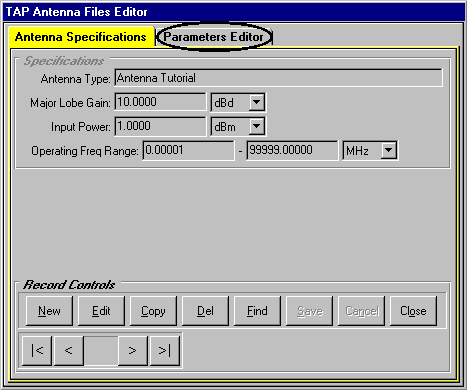
displayed in the editor. From the Antenna
Specifications tab folder, press the New button.
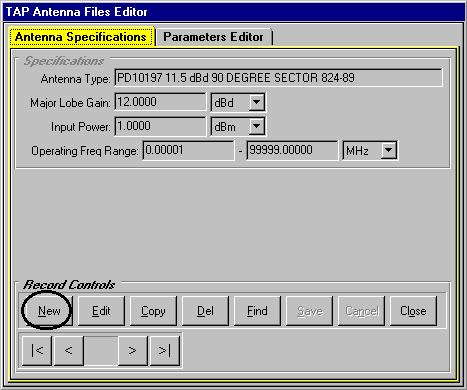
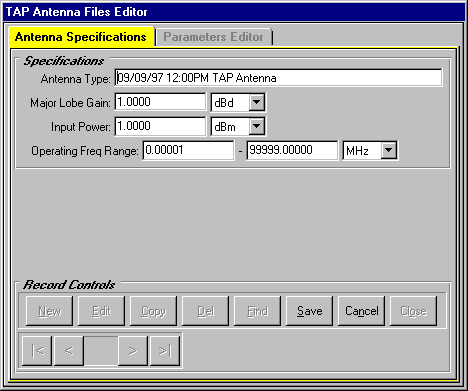
- TAP will insert default values into the data fields.
The white background of the text boxes is a reminder that you
are in "edit" mode.
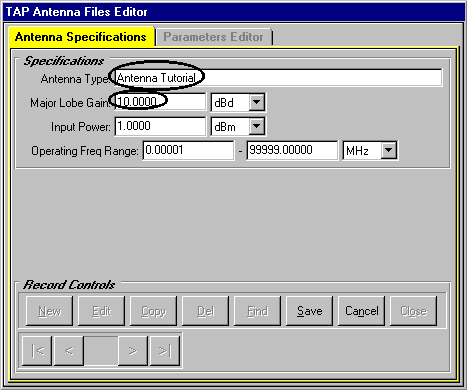
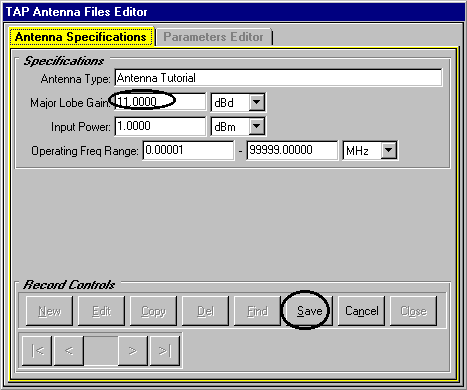
- Replace the Antenna Type
description with "Antenna Tutorial" as we have
done below. In addition, set the Major Lobe
Gain to 10.0 dBd. When you use TAP to create your
antenna, you may wish to enter the input power and/or frequency
range if you have these specifications available to you.
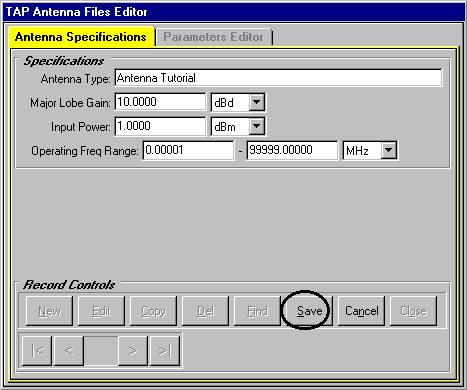
- Press the Save button to record these changes
in the antenna library.
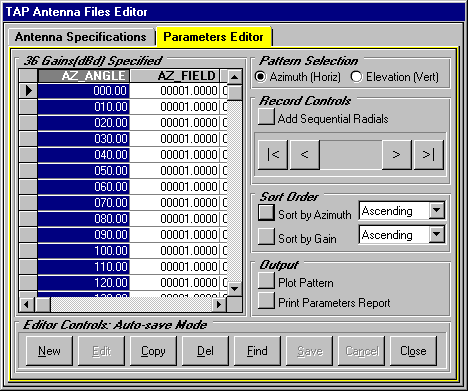
- Now press the Parameters Editor tab.
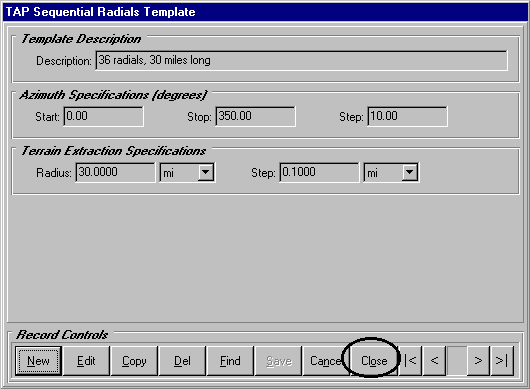
- There are currently no field records specified.
We will use a TAP sequential radial template to add a range of
records to the grid. Press the Add Sequential Radials button.

- The sequential radials lookup may or may not appear
positioned to the "36 radials, 30 miles long" template,
depending on the descriptions of the templates that exist in
your data base. If necessary, use the VCR buttons at the bottom
right side of this screen to navigate to this template. Pay no
attention to the Terrain Extraction Specifications
frame - the distance of these radials is irrelevant here. We
are simply concerned with the Azimuth Specifications
that define the range of angless that we will incorporate in
the antenna editor.

- When the 36 radials template is the current record,
press Close.
- TAP will automatically add 36 records to the grid
and position the record pointer to the last record added. A default
value of 1.0 dBd is specified for each field value. We will modify
these gain values in this tutorial.
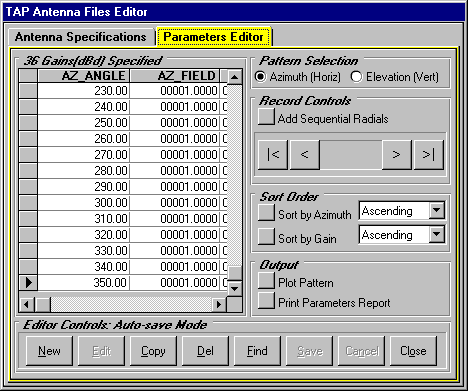
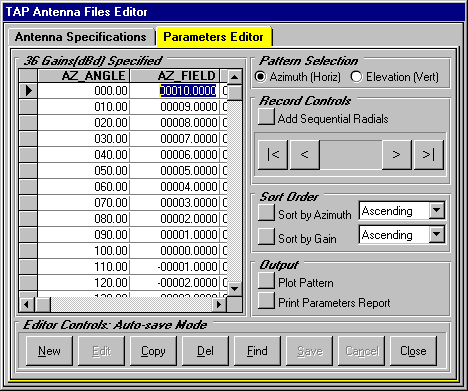
- Let’s use the TAP sort mechanism to both sort
on azimuth and move to the first angle. Press the Sort by
Azimuth button.
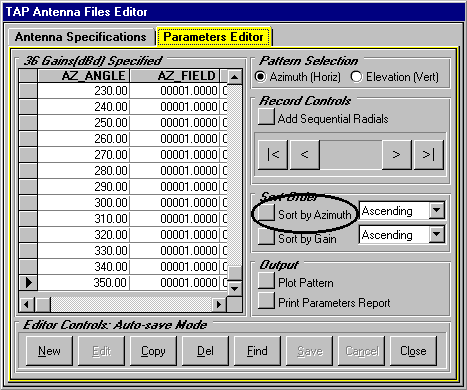
- Position your cursor in the field cell of azimuth
(AZ_ANGLE) 000.00 as we have
done.
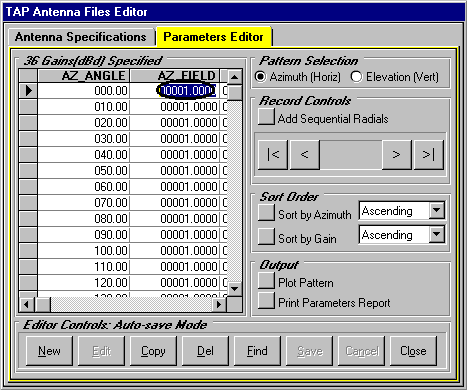
- Change the azimuth field value (AZ_FIELD)
for azimuth 0 to 10.0 dBd.
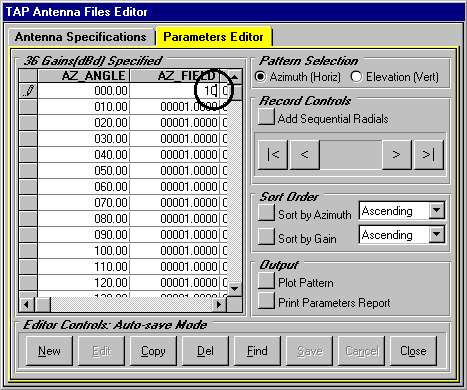
- In the same way, edit angless 10 to 120 as we have
done below. In an effort to keep this tutorial as simple as possible,
you will notice that we simply decrement each field value by
one up to angle 180 where we will then increment the gains.
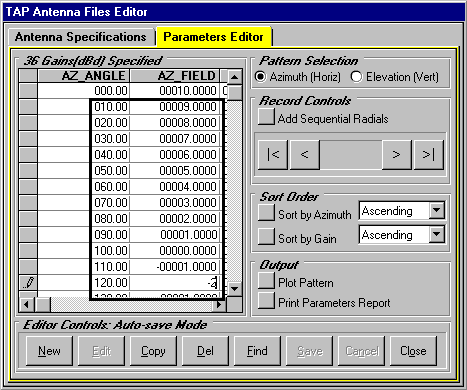
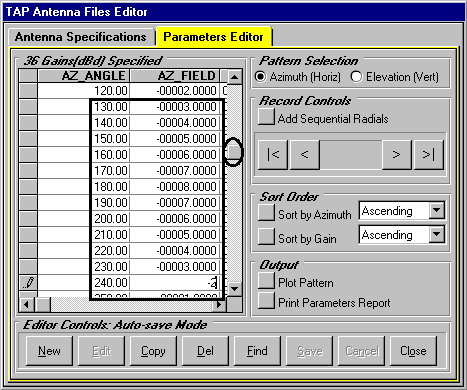
- Use the vertical scroll bar to position angle 120
to the top of the grid making angles 130-240 accessible. Edit
the field values as we have done.
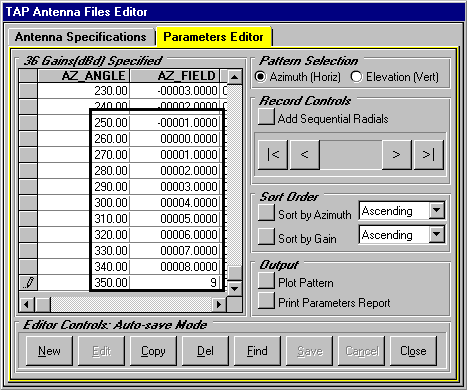
- Use the vertical scroll bar to position angle 240
to the top of the grid making angles 250-350 accessible. Edit
the field values as we have done. This is enough editing for
now!
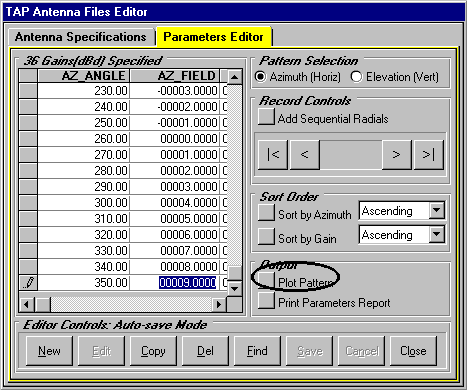
- Feel free to scroll through the grid to double-check
your work. When you are ready, press the Plot Pattern button
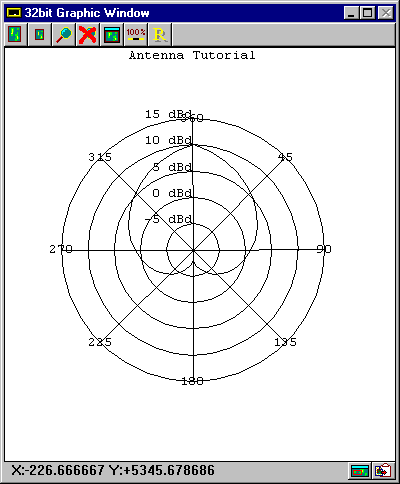
to look at what we have done.
- When our pattern appears, you will notice the major
lobe gain of 10 dBd on angle 0°
just as we entered in the antenna files editor.
- Feel free to experiment with the antenna plot options
we demonstrated in previous sections of this tutorial. When you
are ready to continue with this tutorial, press Close.

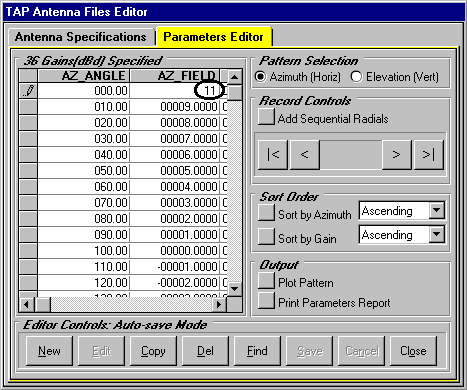
- Let’s demonstrate one aspect of the error
checking performed by TAP. We will enter an azimuth field value
that exceeds the 10 dBd major lobe gain you specified in the
Antenna Specifications tab. Position
your cursor to the field value for angle 0°
that is currently set to 10.0.
- Change the AZ_FIELD to 11 as we have done.
- Move to the Antenna Specifications tab.
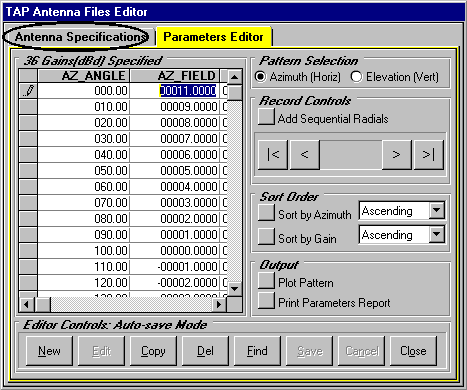
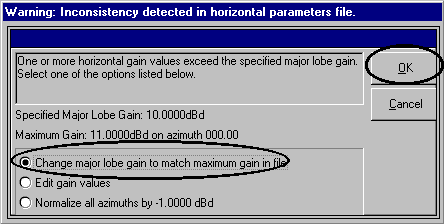
- The warning screen pictured below will appear.
TAP has determined that field entered on angle 0°
exceeds the major lobe gain we specified earlier. Is this now
an 11 dBd antenna? If so, instruct TAP to Change
major lobe gain to match maximum gain in file. Your other
options include normalizing the gain values by reducing each
gain, including angle 0° , by
1 dBd. In this scenario, angle 1°
will be changed from 9 to 8, angle 2°
from 8 to 7, and so on. The third option is to "bail out"
and edit angle 0° again. Select
the Change major lobe gain option and then press OK.
- When the specifications appear, the major lobe
gain is 11.0 dBd. Press Save to accept this change.
- This concludes our tutorial. In practice, you will
obtain the manufacturer’s specifications for your antenna
and add realistic gain values for both the azimuth and elevation
patterns. You will probably utilize more detail when you define
you define these patterns. The majority of the antenna patterns
supplied with the TAP program have at least 360 azimuth gains
(0° to 359°
) and 181 elevation gains (-90°
to 90° ). One final note. For
convenience, we have added our tutorial antenna parameters to
the Celwave antenna library. You may wish to remove this antenna
and its parameters from the data base to avoid future confusion
by pressing the Delete button.
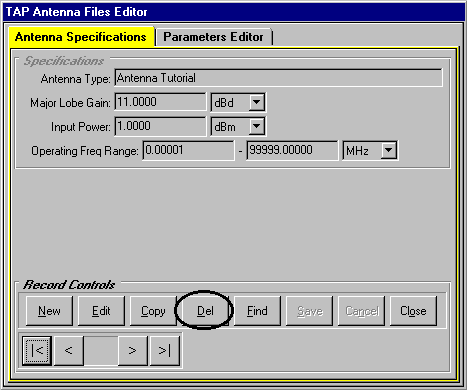
- Press Close to conclude this tutorial.

Copyright 1999 by SoftWright LLC