HDMapper™ Path Preview
Q: How can I draw a profile of a path between two points on an HDMapper map?
A: For TAP 5.0.1043 systems with a Maintenance Subscription date of March 31, 2005, or later, you can draw a simplified path profile with the Path Preview button.
With the map displayed, click the Path Preview button on the toolbar:
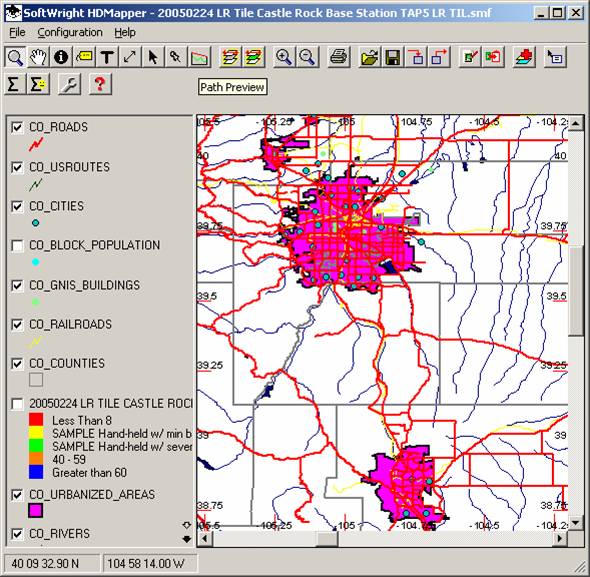
The button will remain depressed. As long at the Path Preview button is in the depressed state, mouse clicks on the map will produce a Path Preview. (To exit from the Path Preview mode you can click one of the other mode buttons, such as the Zoom button with the magnifying glass icon):
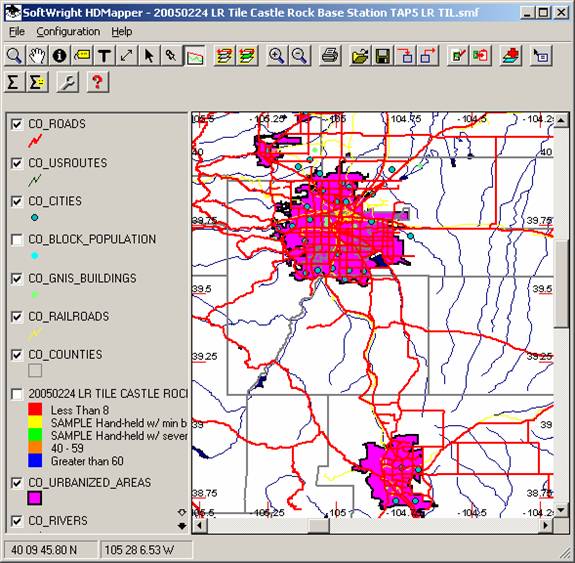
For example, click a starting point on the map and drag the mouse (holding down the left mouse button) to the desired target point:
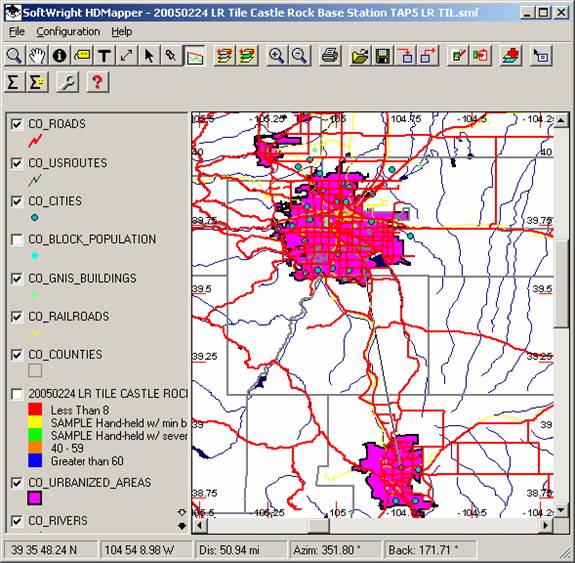
A line is drawn on the map to indicate the path, and the distance, azimuth, and back (or reverse) azimuth are displayed along the bottom of the map. The line is a temporary object on the map. If you refresh the map or cover it with another form (including the Path Preview form), the line is not saved on the drawing.
When you release the mouse button, the program will retrieve the topographic elevation data for the path and display the preview. (Depending on the length of the path, this may take several seconds):
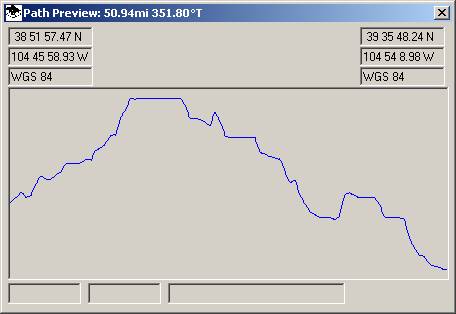
The profile does not include any earth curvature effects, line of sight information, axis scales, etc. However it does give a general idea of the topography of the path.
Moving the mouse on the Path Preview will display the horizontal distance and the vertical elevation of the mouse cursor at the bottom of the preview form:
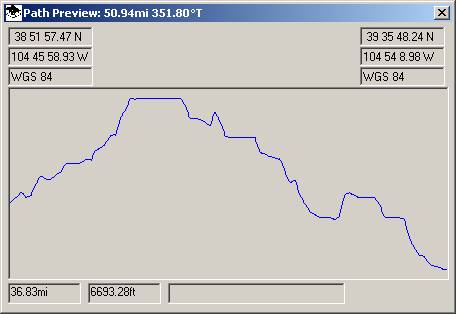
(Since the displayed elevation is the mouse elevation, if you want the elevation of the terrain, position the mouse cursor on the terrain line.)
|
|
Copyright 2005 by SoftWright LLC